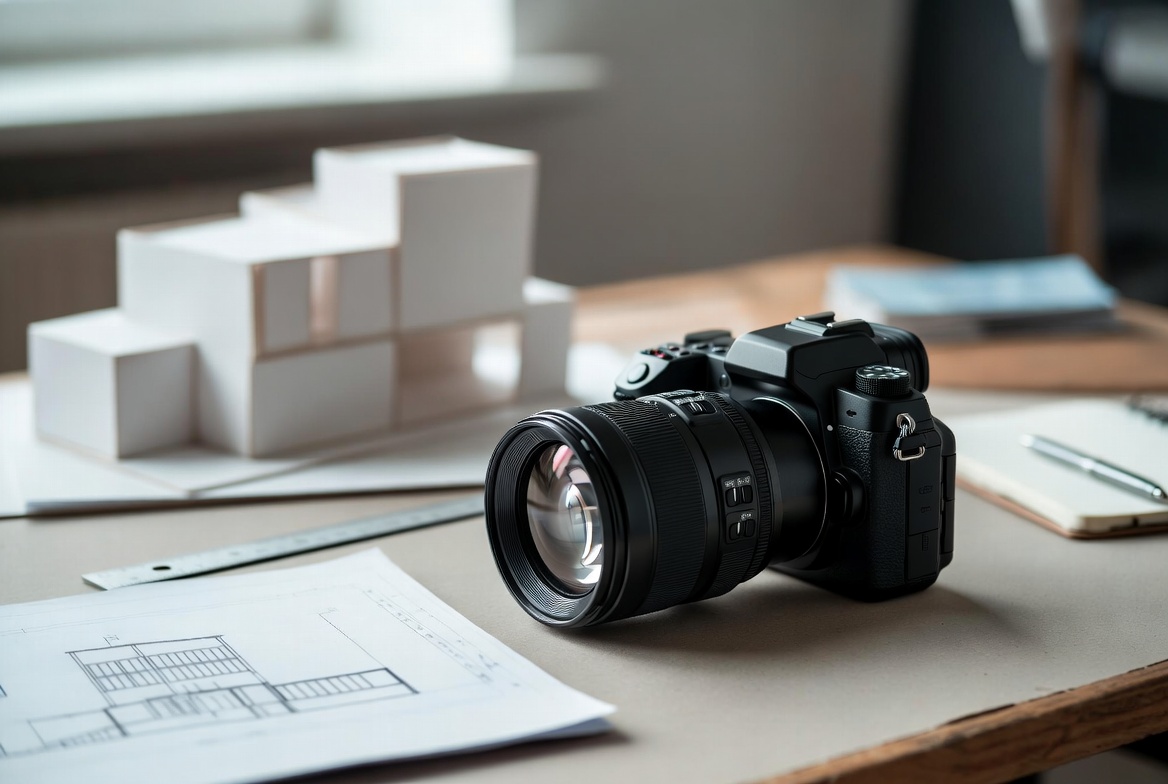
Most “budget camera” lists for architecture photography go wrong in the first paragraph. They act like the body is the whole job.
It is not. For architecture, the camera body matters less than people think. The bigger swing comes from the lens, the tripod, how well you keep the camera level, and whether your files can survive perspective correction and shadow recovery without falling apart.
That is the useful way to buy on a budget. Start with a body that gives you clean base-ISO files, then put your money into the right ultrawide lens and a stable support setup. Do that well and your images stop looking “budget” very fast.
What Actually Matters Most
If money is tight, this is the order that usually makes the most sense:
- Rectilinear ultrawide lens. This is what keeps walls from bowing and verticals from turning ugly.
- Tripod and level. Architecture rewards patience more than speed.
- Body with clean RAW files at base ISO. You do not need sports-camera specs. You need files that grade well.
- Post workflow. Perspective correction, window blends, and sensible color work matter more than brand.
If you want the broader process behind the gear, our architectural photography guide covers the working method.
The Shortlist
1. Nikon Z5 — Best Budget Full-Frame Starting Point
The Z5 is still one of the easiest full-frame cameras to recommend for architecture. It gives you a 24.3 MP full-frame sensor and in-body stabilization in a body that has become much more affordable than it used to be. For interiors and exteriors on a tripod, it is the kind of camera that stays out of the way and lets the files do the work.
It becomes much more interesting once you pair it with a strong wide lens. That is the real reason it makes sense.
2. Canon EOS R8 — Best Lightweight Full-Frame Pick
The R8 gives you a 24.2 MP full-frame sensor in a lighter body than most students expect. No IBIS, yes. But architecture is already tripod-heavy, so that drawback matters less here than it would in general shooting.
The attraction is simple: clean files, low weight, and a direct path into Canon glass or adapted EF lenses.
3. Sony a7 III — Best Used Full-Frame Value
The a7 III is old enough to be affordable and still good enough to be relevant. You get a 24.2 MP full-frame sensor, in-body stabilization, strong battery life, and access to a huge lens market. For architecture, that last part matters. It is easier to build a practical system around this camera than around many newer bodies.
The menus are not lovable. The files still are.
4. Fujifilm X-S10 — Best APS-C Body That Feels Serious
If you want to stay smaller and cheaper without dropping into disposable-feeling gear, the X-S10 is still one of the better APS-C choices. It has in-body stabilization, a solid grip, and good enough files for architecture work when paired with the right ultrawide.
APS-C is not a problem here. Bad technique is a problem. The crop sensor only means you need to be a little more deliberate about your field of view and your correction margins.
5. Canon EOS RP — Cheapest Sensible Entry to Full Frame
The RP is not exciting on paper. That is part of why it works. It gets you into Canon full frame cheaply, it plays nicely with adapted EF lenses, and it can produce very respectable architectural files when used the way this kind of work wants to be used: low ISO, tripod, controlled framing, careful post.
Battery life is weak and there is no IBIS. Neither issue is fatal for architecture. Just do not buy it expecting it to feel like a premium all-rounder.
6. Panasonic Lumix G9 — Best Cheap High-Res Tripod Camera
The G9 is the camera that makes some people rethink Micro Four Thirds. It has stabilization, a usable high-resolution mode, and a body that works far better on a tripod than its price suggests. In still, controlled interior work, that matters more than sensor snobbery.
It is not the pick for high-ISO heroics. It is the pick for disciplined shooting where the camera is locked down and the scene is static.
Three Wildcards Worth Watching
OM System OM-5
Small, stabilized, and more capable than its size suggests. The high-resolution modes are the reason it matters here. If portability is high on your list, this is a more serious option than many people assume.
Canon R10
APS-C, no IBIS, and still useful. The R10 makes sense when the budget is tight and the priority is getting into a modern system with a clean, lightweight body and decent wide-lens options. It is not glamorous. It is practical.
Panasonic S5
If you find one at the right used price, this is one of the stronger value bodies in the whole category. Full frame, stabilization, and high-resolution options make it especially interesting for tripod-based architectural work.
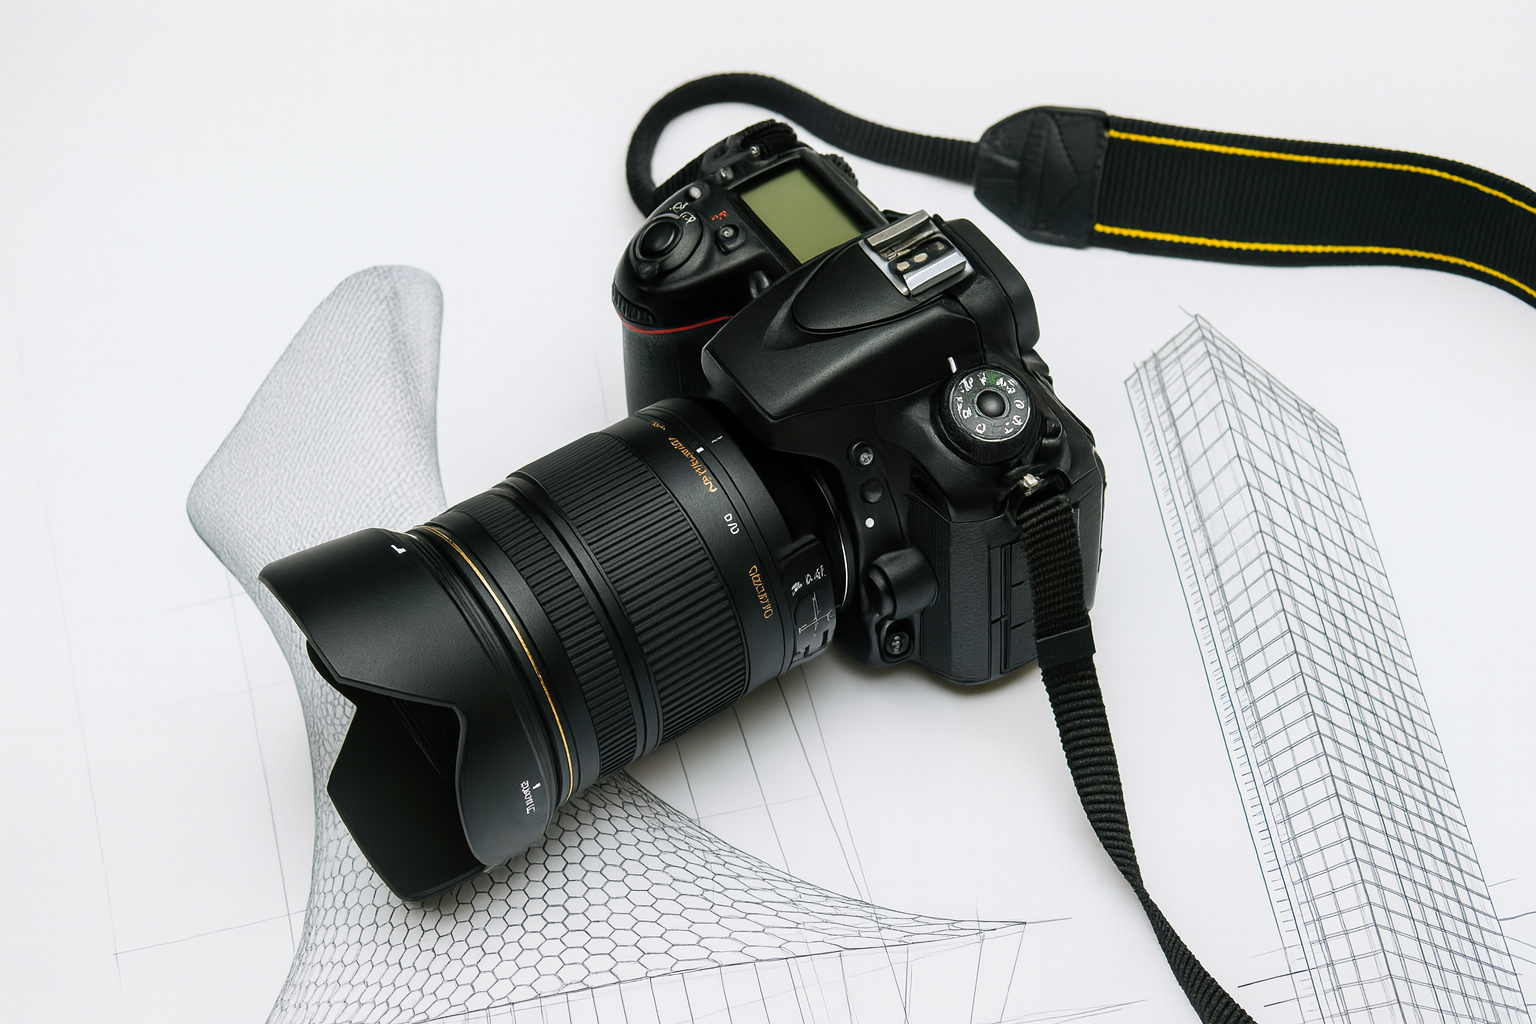
Budget Lenses That Pull More Than Their Weight
This is where the real buying decision lives. The body gets the attention. The lens gets the result.
- Canon EF-S 10–18mm IS STM: still one of the cheapest useful ways into architectural ultrawide work.
- Fujifilm XF 10–24mm f/4: one of the cleaner wide zooms in the Fuji system.
- Sony 10–18mm f/4 OSS: older, but still practical for APS-C Sony.
- Laowa 15mm f/4.5 Shift: the cheapest serious route into real perspective control.
- Canon EF 17–40mm f/4L: still a useful used-budget option if you stop it down and work carefully.
- Olympus 9–18mm: compact and surprisingly usable for Micro Four Thirds.
If your budget has to break somewhere, break it in favor of the lens.
For a wider gear-only breakdown, see best cameras and lenses for architectural photography.
How to Fake Tilt-Shift Without Owning One
This is the budget trick that matters most.
- Keep the camera level. Do not tilt up unless you want pain in post.
- Shoot wider than you think. Leave room for correction.
- Use vertical panoramas. Two or three level frames stitched together can look cleaner than one over-wide frame.
- Bracket bright windows. Architecture looks expensive when the windows are under control.
- Use blue hour when the scene fights you. That one timing move can calm mixed light and ugly highlights fast.
Tilt-shift glass is still the elegant answer. It is just not the only answer.
A Clean Budget Workflow

The working rhythm is not complicated:
- Tripod first. Level the camera before you think about composition.
- RAW, base ISO, f/8 to f/11. This is where most architectural work lives.
- Bracket interiors. Especially if windows matter.
- Correct geometry in post. Do not leave verticals drifting.
- Keep contrast believable. Crunchy HDR is still the fastest way to make good architecture look cheap.
If you want the rendering-and-presentation side that often gets paired with architecture photography, our architectural presentation and rendering guide is the better next read.
Three Realistic Budget Builds
Shoestring
Body: Sony a6400 used
Lens: Sony 10–18mm f/4 OSS used
Why it works: compact, affordable, and fully capable of clean architecture work if you treat it like a tripod camera.
Sensible
Body: Nikon Z5 used
Lens: Nikkor Z 14–30mm f/4 S used
Why it works: full-frame files, strong wide coverage, and a system that feels more expensive than it is.
Smart Splurge
Body: Panasonic S5 used
Lens: 16–35mm f/4 or Laowa 15mm Shift if you can stretch
Why it works: this is where budget starts looking professional without becoming ridiculous.
Common Mistakes That Make Images Look Cheap
- Tilting up to fit the building. Raise the camera. Do not tilt it.
- Going too wide indoors. Rooms start looking stretched fast.
- Crunchy HDR. Manual blends still look better.
- Bad white balance. Mixed light can wreck otherwise strong images.
- Shooting architectural work like portraits. This is not about shallow depth of field. It is about geometry, clarity, and control.
Quick Answers
Do you need full frame?
No. Full frame helps, but APS-C and Micro Four Thirds can absolutely deliver client-ready work with the right lens and a tripod.
Do you need a tilt-shift lens?
No. It is the best answer, not the only answer.
Is IBIS essential?
Helpful, not essential. Architecture usually rewards tripod work more than stabilization.
How many megapixels is enough?
Twenty-four is enough for most work. Stitch if you need more.
What software matters most?
Lightroom, Photoshop, and any tool that helps you correct geometry cleanly and blend windows without halos.
Closing Thought
The gear matters. It just does not matter in the order most people think.
Straight verticals, calm windows, clean color, and believable contrast beat expensive bodies every single time. A sensible camera, a proper ultrawide, a sturdy tripod, and a disciplined workflow will make your work look far more expensive than the kit actually is.
Related
Architectural Photography
- Best Cameras and Lenses for Architectural Photography – Gear choices for sharp interior and exterior shots.
- Architectural Photography Guide: Tools, Tips & Techniques – Quick tips on gear, lighting, and framing.
Architectural Visualization & Rendering
- Architectural Presentation and Rendering: Tools, Techniques & Best Practices – Best practices for clean, clear design renders.
- Architectural Renderings Enhanced by AI: Revolutionizing Project Presentation and Communication – Using AI to upgrade architectural visuals.
Portfolios & Career Development
- Real Architecture Portfolios That Work (And Why) – Portfolio examples that attract attention.
- Interior Designer Portfolio Development: Tools, Tips, and Must-Haves – Essentials for showcasing design work effectively.
- Preparing an Impressive Architecture Portfolio for Architecture School Admission – Guidance for students building portfolios for school entry.