
Residential Lighting & Electrical Layout Basics for Homeowners
Most houses are wired the same way they were thirty years ago. One lonely ceiling light in the middle of the room. A couple of outlets wherever they happened to fit. Switches in weird places. Rooms that feel dim and flat in winter and blinding in summer.
A good residential lighting and electrical layout does the opposite. It treats light, power, and control as part of the architecture, not an afterthought. You decide what needs to happen in each space. Then you design light and power around that, with code rules and real-world maintenance in mind.
This hub walks through how to think about lighting and power as a system: from circuits and loads, to room-by-room lighting strategies, to how to actually draw and coordinate a reflected ceiling plan and power layout.
If you want a wider context while you read, pairing this with a space planning overview like this step-by-step space planning guide keeps the lighting decisions tied to furniture, circulation, and how the house will really be used.
How Residential Lighting Plans Work

Before talking circuits and code, you need one simple idea clear in your head. Light is not “one fixture in the middle.” Every room needs layers.
The Three Basic Layers of Residential Lighting
Ambient lighting. This is the background light that lets you move around safely and see the whole room. Ceiling fixtures, recessed cans, or a good grid of track or surface lights usually do this work.
Task lighting. Focused light where work actually happens. Over counters, at desks, above bathroom mirrors, beside reading chairs. If you miss this layer, people will end up working in their own shadows.
Accent lighting. Light that makes the room feel intentional. Wall washers, under-cabinet strips highlighting a backsplash, toe-kick lighting, or small spots to pick up art or texture. It is the difference between “room with lights” and “room that feels designed.”
A decent residential lighting layout starts by asking three blunt questions for each space:
What do people actually do in this room. Where in the room do they do it. How much control do they need over brightness and mood.
Once you have those answers, you can start placing fixtures, switches, and outlets in a way that respects the architecture.
If you are still getting comfortable reading and marking up reflected ceiling plans, a quick refresher on plans and symbols in this guide to reading drawings like a pro will make the layout work much easier.
Electrical Basics: Circuits, Loads, and Safety Devices
You do not need to be a master electrician. You do need enough electrical literacy to avoid dumb layout decisions and obvious overloads.
Circuit Basics
In simple terms, a residential electrical layout is a set of branch circuits feeding loads. Each circuit has:
A breaker in the panel. A cable run. A group of fixtures, switches, and outlets tied to that breaker.
Common residential circuits:
- 15 A lighting and receptacle circuits for general rooms.
- 20 A small-appliance circuits for kitchen counters.
- Dedicated circuits for big loads: oven, cooktop, dryer, EV charger, heat pump, some bathroom fans with heaters.
Lights do not pull the same current as big appliances, but they add up. When you design a lighting layout, you should at least know how many fixtures you are hanging off each circuit and what else is on that breaker.
Load and Wattage Basics
Older rules of thumb used watts per square foot. With LEDs, that has shifted, but a rough feel still helps:
- Living rooms and bedrooms: roughly 5–10 W per square metre of installed lighting, depending on how bright you want it.
- Kitchens and work areas: higher end of that range, plus strong task lighting over counters.
- Bathrooms: focused lighting at the mirror, softer ambient everywhere else.
On the electrical side, you do the math in amperes, not watts. Total fixture wattage ÷ voltage gives you current draw. You keep circuits below their allowed continuous load, with margin. The electrician and code book handle the exact numbers. Your job is not to create layout schemes that clearly overload one room while leaving others under-used.
GFCI, AFCI, and Wet Areas
Modern codes require protection devices where water and people meet wiring. Ground-fault and arc-fault breakers and outlets are not “nice extras.” They are mandatory in specific locations. That changes where you can put outlets, how you group them, and how you run circuits through baths, laundry, and exterior areas.
If you are not comfortable with code language yet, it is worth reading an accessible summary like this plain-language residential code breakdown before you lock in your layout. It will save you from designing things that get rejected at plan review or inspection.
Planning Lighting Room by Room
You do not “design lighting.” You design lighting for a kitchen, a hallway, a small kids’ bedroom, a deep living room. Each needs different tactics.
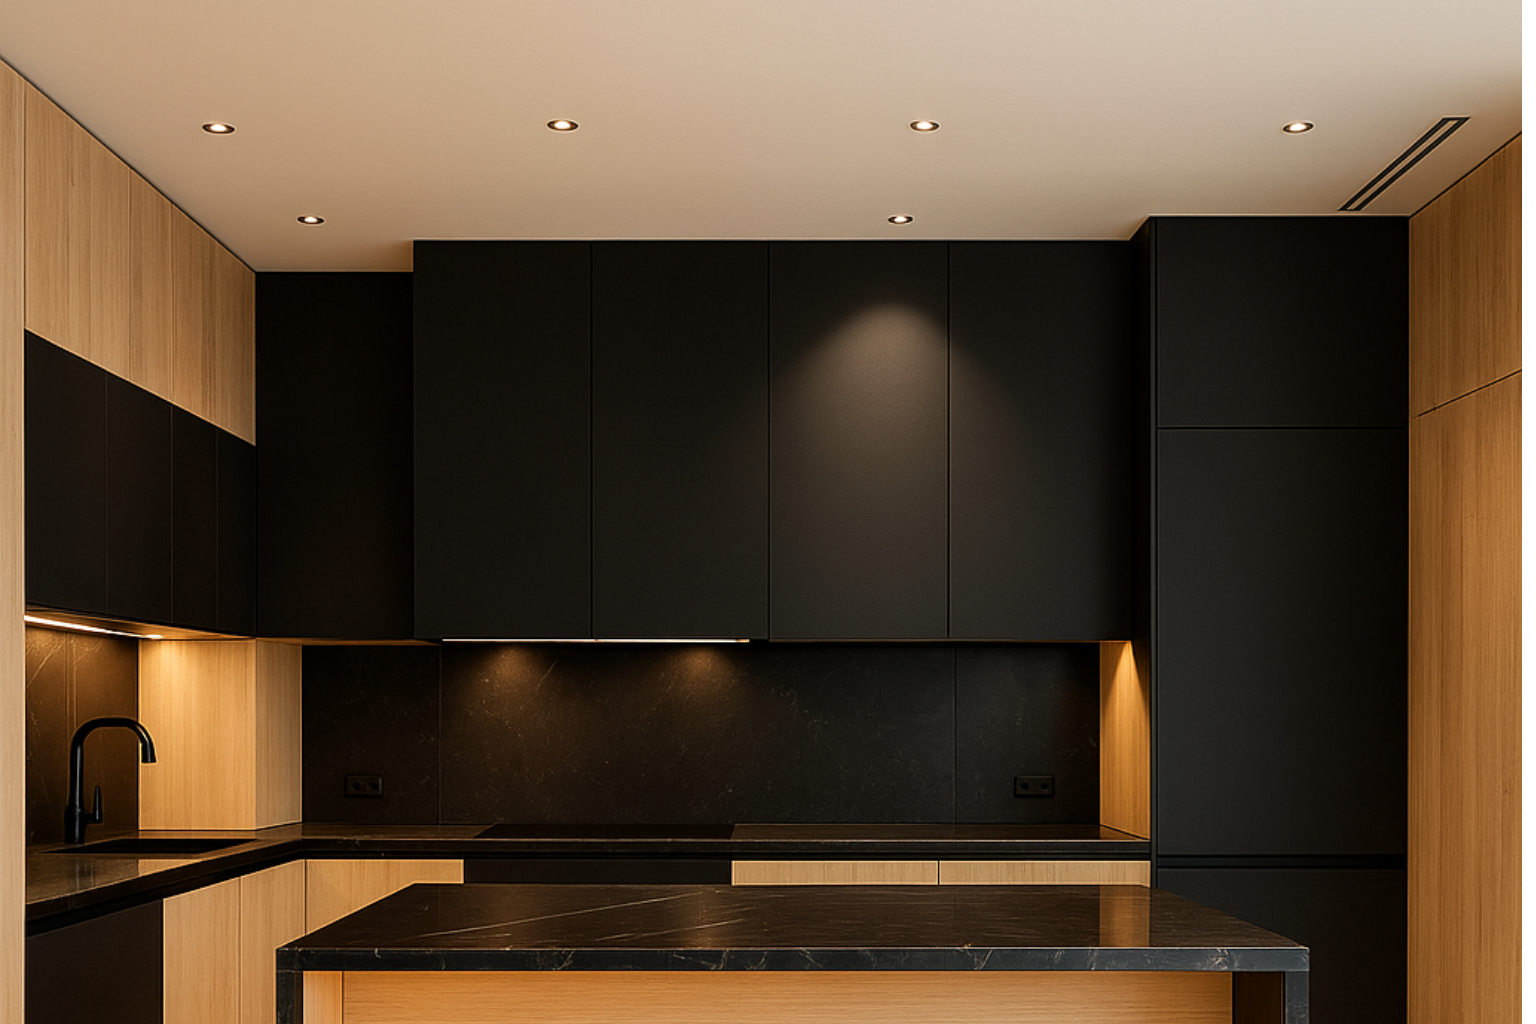
Kitchen Lighting and Power
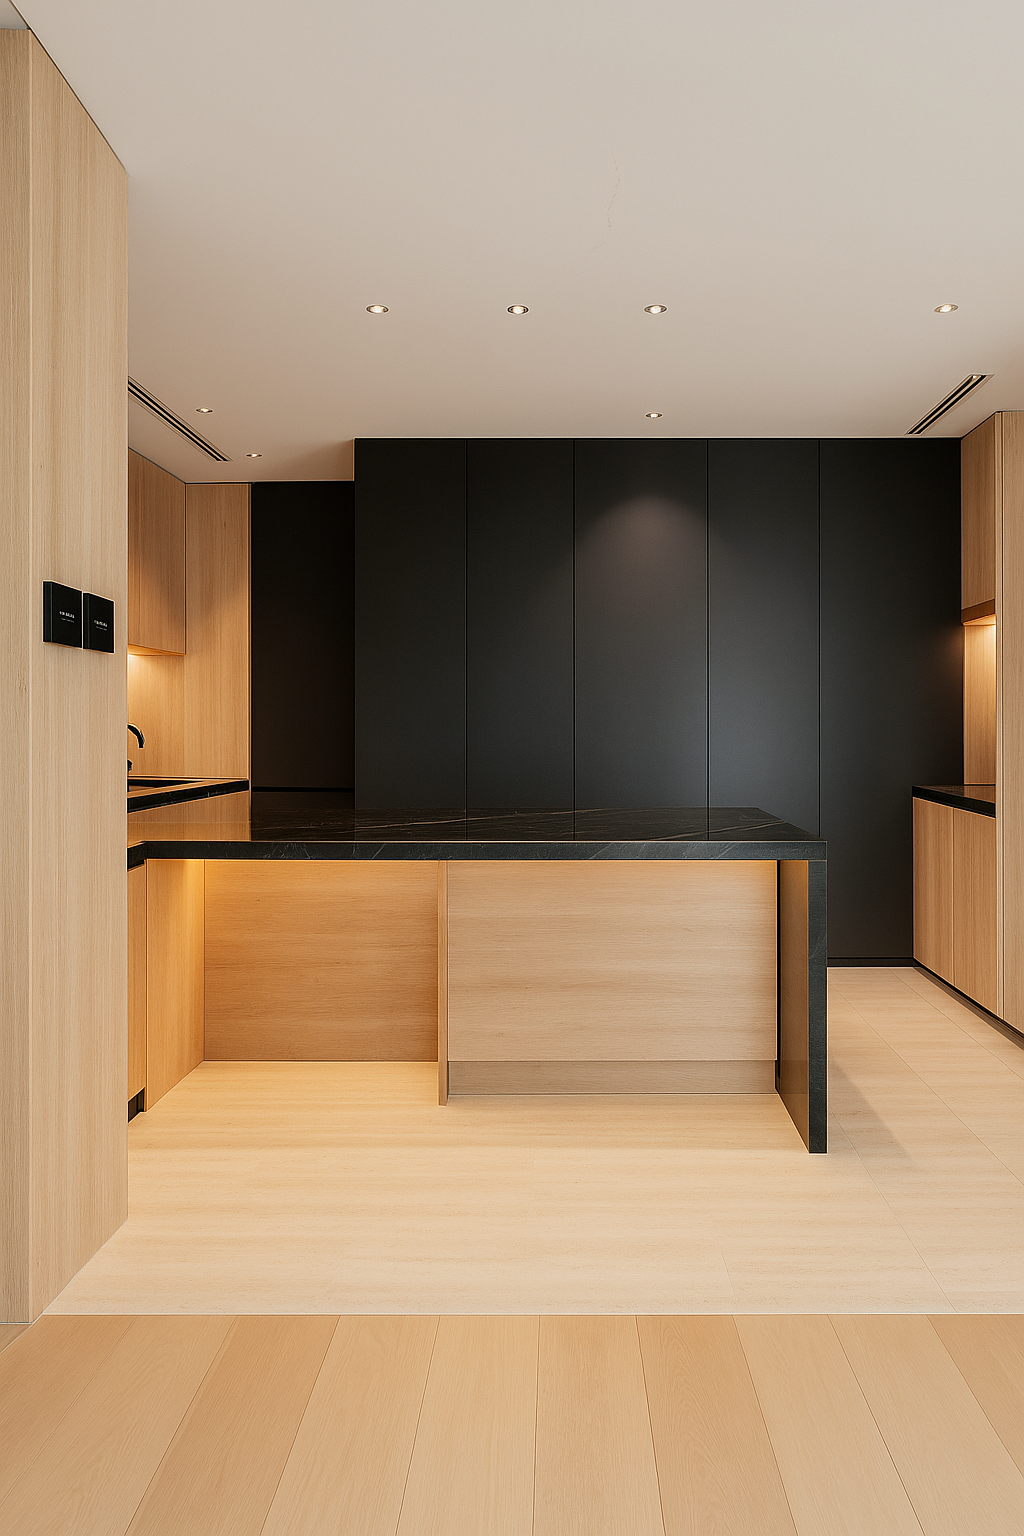
Kitchens are workspaces. Treat them that way.
- Ambient: a grid of recessed downlights or a combination of tracks and surface fixtures that give even background light.
- Task: continuous under-cabinet lighting over every main counter run. Island pendants or linear fixtures sized to the island, not the catalogue photo.
- Accent: toe-kick lighting, inside-cabinet strips for glass fronts, or a small spot on an open shelf. Not mandatory, but it makes the space feel intentional.
Electrical layout details that matter:
- Code-compliant spacing of countertop outlets, usually on dedicated 20 A circuits.
- Separate switching for island, under-cabinet, and general ceiling lighting, so people are not stuck with “all on or all off.”
- Clear dedicated circuits for big appliances. No improvising later.
Living Rooms and Family Rooms
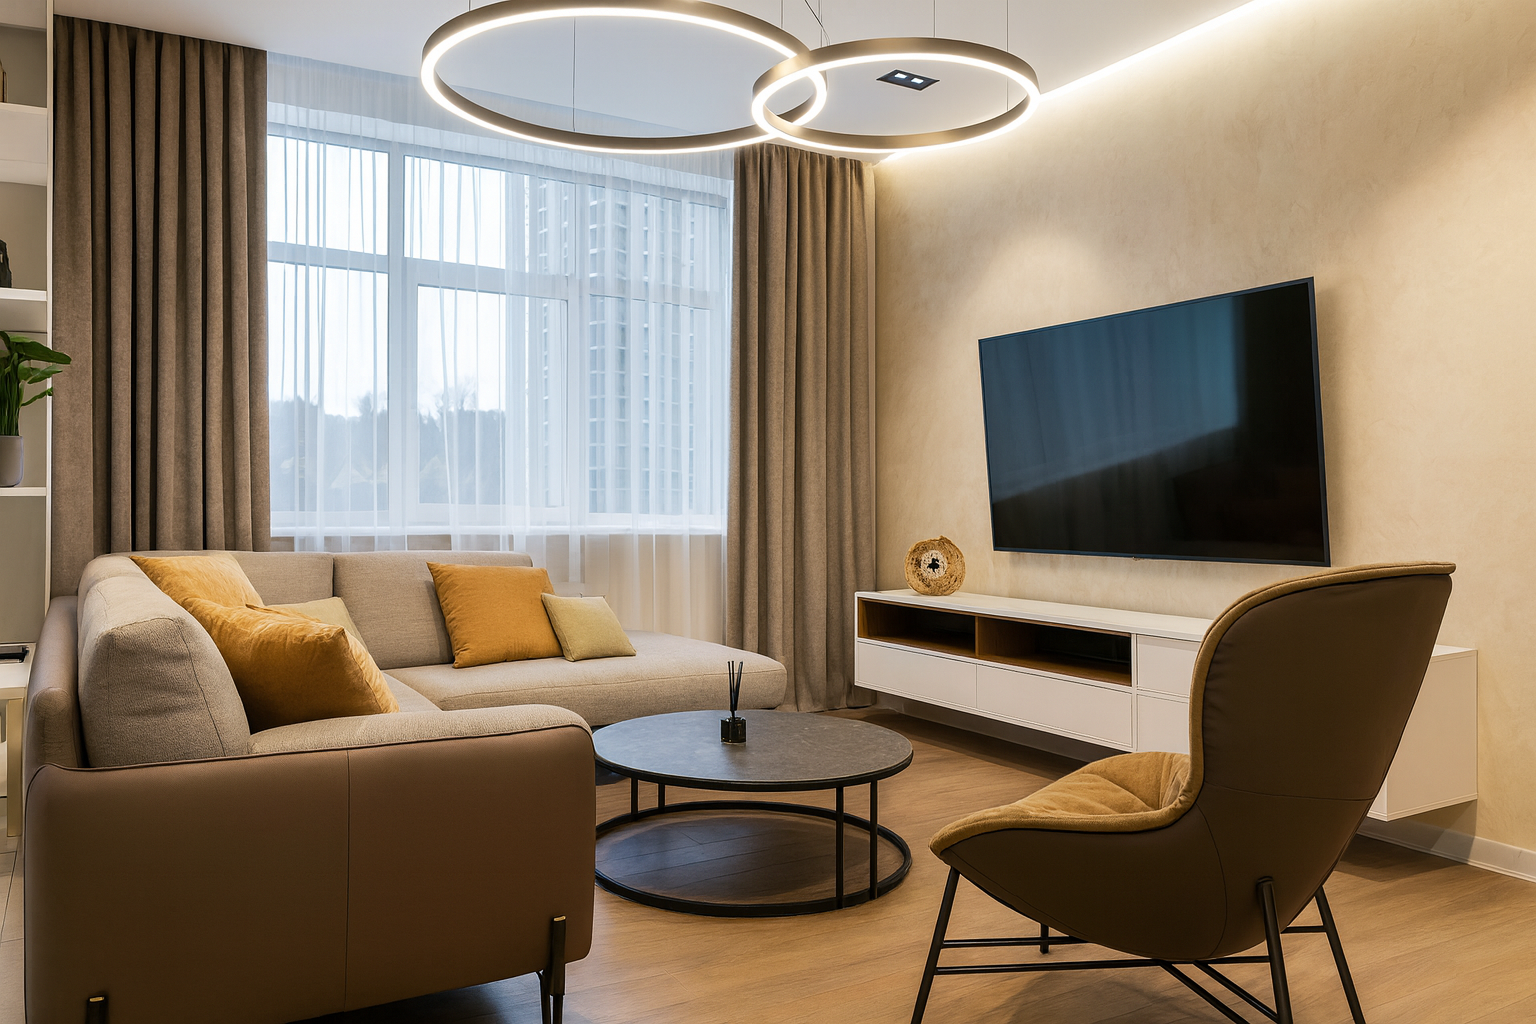
These rooms are often over-lit in the wrong way. You get a dozen recessed cans and nothing at human height.
Better approach:
- Basic ambient: fewer, better-placed ceiling fixtures. Sometimes a centre fixture plus a couple of wall lights works better than a full grid.
- Task: floor-level power and switching for floor and table lamps near seating. Reading corners should never rely on a far-away ceiling can.
- Accent: wall washers for art, linear lights behind media units, shelf lighting, or uplights tucked on top of tall furniture.
Think about where the TV is, where glare will hit the screen, and how people move through the room in the dark. Lighting and outlet layout should follow the furniture plan, not fight it. That is why lighting and power decisions work best when they are tied back to early space planning and furniture layouts, not added at the end.
Bedrooms
Bedrooms need soft, controllable light, not interrogation brightness.
- Switch the main light from the door and near the bed, if you can. No one wants to cross a dark room.
- Provide switched outlets or hard-wired sconces at each side of the bed for reading.
- Consider a separate circuit or control for closet lighting, especially in walk-ins.
In children’s rooms, think future use. Today it is a crib and a rocker. Tomorrow it is a desk, gaming setup, and storage. Plan extra outlets and dimmable lighting from the beginning.
Bathrooms
The most common mistake in bathrooms is one bright downlight over the basin, which throws shadows over your own face.
- Vanity lighting at face level, ideally on both sides of the mirror or in a vertical fixture that spreads light evenly.
- Ambient lighting from a central ceiling fixture or recessed lights.
- Shower lighting on a separate control. Avoid fixtures that are not rated for damp or wet locations.
Add a quiet fan on a timer or humidity sensor. Wiring and switching for that fan deserve the same attention as the lights. Bad ventilation beats good lighting in a fight every time; the room will still end up stained and tired if moisture is ignored.
Hallways, Stairs, and Basements
These are safety zones. You are designing for clear sightlines and safe movement.
- Hallways: even illumination, no dark patches. Often a series of small fixtures spaced so the light overlaps.
- Stairs: lighting from the side or above that does not create harsh shadows on the steps themselves. Switches at both top and bottom.
- Basements: generous ambient light, plus task lighting at workbenches, laundry, and storage areas. Avoid the “single bare bulb in the middle” approach.
In basements or additions, coordinate with structural and mechanical runs early. Beams, ducts, and pipes often limit fixture location and ceiling depth. Understanding those load paths and obstructions is easier if you have already walked through big-picture structure in resources like this structural analysis overview .
Outlets, Switches, and Controls: Getting the Layout Right
People notice bad switch and outlet layout every single day. They only notice good layout when it is missing. That tells you how important it is.
Switch Placement That Makes Sense
Basic rules that keep you out of trouble:
- Switches go on the latch side of doors, not behind them.
- Every major room should have a switch right where you enter.
- Rooms with multiple entries often need two-way or three-way switching. Do not make people cross a dark room to turn a light off.
For open-plan areas, think in “zones.” Kitchen, dining, and living might all share one large space but need separate switching. Group fixtures in a way that matches how the space will be used: cooking, eating, watching, circulation.
Outlet Layout That Matches Real Life
Code gives minimum spacing. Real life needs more in some spots and less in others.
- Avoid long wall runs with no outlets, especially behind likely furniture locations.
- Add floor outlets in large rooms where seating floats in the middle.
- Plan specific outlets for high-draw loads: space heaters, window AC units in older homes, treadmills, or home offices.
Exterior outlets matter too. They need to be weather-protected, GFCI-protected, and in logical locations for tools, holiday lights, and equipment.
Dimming and Smart Controls
Dimmers are not luxury. They are basic comfort. Almost every main living space and bedroom benefits from at least one dimmable lighting circuit.
Smart lighting and control systems can add scenes, scheduling, and remote control. They also add complexity. If you specify them, think about:
- How easy it is for guests and future owners to use basic functions.
- What happens when a hub or app is no longer supported.
- Which circuits truly benefit from “smart” functions and which just need a good old-fashioned switch.
How to Draw a Residential Lighting & Electrical Layout
At some point you have to get out of your head and onto paper, or onto a screen. The electrician cannot read your mind. They need a clear reflected ceiling plan and a power plan with symbols that mean something.
Reflected Ceiling Plan Basics
A reflected ceiling plan (RCP) shows the ceiling as if it were a mirror of the floor. You mark:
- Location and type of each light fixture.
- Ceiling heights and soffits.
- Switching, often with tags or codes that tie fixtures to switches.
On a separate power plan, you show outlets, dedicated circuits, and sometimes the circuiting itself if the project needs that level of clarity.
To make this work, you need a clear symbol language. If that is still fuzzy, it is worth reviewing the basics in this guide to architectural drawing symbols so your lighting and electrical symbols match standard practice.
Coordinating With Plans, Sections, and Interior Elevations
A lighting layout that ignores cabinetry, beams, windows, and door swings will look clever on paper and dumb on site. Coordination is not optional.
- Check every pendant and ceiling fixture against door swings and tall cabinets in plan and elevation.
- Check recessed lighting and bulkheads against joist directions and beams in section.
- Align outlets and switches with trim lines and furniture where possible, not randomly.
A good habit is to walk the house mentally in plan, then again in section, then again “as built.” Imagine where your hand reaches for a switch, where your eye goes, where shadows will fall.
Tying Lighting and Power to the Rest of the House
Lighting and power cannot live in their own bubble. They sit inside structure, HVAC, cabinetry, and finishes. Good layouts respect all of that.
Structure and Joists
Joists, beams, and load-bearing elements limit where you can run cables and fit recessed fixtures. Deep cans and big junction boxes will not fit nicely into every skinny cavity.
You do not need to calculate bending moments. You do need to know which walls and zones are structural, and where it is safe to drill and notch. This is where a basic understanding of load paths, from something like this structural design primer , pays off even in a lighting conversation.
HVAC, Ducts, and Recessed Lighting
Duct runs eat ceiling space. Recessed lights and ductwork often want the same real estate. If you design a tight grid of recessed cans without checking duct routes, someone on site will be forced to move or delete lights.
In low ceilings or heavily ducted zones, consider surface or semi-recessed fixtures instead of fighting for every millimetre. Surface tracks or linear fixtures can look deliberate and save the trades a lot of grief.
Cabinetry, Built-ins, and Finishes
Final finishes change how light behaves. Dark surfaces absorb light and need more output or closer spacing. Glossy tiles throw reflections that can be harsh if downlights are placed badly. Built-in shelves, niches, and window seats give you chances for integrated lighting that feels custom, not tacked on.
Common Mistakes in Residential Lighting & Electrical Layout
There are patterns that show up again and again. Spotting them early will save you callbacks and complaints.
One Fixture Syndrome
A single central fixture in a kitchen, long hallway, or large room almost never works. Corners go dark. Work zones end up in shadow. People drag in plug-in lamps to fix what the base build should have solved.
Over-Reliance on Recessed Cans
Recessed lighting is useful. It is not the only tool. When every room is a grid of cans, you get flat light with no texture and no hierarchy. It also drives up cost and coordination work.
Bad Switch Logic
Switches behind doors. No three-way control in long spaces. Overloaded switch banks with six tiny toggles and no labeling. These are all layout problems, not “owner problems.”
Ignoring Future Loads
Modern houses inherit more loads every year. EV chargers, heat pumps, home offices, hobby tools. A layout that barely meets today’s demand will feel cramped in five years. Leave headroom in panel capacity and make future routes and panels part of the design conversation, not a messy retrofit.
For more detail on fixture selection, see: How to Choose Light Fixtures for Your Home: A Room-by-Room Playbook.
Working With Electricians and Contractors
A beautiful lighting plan on paper still has to be built. The quality of the installation will depend heavily on clarity and respect between designer, owner, and electrician.
What To Give the Electrician
At minimum:
- Reflected ceiling plan with fixture types and counts clearly keyed.
- Power plan with outlet locations, dedicated circuits, and any special loads noted.
- Schedule listing each fixture with basic specs, control type, and any dimming requirements.
- Notes on dimming, smart controls, and any future-proofing you want (empty conduits, spare breakers, or panel space).
If you hand over vague markups and a few catalogue pages, do not be surprised when site decisions get made on the fly.
What To Ask During Bidding and Walkthroughs
Questions that separate a careful electrician from a bare-minimum one:
- How do you handle mixing dimmers and LED loads to avoid flicker.
- What is your approach to grouping circuits for large open-plan spaces.
- How do you coordinate recessed lighting with joists and ducts so we do not lose fixtures during rough-in.
Treat the lighting and electrical scope like any other part of the house. Clear drawings. Clear expectations. Space for changes when site conditions push back.
Lighting Math No One Tells Homeowners (Why Your Rooms Still Feel Dim)
Most houses are wired like this: “throw four pot lights in the corners and call it a day.” On paper, that looks “lit.” In real life, you end up with bright spots on the floor, shadows on faces, and a living room that somehow feels gloomy even with everything switched on.
The problem is simple: almost no one does the basic lighting math. A few numbers change everything.
Step 1 – Stop Thinking in Fixtures, Start Thinking in Lumens
Rooms do not need “four lights.” They need a certain amount of light on surfaces where people actually live and work. That is measured in lux (lumens per square metre) or in rough shorthand as lumens per room.
As a field rule of thumb for modern LED homes:
- Living room / bedrooms: ~100–150 lux (soft, comfortable).
- Kitchens and worktops: ~300–500 lux at the counter.
- Bathrooms / vanity: ~300 lux on faces, not just the floor.
- Hallways / circulation: ~75–100 lux (safe but calm).
Example: a 15 m² living room at 150 lux needs about 2,250 lumens total. Two 800-lumen LED ceiling fixtures give ~1,600 lumens. On paper, that is “two good lights.” In reality, the room will always feel slightly flat and underlit unless you add lamps or wall lights.
Step 2 – The Spacing Rule That Kills Shadowy Rooms
Recessed downlights are where most people go wrong. They look clean on a plan, but if you space them too far apart, you get bright circles under each fitting and a dull mid-zone where people actually sit and work.
A simple working rule for recessed lighting:
Maximum spacing ≈ 1.0–1.5 × ceiling height (in metres).
For a 2.4 m ceiling, that means roughly 2.4–3.6 m between fixtures, centre-to-centre, in both directions. Go wider than that and you will see scallops and dark strips. Go tighter in task zones like kitchen counters.
Another rule that almost no one mentions: First row of downlights should sit roughly half the spacing dimension away from the wall, not right at the wall. That is how you wash the wall evenly instead of creating a bright stripe at the top and a dead zone at eye height.
Step 3 – Why “Centre of the Room” Is Usually the Worst Place for a Light
Look at most basic electrical layouts: one big fixture or fan in the middle, maybe a few downlights, and that is it. The problem is that people do not live in the centre of rooms. They live at couches, counters, desks, beds, and sinks.
- In a living room, a single central fixture puts the brightest patch in the walking zone while the sofa sits in a dull side pool. That is why you end up dragging in floor lamps later.
- In a bedroom, a central fixture lights the middle of the room but leaves wardrobes and bedside reading in shadow.
- In a kitchen, a central “feature” light often puts your head between the light and the counter, so you work in your own shadow.
The field fix is boring but effective: plan lights to follow activity zones, not just geometry. A clean floor plan plus a simple lighting overlay — like you would do in a basic house planning pass — will show exactly where light is actually needed.
Step 4 – Circuits, Not Just Lights: How Many Things Share a Breaker?
A room can “look” fine on paper but still be badly wired behind the scenes. That shows up the first time someone makes coffee, toasts bread, and runs the microwave and suddenly the lights blink or the breaker trips.
A few practical truths:
- Lights and receptacles do not have to share circuits. Separating them keeps you from standing in the dark when a plug load trips.
- Kitchens usually deserve multiple small-appliance circuits. Kettle, toaster, coffee machine, microwave, and an air fryer can easily overload a single run.
- Long narrow rooms and big open-plan spaces often need more than one lighting circuit. That way you are not stuck with “all on” or “all off” — you can light zones.
A good electrical layout is not just about meeting code minimums. It is about never thinking about which breaker you might trip when you plug in one more thing.
Step 5 – Why “Future You” Needs Empty Capacity Now
Most panels are sized for today’s obvious loads: oven, cooktop, dryer, HVAC. Then real life happens. You add a heat pump. Or a workshop. Or an EV charger. Or a sauna. Suddenly, the panel that “met code” is boxed in with no room to grow.
Smart planning now:
- Leaves spare breaker spaces and capacity for future big loads.
- Runs a conduit or raceway to obvious future spots (garage wall, workshop corner, mechanical room).
- Avoids stuffing every spare space with marginal circuits for cheap convenience outlets.
Lighting and electrical layout is not just about today’s lamps and outlets. It is about building a backbone that does not need surgery every time you add a new appliance or technology. Think of it the same way you think about structure: design once, then let it quietly carry extra load for years.
Energy-Efficient and Future-Proof Lighting
Energy codes and operating costs are not going to get looser. You might as well design for efficiency now.
LED as the Default
At this point, LED should be your baseline. It reduces heat, cuts load, and opens up more flexibility in circuit design. The catch:
- Stay with known manufacturers for drivers and lamps. Cheap LED can flicker, fail early, or dim poorly.
- Match dimmers and fixtures. Read compatibility lists, do not guess.
- Think about replacement. Integrated LED fixtures look clean but can be painful if they fail early.
Controls and Daylight
Simple occupancy sensors and daylight dimming can pay for themselves in the right spaces. Garages, pantries, storage rooms, and utility spaces are ideal for automatic shutoff. Rooms with big windows benefit from dimming and zoning so artificial light can step back when daylight does the work.
If you are working within a broader sustainable design strategy, the lighting and electrical layout should sit alongside green building moves like orientation, shading, and envelope efficiency. High-level ideas in this green architecture principles overview are a good backdrop for those choices.
Planning for Upgrades
Leave capacity in the panel. Leave empty conduit routes where you can. Keep the layout logical enough that someone else can understand it in ten years. Future-proofing is mostly about not painting yourself into a corner with undersized panels and chaotic circuit groupings.
FAQ
Do I really need a lighting plan, or can the electrician just “put lights where they make sense”?
You can let the electrician improvise. You will get code-compliant wiring and lights in the ceiling. You probably will not get a layout that respects furniture, views, or how the house will actually be lived in. A simple plan that shows fixture locations, switching, and outlet strategy gives the electrician a clear starting point and still lets them adjust for framing and site conditions.
How many lighting circuits does a typical house need?
There is no single number. A small apartment might get by with a handful of lighting circuits. A large house might need separate circuits for each floor or zone, plus dedicated ones for exterior lighting, specialty spaces, and feature areas. The key is grouping by use and load. Avoid dumping an entire floor of lighting on one breaker just because you can on paper.
What is the biggest mistake people make with kitchen lighting?
Relying on one overhead fixture or a grid of downlights and ignoring task lighting. Counters need consistent light from the front, not just a bright patch behind your head. Continuous under-cabinet lighting and a properly sized island fixture solve most kitchen complaints long before you start talking about accent lights.
How close can lights and outlets get to a bathtub or shower?
This is where code rules are strict. Fixtures in or near wet zones must be rated for damp or wet locations. Outlets near sinks and tubs must be GFCI-protected and set back according to your local code. Exact distances vary by jurisdiction, so this is not guesswork. Check the local electrical code or work with a licensed electrician and use an accessible code summary as a guide, not as the final word.
Are ceiling fans a problem in lighting layouts?
Ceiling fans compete with lights for prime ceiling space. They are not a problem if you plan for them. Make sure the junction boxes are fan-rated, that blades clear lights and beams, and that the fan location still leaves room for other lighting where you need it. In low ceilings, choose compact fans and consider wall or floor lighting to supplement.
Do new houses still get settling cracks around lights and outlets?
Yes. New builds move as framing dries and foundations settle. Small cracks at ceiling joints and hairline cracks near outlet plates can be normal in the first year or two. The concern is cracks that widen, follow diagonal lines through walls and ceilings, or show up alongside doors and windows that go out of square. Those patterns point more to movement in structure than to simple drying.
Is it worth upgrading old halogen and incandescent fixtures to LED?
In most cases, yes. You reduce heat, cut power use, and free up capacity on existing circuits. The catch is quality. Choose compatible lamps and dimmers, and do not mix a dozen different colour temperatures in one small house. A clean, consistent light quality matters more than chasing every last lumen per watt on paper.
References & Useful Links
- Illuminating Engineering Society (IES) — Recommended practices and technical info for lighting design.
- NFPA 70 National Electrical Code (NEC) — Core electrical safety and installation rules used or adapted in many regions.
- U.S. Department of Energy — Basic guidance on efficient lighting choices for homes.
- Space Planning Essentials — How to align lighting and electrical decisions with furniture and circulation.
- Architectural Drawing Symbols — Standard symbols for lighting, power, and other plan elements.
- Residential Building Codes Simplified — Plain-English summary of code rules that affect lighting and power layouts.