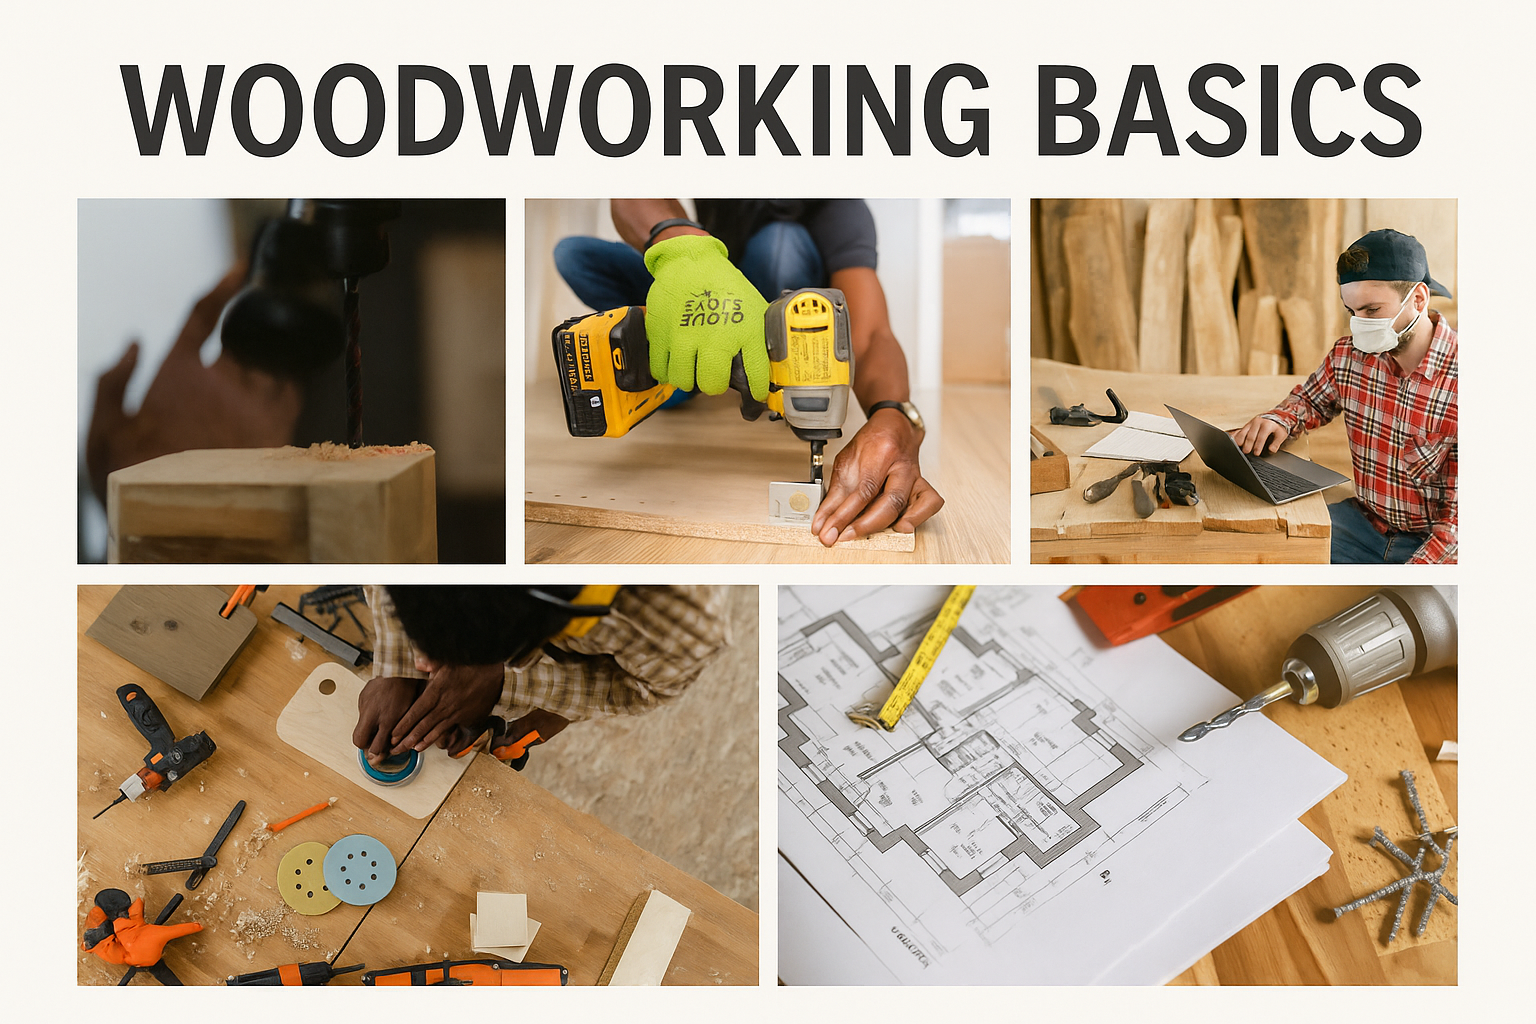
Getting Started with Woodworking: Tools, Tips, and Simple Builds
Woodworking looks simple until a board twists, a cut wanders, or a shelf ends up out of square. Most beginner problems start earlier than that. Wrong wood. Bad layout. Dull blade. Loose workpiece. By the time assembly starts, the mistake is already built in.
Start smaller. Learn how wood moves. Learn to mark from one reference edge. Learn a few tools well instead of buying a pile you barely know how to use. Learn a couple of joints that fit and hold. Sand cleanly. Finish with patience. That is enough to build real skill.
If you are still figuring out materials, start with Choosing the Right Wood for a Project. If the part tripping you up is movement, hardness, or durability, go next to Wood Properties and Uses.
Woodworking starts with a few basic tools, some patience, and enough repetition to make the material feel familiar.
Why Learn It by Hand
Woodworking still matters because wood still shows up everywhere: shelves, cabinets, stairs, trim, benches, tables, boxes, built-ins, and repairs. It also teaches things that are hard to fake. You learn fit. You learn tolerance. You learn fast that a line can be off by almost nothing and still ruin the joint.
It also sharpens design judgment. Drawings look different once you have had to square a box, clean up a sloppy edge, or deal with a board that moved overnight. That kind of experience carries over into architecture, renovation, and basic building work.
Start With Wood
Before tools, there is wood. Beginners rush past that and then wonder why one project stays flat while another cups, twists, or splits.

Image by ArchitectureCourses.org. Grain, density, and moisture behavior decide a lot before the first joint is cut.
Hardwood and Softwood
Hardwoods such as oak, maple, and walnut usually make more sense where wear, edge quality, and visible finish matter. Furniture, cabinet faces, benches, and better shelves often land here.
Softwoods such as pine, fir, and cedar are easier to cut, easier on the wallet, and common in framing, trim, shop projects, and first builds. That does not make them inferior. It makes them better for certain jobs.
For many beginners, pine or poplar is the smarter place to start. Bad cuts cost less. Practice feels less expensive. You learn faster when every mistake does not burn through premium stock.
Grain Matters More Than People Think
Straight grain is easier to cut, easier to plane, and easier to finish cleanly. Wavy or interlocked grain can look better, but it also tears out more easily and shows sloppy tool work faster. Start with cleaner, straighter boards. Save the dramatic stuff for later.
Wood Moves
Wood expands in humidity and shrinks in dry air. That is normal. Wide boards, doors, panels, and tabletops all need room for that movement. If you build too tight or glue everything too rigidly, joints open later, panels crack, and boards warp.
Let the wood sit in the shop or room before you build with it. Keep it flat. Keep it off damp concrete. Give it time to settle.
| Wood Type | Good First Uses | Why It Works | Use Caution When |
|---|---|---|---|
| Pine | Practice projects, shelves, utility furniture | Cheap, easy to cut, easy to find | You need a hard, dent-resistant surface |
| Poplar | Painted builds, shop projects, interior parts | Stable, easy to machine, good for paint | You want dramatic grain or outdoor durability |
| Oak | Furniture, benches, tabletops | Strong, durable, attractive grain | You want a quiet, smooth grain pattern |
| Maple | Work surfaces, cabinets, furniture | Hard, smooth, durable | You want an easy stain job without blotching risk |
| Cedar | Outdoor boxes, planters, light outdoor furniture | Natural decay resistance | You need a hard structural surface |
| Plywood | Cabinets, boxes, shop storage, jigs | Stable, strong, efficient in sheet form | You need exposed solid-wood edges |
Basic Tools That Do Real Work
You do not need a dream shop to begin. You need a small set of tools that let you measure, cut, drill, clamp, and clean up mistakes without fighting junk equipment.
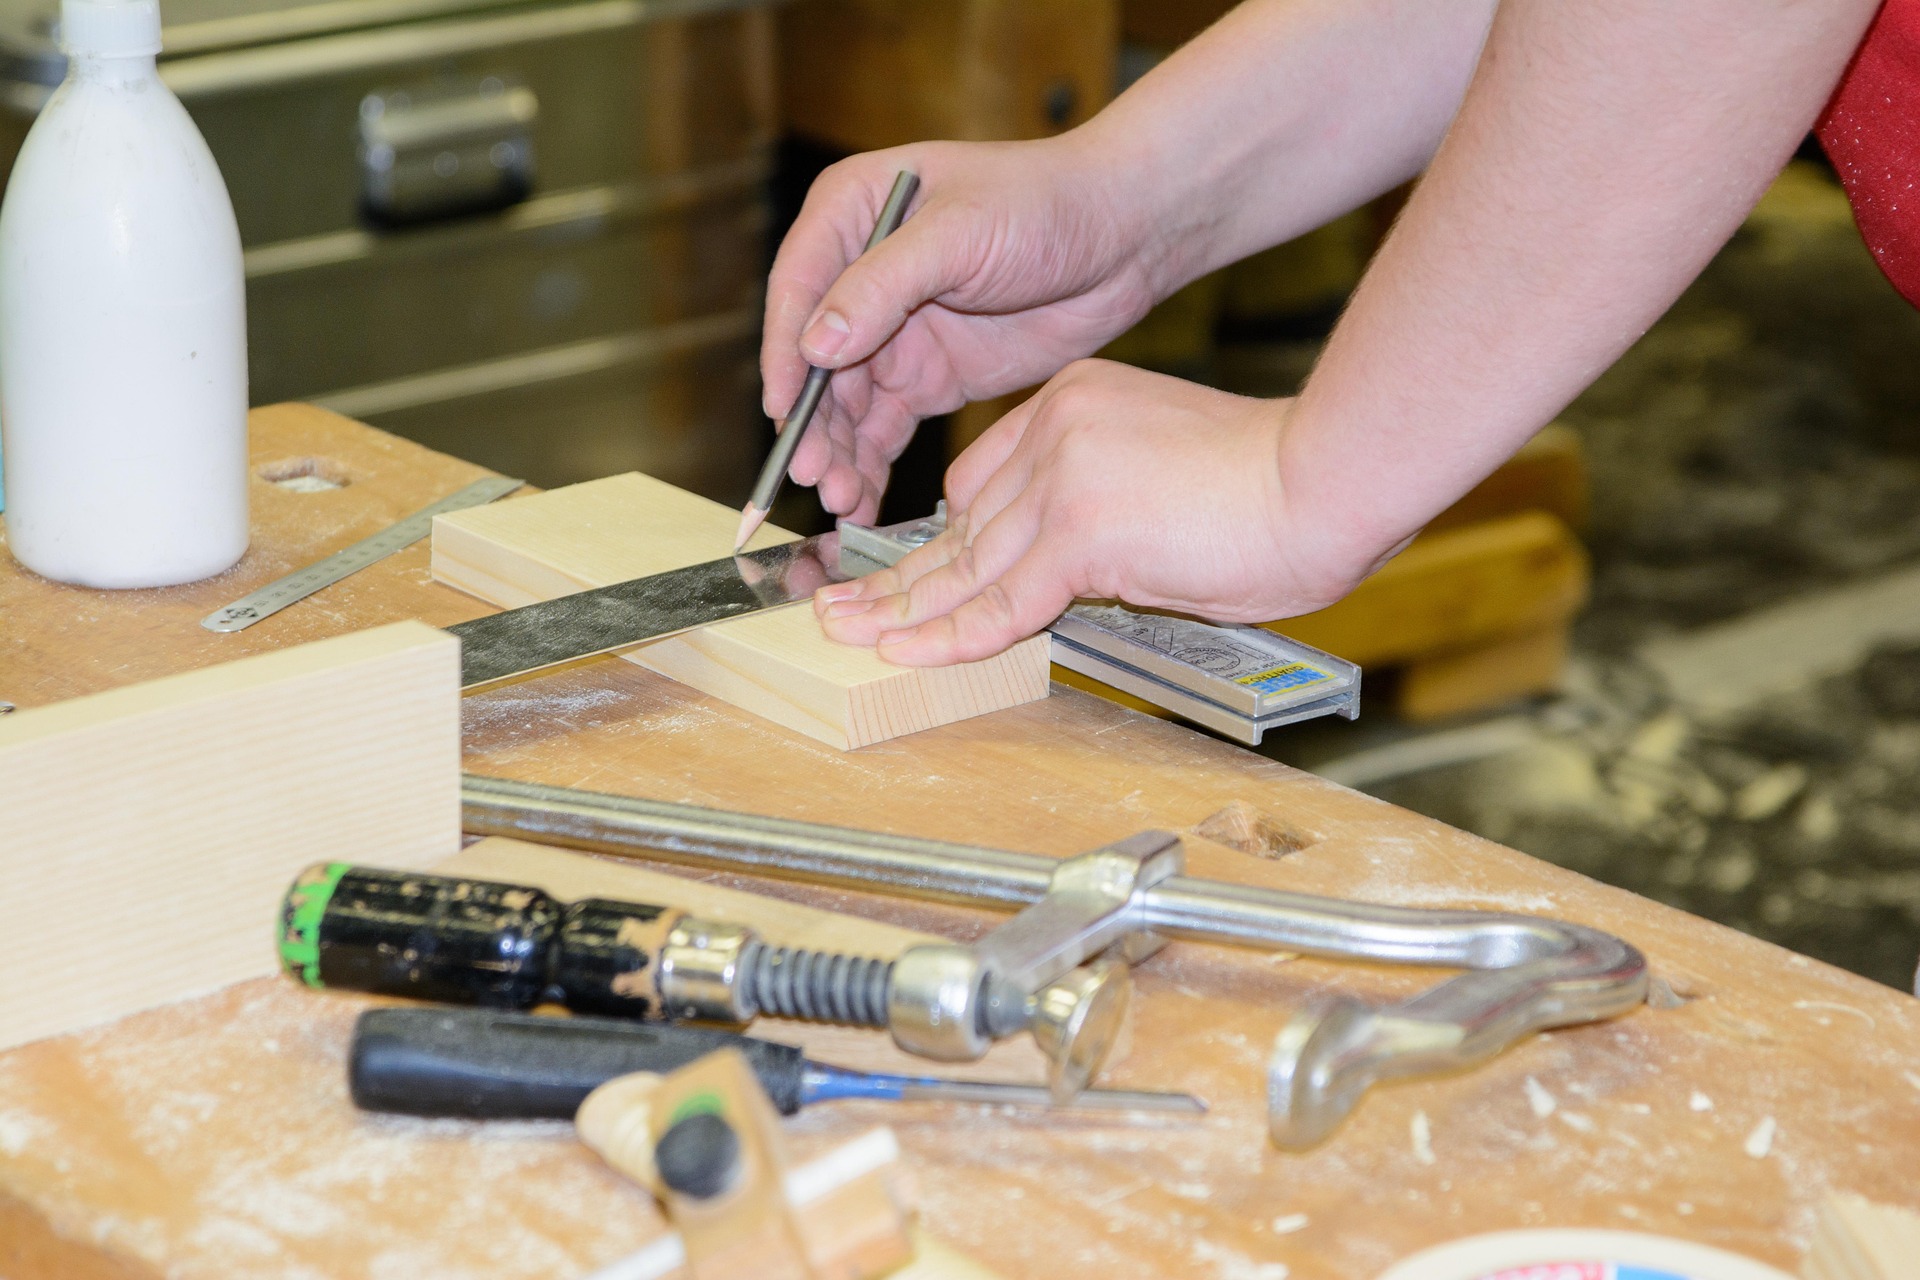
Image by ArchitectureCourses.org. Hand tools slow the work down in a good way and teach control before speed takes over.
Hand Tools First
Hand tools teach feel. They teach grain direction. They teach how much pressure is too much. A beginner who learns to saw, chisel, plane, and mark accurately will use power tools better later.
- Handsaw: enough for rough cuts and basic site work.
- Backsaw or pull saw: better for cleaner, more controlled cuts.
- Chisels: start with a small set and keep them sharp.
- Block plane: one of the most useful small tools in the shop.
- Hammer and screwdrivers: still necessary.
- Combination square and tape measure: layout starts here.
- Clamps: more important than beginners expect.
First Power Tools
A drill/driver is the first real step up. After that, a circular saw and an orbital sander cover a surprising amount of work. A jigsaw is useful once projects need curves or cutouts.
A table saw, miter saw, router, and drill press can come later. They are useful. They are not the entry fee.
| Category | Start With | Why |
|---|---|---|
| Measuring and layout | Tape measure, combination square, pencil, straightedge | Bad layout ruins every step after it |
| Cutting | Handsaw, pull saw, circular saw | Covers rough cuts and basic project work |
| Joinery and cleanup | Chisels, block plane, drill/driver | Lets you fit, adjust, and assemble accurately |
| Surface prep | Orbital sander, sanding block | Clean surfaces matter more than people expect |
| Holding and assembly | Clamps, wood glue, screw set | You cannot build cleanly if parts keep moving |
| Safety | Safety glasses, hearing protection, dust mask or respirator | Do not build bad habits into the routine |
Measure and Mark Before You Cut
A lot of beginner trouble is layout trouble. The cut gets blamed, but the line was wrong from the start.
Work from one reference edge instead of bouncing from side to side. Mark with a square when the cut needs to be square. Account for blade kerf so you do not cut on the wrong side of the line. If you need repeat cuts, clamp a stop block and stop remeasuring the same part over and over.
One more thing: use the same tape measure through the whole project. Tiny differences between tapes are enough to make assemblies drift out of square.
Safety and Setup
Most beginner injuries are not dramatic. They come from rushed cuts, bad support, dull tools, weak lighting, and the habit of thinking one unsafe move will be fine just this once.
Set up the cut before you turn the tool on. Support long boards. Clamp small parts. Use sharp blades. Wear eye protection every time. Use hearing protection around the loud tools. Wear a respirator when sanding fine dust or cutting sheet goods.
A first-aid kit and a clear exit path sound boring until you need them.
You Can Start Without a Full Shop
A garage helps. A basement helps. A shed helps. But a beginner can still do real work with a folding table, a pair of sawhorses, decent light, and some way to control dust.

Image by ArchitectureCourses.org. A workable setup matters more than a perfect one. Good light, clear surfaces, and safe tool storage solve a lot early.
What the Space Needs
- Enough room to move material safely.
- Good light over the bench and cutting area.
- Power where cords do not become a trip hazard.
- Dust control, even if it is just a shop vac and airflow.
- Tool storage that keeps edges dry and easy to find.
Do not overbuild storage before you know your routine. A wall rack, a toolbox, and one clean work surface are enough at the beginning.
Joints Worth Learning First
Joinery is where woodworking stops being cutting practice and starts becoming building. You do not need every classic joint at once. You need a few reliable ones, cut cleanly, and used where they make sense.
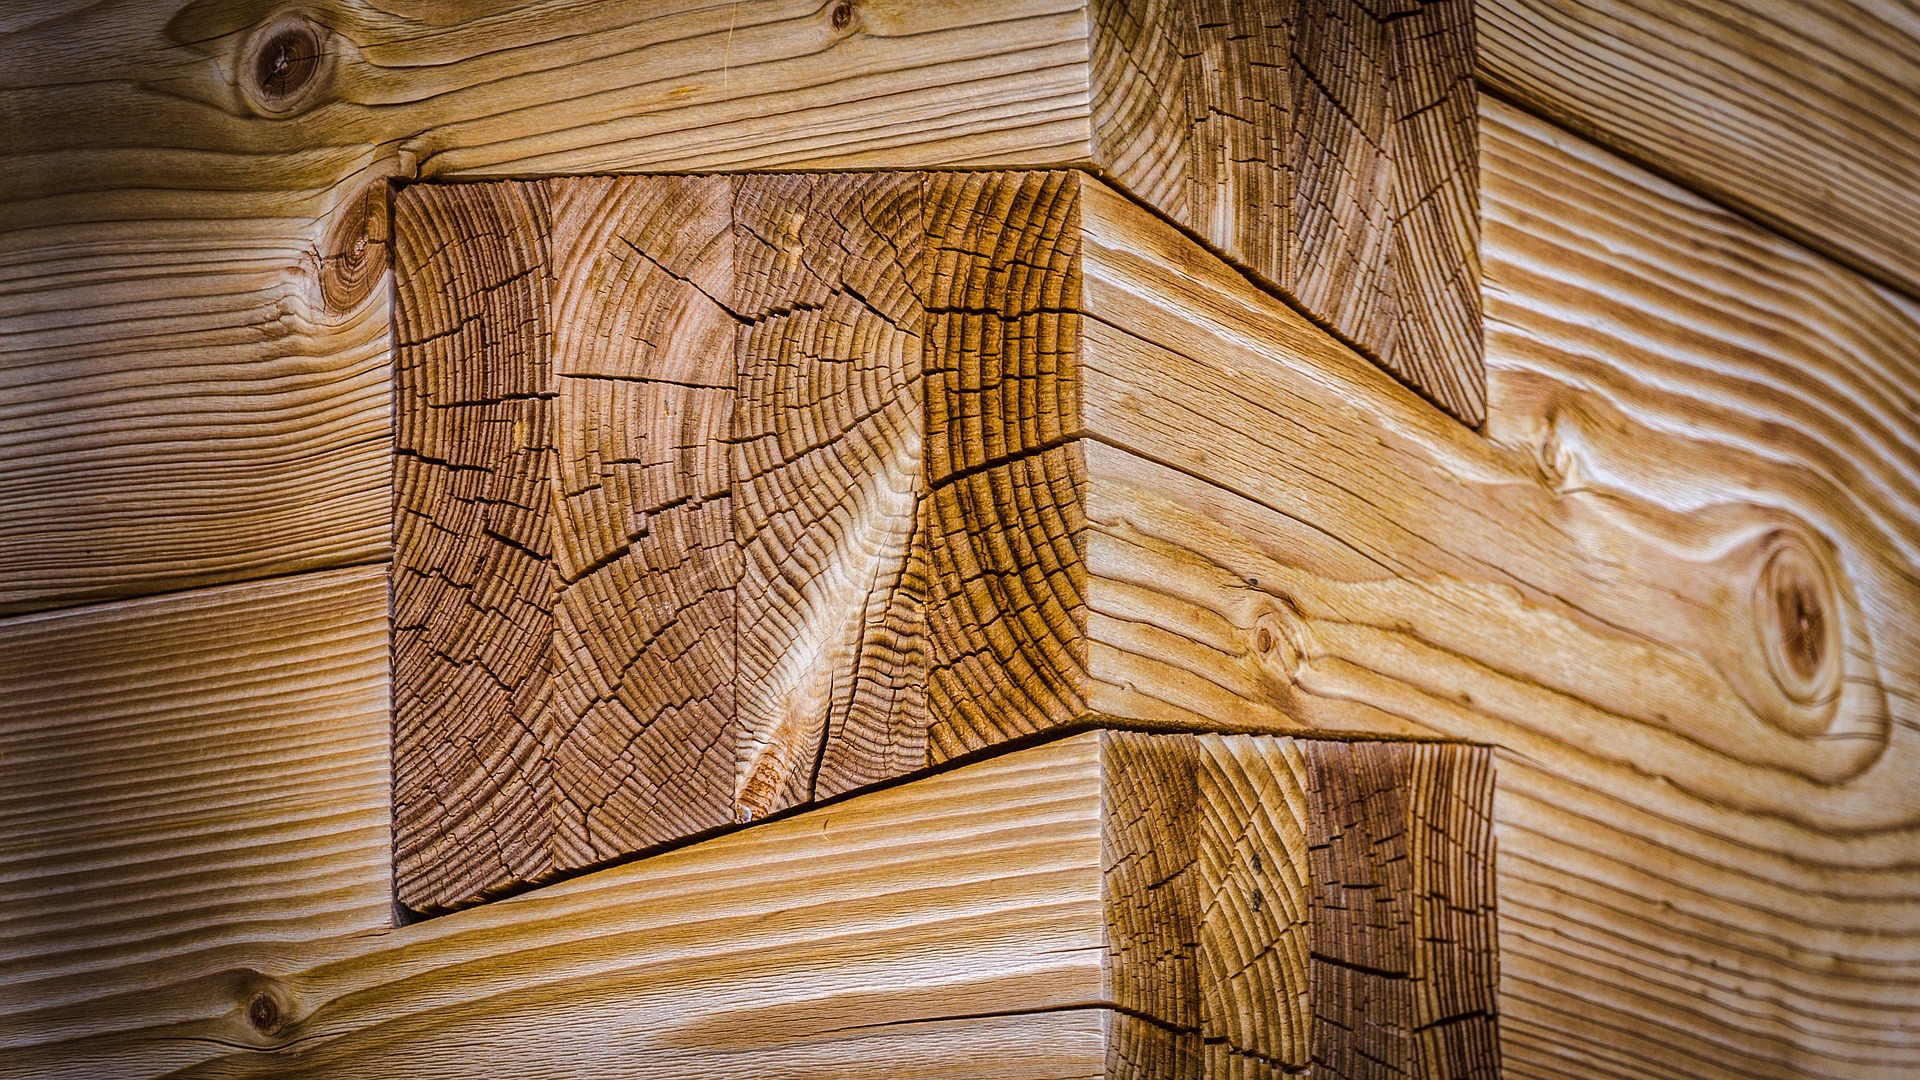
Image by ArchitectureCourses.org. Good joinery comes from choosing the right connection for the load, the material, and the way the piece will move.
| Joint | Good For | Why Beginners Use It | Watch Out For |
|---|---|---|---|
| Butt joint | Simple boxes, utility builds, practice work | Fast and easy to understand | Weak unless reinforced |
| Lap joint | Frames, light furniture, simple tables | More glue area and better strength | Needs careful layout |
| Pocket-hole joint | Shelves, cabinets, hidden framing | Fast and forgiving | Not ideal where the joinery should be visible |
| Dado or rabbet | Bookcases, cabinet boxes, backs and shelves | Helps alignment and adds strength | Needs accurate depth and spacing |
| Dowel joint | Clean-faced furniture and panels | Stronger and cleaner than a plain butt joint | Alignment has to be precise |
Dry-fit everything before glue. That one habit saves a lot of frustration. So does labeling parts before assembly. Pieces that look obvious on the bench stop looking obvious once glue and clamps enter the picture.
Sand the Piece You Built, Not the One You Imagined
Beginners often think the hard part is cutting and assembly. Then they rush the sanding and finishing and wonder why the project still looks rough. Surface work decides a lot of the final impression.
Sanding
Start coarse only when you need to remove saw marks or flatten rough stock. Then work up through finer grits. Do not skip half the sequence just because the surface already looks close. The scratches show up later, especially under finish.
- 80 to 100 grit for rough cleanup
- 120 to 150 grit for flattening and prep
- 180 to 220 grit for final surface work
Sand with the grain on the last passes. Clean dust between grits. Hand-sand edges and visible spots even if the orbital sander did most of the work.
Finish
Oil, wax, stain, shellac, and polyurethane all do different jobs. There is no automatic best finish. The right one depends on wear, moisture, sheen, repairability, and how much maintenance you can live with.
Indoor shelves and boxes can get away with simpler finishes. Dining tables, bathroom pieces, and kitchen work need tougher protection. Test stain on scrap first. Thin coats beat thick coats. Dry time matters more than impatience.
Simple Builds That Teach Useful Skills
The first project should not be a complicated cabinet wall or heirloom chair. It should teach layout, square assembly, clean cuts, sanding, and finish without wrecking your confidence.
- A small shop box: teaches measuring, basic joints, clamping, and assembly.
- A simple wall shelf: teaches straight cuts, support, fastening, and finish.
- A step stool: teaches strength, alignment, and repeat cuts.
- A bench or small side table: adds visible fit and more demanding assembly.
Those projects build skill faster than a showpiece you are not ready to finish cleanly.
Do This Instead of This
| Do This | Instead of This | Why |
|---|---|---|
| Start with pine, poplar, or plywood for first builds | Start with expensive hardwood right away | Cheaper mistakes, easier cuts, faster learning |
| Buy a few decent tools | Buy a pile of cheap tools at once | Bad tools teach frustration, not skill |
| Dry-fit before glue | Glue first and hope the joints line up | You catch fit problems while they are still easy to fix |
| Clamp work securely | Hold small pieces by hand during cutting or drilling | Cleaner work and fewer injuries |
| Finish on scrap first | Test stain or finish on the real project | Wood color and absorption can surprise you fast |
What Beginners Get Wrong
- Buying too many tools before learning the first few.
- Buying the cheapest tool and blaming themselves for its bad cut.
- Ignoring wood movement.
- Trying to force a dull blade through the material.
- Skipping clamps.
- Skipping the dry fit.
- Rushing finish coats.
- Assuming every project needs expensive hardwood.
The beginner who improves fastest is not the one with the biggest shop. It is the one who keeps the process clean, repeats the basics, and notices when the material starts warning them.
Good Reading:
The Complete Manual of Woodworking is still one of the better all-around starter books because it covers tools, joints, techniques, and project logic without turning everything into hype. Check Price on Amazon.
FAQ
What is the best first woodworking tool to buy?
A drill/driver is the most useful first power tool. For hand tools, a good saw, a combination square, a tape measure, and a few clamps go a long way.
Is woodworking expensive to start?
It can get expensive, but it does not have to start that way. A small, well-chosen kit is enough for basic shelves, boxes, and small furniture.
Should beginners start with hardwood or softwood?
Softwood often makes more sense at the start because it is cheaper and easier to cut. Hardwood becomes more useful once visible finish, wear, and long-term surface quality matter more.
Do I need a workshop?
No. You need a safe place to work, decent light, a way to support the material, and enough dust control to keep the space usable.
What is the biggest beginner mistake?
Rushing. Bad layout, bad cuts, bad glue-ups, and bad finishes usually come from trying to move faster than your setup allows.
What should I learn before fancy joinery?
Learn to measure accurately, cut straight, clamp well, and sand cleanly. Fancy joints do not help much if the basic fit is still sloppy.
What To Do Next
- For a broader material-choice view, go to Choosing the Right Wood for a Project.
- For deeper material behavior, continue to Wood Properties and Uses.
- To compare wood families more clearly, read Types of Softwoods, Hardwood Basics, and Engineered Wood Products.