A small slab can be a DIY job. A house slab is not.
That is the split that matters. A shed or workshop slab is one thing. A residential foundation has to deal with frost, soil, reinforcement, inspections, plumbing, and structural load.
This guide stays with the smaller job: sheds, workshops, studios, and similar detached buildings. It covers when a DIY slab makes sense, what the build sequence looks like, and where people usually mess it up.
Read this next: Slab-on-Grade Foundation if you are dealing with a full house or anything close to one. If the site itself is still a question mark, go to Foundations, Soil Analysis, and Site Investigation first.
When a DIY Slab Makes Sense
A DIY slab starts making sense when the structure is small, detached, lightly loaded, and simple enough that you are not gambling with the whole building.
| Good Fit for DIY | Bad Fit for DIY | Why |
|---|---|---|
| Small shed | Main house slab | A house foundation has far less tolerance for mistakes. |
| Garden workshop | Basement or retaining condition | Below-grade work changes the whole risk level. |
| Detached studio with simple loads | Garage slab carrying heavy vehicles without proper design | Load and reinforcement demands go up fast. |
| Flat site with decent drainage | Expansive clay, soft fill, or wet problem site | The site can beat a good pour. |
| Projects with no plumbing in the slab | Anything with embedded plumbing and no experience | Wrong rough-in location becomes a concrete problem, not a framing problem. |
If the structure is heavy, the site is questionable, or the slab has to do real foundation work for a house, stop calling it a DIY weekend project.
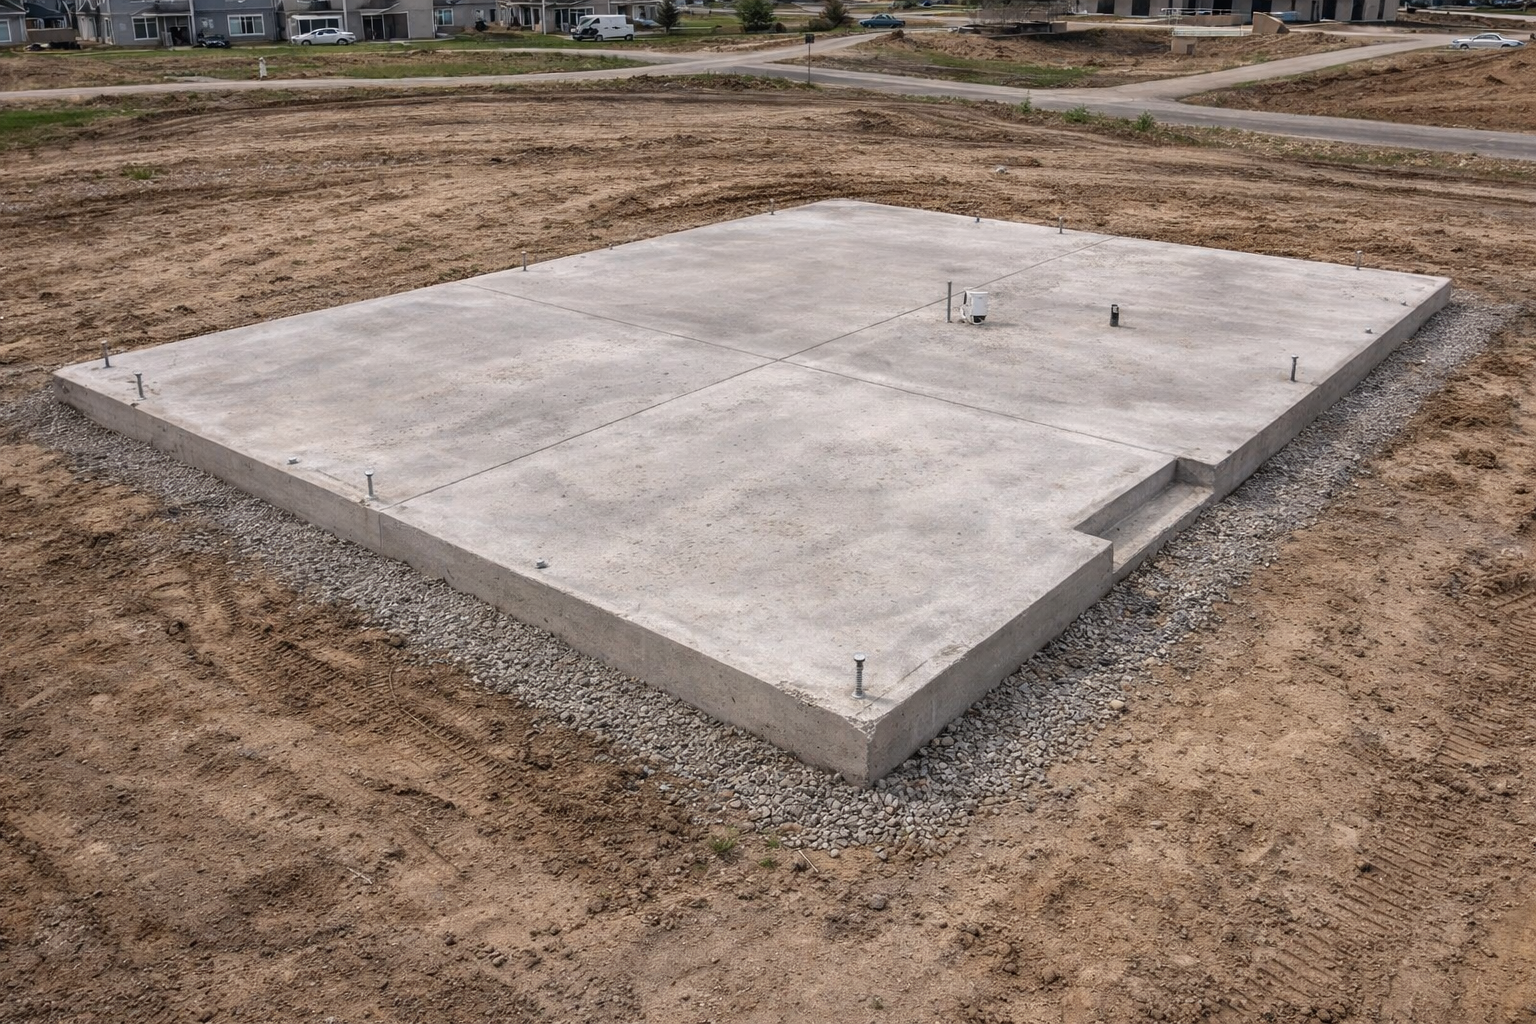
What This Slab Is Doing
A concrete slab is not just a flat surface to set a shed on. It has to spread load into the ground, stay level enough for the structure above, handle moisture below, and resist cracking well enough that the building does not start moving with it.
That is why small slabs still fail. Not because concrete is mysterious. Because people treat the slab like the easy part and the ground below it like background.
Also useful: Foundation Footings if your project needs thickened edges, isolated footings, or more support than a simple flat pad.
Before You Pour Anything
Check the Site
Start with the boring questions. Is the site flat enough to build simply? Does water collect there after rain? Is the soil firm, or does it turn soft and muddy fast? Has fill been dumped there before? Are tree roots or old stumps still in the footprint?
A slab on bad ground does not become good because the surface looks clean the day you pour.
Check Local Rules
Some small detached slabs are simple permit jobs. Some are not. Frost depth, slab thickness, reinforcement, setbacks, and anchorage may all be regulated depending on location and structure size. Do not pour first and start asking later.
Be Honest About the Building
A lightweight resin shed is one thing. A framed workshop with tools, storage, and electrical service is another. A detached studio with insulation and finished walls is another again. Heavier buildings ask more from the slab and more from the prep below it.
Tools and Materials You Actually Need
You do not need a giant equipment list padded to look impressive. You need the right basics.
- shovels or excavation equipment suited to the size of the job
- stakes, string, tape measure, and level
- form boards and stakes
- compactor or tamper
- gravel or crushed stone base
- vapor barrier if the slab assembly needs it
- reinforcement suited to the slab design
- concrete delivery or mixing plan that matches the slab size
- screed, float, edging tools, and curing setup
The bigger issue is not owning every tool. It is whether you can excavate, compact, place, screed, and finish the slab fast enough before the pour gets away from you.
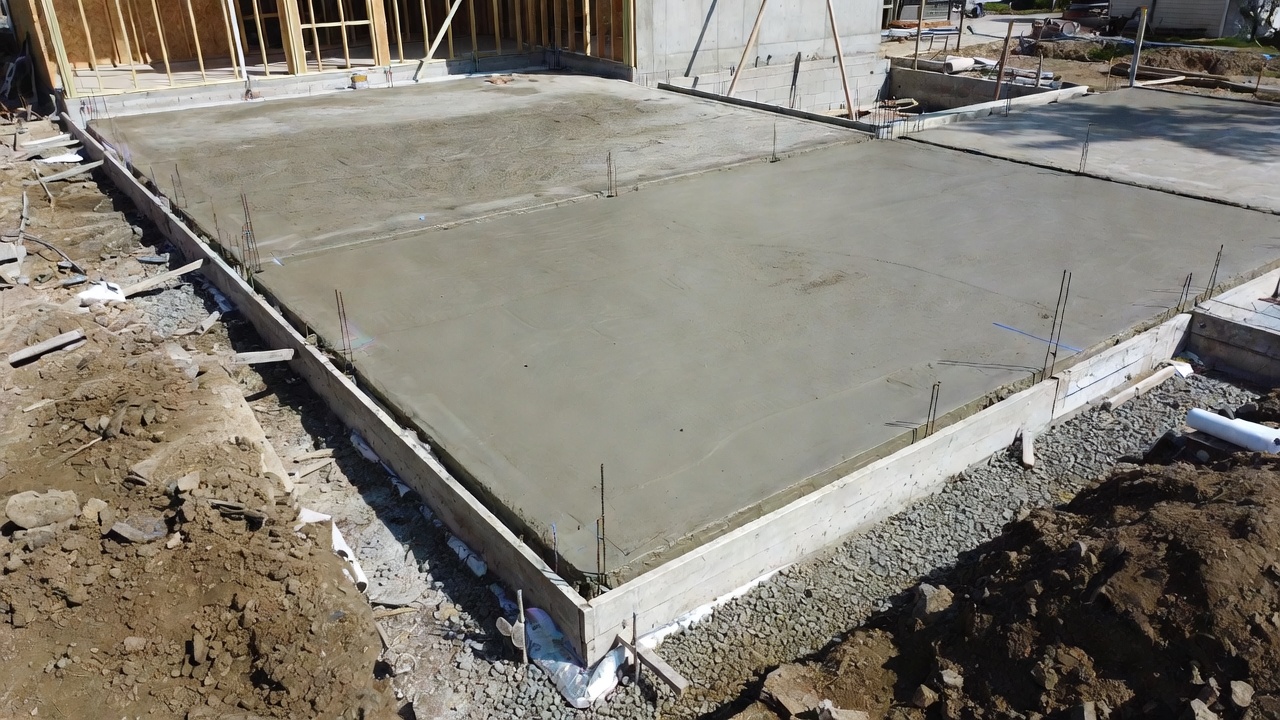
The Build Sequence That Matters
- Clear vegetation, organic material, roots, and loose junk from the slab area.
- Lay out the slab footprint accurately and check it for square.
- Excavate to the required depth and get to stable bearing soil.
- Add and compact the base material properly.
- Set formwork level, straight, and braced well enough to hold the pour.
- Install vapor control and reinforcement where the design calls for them.
- Pour, screed, float, edge, and finish the slab without losing control of the timing.
- Cure the slab properly instead of walking away after it hardens on top.
That list looks simple. The problems start inside those steps.
Where DIY Slabs Go Wrong
Weak Base Prep
This is the big one. People spend money on concrete and rush the gravel base or skip compaction. Then the slab starts cracking or settling because the support under it was weak from day one.
Bad Layout
If the slab is out of square, too small, or mislocated, the concrete itself may be fine and the job can still be wrong.
Forms That Move
Weak bracing, poor staking, or sloppy form setup can leave you with edges that drift, bell out, or end up out of level.
Too Much Water in the Mix
This happens constantly. People want easier placement, so more water goes in. The slab gets weaker, shrinkage gets worse, and the surface quality often drops too.
Reinforcement in the Wrong Place
Mesh or rebar that drops to the bottom is not doing what people think it is doing. Reinforcement has to stay in position to matter.
Rushed Finishing and No Curing Discipline
The slab surface hardening is not the same thing as the slab being ready. Drying too fast, loading too soon, or ignoring curing is how a small job becomes a cracked one.
| Do This | Instead Of This | Why It Matters |
|---|---|---|
| Compact the base in layers. | Dump gravel and assume the slab weight will sort it out. | Concrete does not fix bad support under it. |
| Brace forms well and check level twice. | Hope they stay put once the concrete hits them. | Forms fail fast under wet concrete pressure. |
| Use the mix that fits the job. | Add water because it looks easier. | Easier placement can mean weaker concrete. |
| Plan the pour and finishing crew before the truck arrives. | Figure it out when the concrete is already on site. | Slab work punishes hesitation. |
| Cure the slab after finishing. | Treat surface hardening like the job is over. | Strength gain takes time. |
Do You Need Rebar, Mesh, or Neither?
That depends on slab size, thickness, load, soil conditions, and the structure sitting on it. There is no one answer that fits every detached slab.
Small light pads sometimes use little or no reinforcement. Many other slabs benefit from welded wire reinforcement, rebar, or thickened-edge detailing. The mistake is copying one random detail from the internet and assuming it applies to every site and every building.
If the slab needs real structural design, stop treating it like a casual DIY pad.
Do You Need a Vapor Barrier?
Sometimes yes. Sometimes it is less critical. It depends on whether the slab is part of an enclosed conditioned building, what is going above it, how moisture behaves on the site, and what the floor assembly needs.
For a basic open-sided shed, the answer may differ from a finished studio slab that will carry flooring, stored contents, and interior use. This is where project type matters.
Not sure if you need a vapor barrier? Start with climate zone and moisture source. This shows the quick checks and the common screw-ups.
How Thick Should the Slab Be?
Do not let a generic DIY page trick you into thinking thickness is just a preference. Slab thickness, edge thickening, and reinforcement all depend on the structure, loads, and site conditions.
That is one of the reasons broad DIY slab pages drift into bad advice. A garden shed, a workshop, and a garage slab do not all want the same thing.
When to Stop and Hire Help
- the site has poor drainage or questionable soil
- the slab needs plumbing rough-ins
- the slab is supporting a heavier enclosed structure
- you need frost detailing and do not fully understand it
- the pour size is too big for the crew you actually have
- the slab has to be structurally right, not just visually flat
That is not a failure of DIY. It is just knowing where the line is.
Small Slab vs Full Foundation
This is the distinction that should have been clear from the start.
| Small Detached Slab | Full Foundation Slab |
|---|---|
| Often okay for a disciplined DIY build | Needs much stricter design, code, and site control |
| Lower consequences if the structure is light and detached | Much higher consequences if movement or water issues show up |
| Best for sheds, small workshops, and similar outbuildings | Best treated as professional foundation work |
Read this next: House Foundations Before Construction if the project is moving out of small-outbuilding territory.
Frequently Asked Questions
Can I build a slab foundation myself?
For a small detached structure on a simple site, sometimes yes. For a house slab or a complicated site, treat it as real foundation work, not a beginner weekend project.
What is the biggest mistake in DIY slab work?
Weak base prep. Bad soil support under a nice-looking slab is still bad slab work.
Can I pour concrete directly on dirt?
That is the kind of shortcut that causes avoidable trouble. A slab needs proper site prep and support below it.
Is a gravel pad better than a slab for some sheds?
Yes. Some light structures do better with a well-built gravel pad than with an unnecessary concrete pour. That depends on the building and the site.
Do all slabs need reinforcement?
No single answer fits every slab. Loads, thickness, soil, and slab size all matter.
What To Do Next
If this is a true small-outbuilding slab, keep the scope tight and do not let it drift into house-foundation territory.
- Slab-on-Grade Foundation if the project is becoming more serious than a shed or small workshop.
- Foundations, Soil Analysis, and Site Investigation if the ground conditions are still uncertain.
- Foundation Footings if the slab needs thickened edges, isolated support points, or more structural support than a simple pad.