
DIY Home Design That Doesn’t Suck
Budget DIY That Looks Better Than IKEA
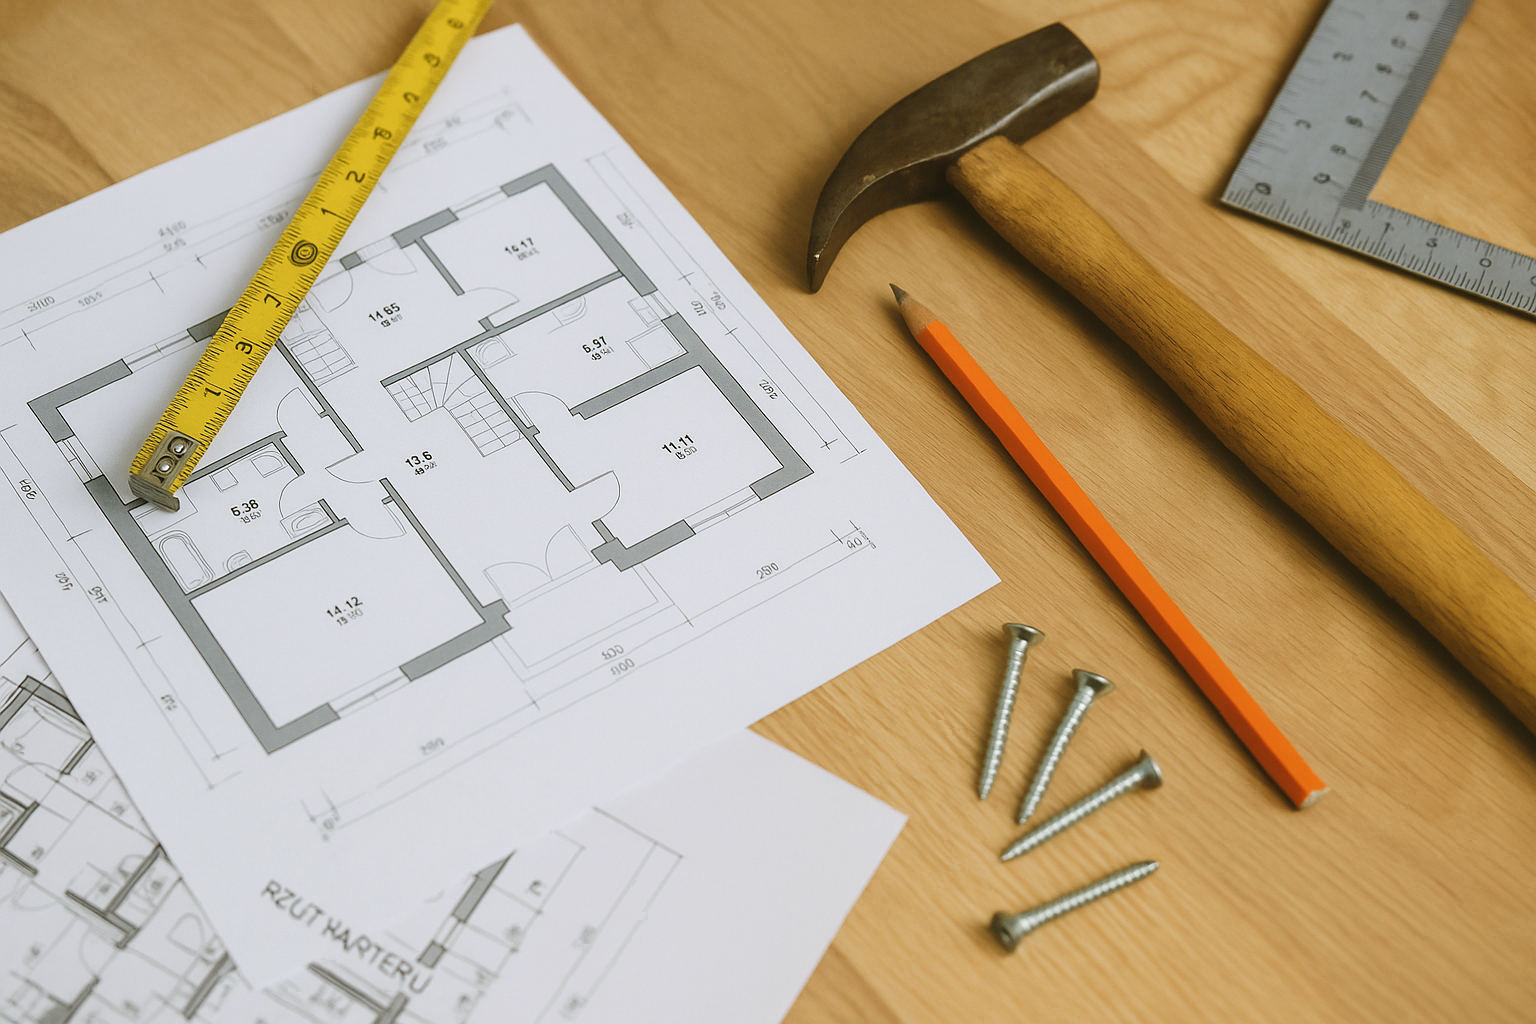
Want to build something real instead of just scrolling pictures? Here are projects tied to architecture and interiors that actually work. Some take a weekend. Some need more planning. All of them add character and save money if you do them right.
Backyard studios, reclaimed wood shelving, storage walls, limewash paint, even homemade cleaners. Small or big, each one changes how a space feels.
DIY Home Design Projects
Start simple. Paint the trim. Swap old hardware. Build a plywood bench. Put up a clean rail of shelving. Cheap moves, fast impact.
You do not need to be a pro. A $60 jigsaw, a few hours, and some patience will teach you more than a week of browsing Pinterest. The first crooked cut is better than another mood board.
Home Upgrades You Can Actually Do Yourself
Skip the showroom BS. Learn the projects that add real value, character, and cost savings—the ones professionals recommend after seeing the dust settle.
DIY Home Projects You Won’t Regret
Weekend work should leave you proud, not hiding a crooked shelf. These are the kinds of builds and fixes I’ve done myself or watched clients and colleagues wrestle through. Some are quick wins. Others eat your whole Saturday and bleed into Sunday. All of them change how a space feels when done right.
What the Pros Push First
Designers I trust never waste time on gimmicks. They go for things that hold up: built-ins that actually hide clutter, cabinet fronts that calm a noisy kitchen, limewash on plaster for depth instead of cheap flat paint.
Contractors will tell you the same thing. Don’t skimp on hardware. A brass pull at twenty bucks will outlast three rounds of bargain-bin knobs. You feel it every time you open a drawer.
I once watched a colleague turn a dead hallway niche into a floor-to-ceiling shelf wall. One sheet of MDF, a gallon of paint, one long Saturday. Looked like a custom job and cost under $200. That’s the kind of project that pays back every day.
When DIY Goes Sideways
I’ve had clients who swore by open pine shelving. Looked great on Instagram. Two weeks later, flour dust, oil stains, and water rings. We had to pull them down, sand, seal, and reinstall. The “cheap” shelves doubled in cost.
Another homeowner thought peel-and-stick wallpaper was a shortcut. They slapped it over an unprepped wall. By the next morning, the seams curled. We stripped it, skimmed the wall, primed, and started over. Wallpaper can work, but only if you prep like a pro.
And me? I once hung a floating desk with nothing but drywall anchors. Looked solid for a week. Then it dumped a laptop and a cup of coffee on the floor. Now I don’t touch a wall without finding studs.
Mistakes That Keep Showing Up
Weak supports. If it’s not fixed to a stud or blocked properly, it won’t last. Shelves, desks, even curtain rods—they all fail fast without backbone.
Bad prep. Glossy surfaces, dusty walls, tiles set too tight. Every shortcut shows up later. Paint peels, paper bubbles, grout cracks.
Cheap parts. Sliders that rattle, knobs that strip, hollow doors that sound fake. Every time you touch them, you’ll be reminded you saved twenty bucks.
You might like: Design Your Own House Plans: An Architect’s Real-World Guide
Rugged, Real, DIY Home Fixes Architects Love
DIY Home Design Tricks Worth Running the Saw For
What It Really Takes
Time always stretches. A “weekend” headboard build I took on dragged into four full days. Hours cutting, hours sanding, another day upholstering, and still a trim detail waiting at the end.
Money sneaks in. Butcher block counters look good, but raw wood stains if you breathe on it wrong. Expect $300 for a decent slab and more hours sanding and sealing than you think. Skip the finish and you’ll be shopping again next year.
Tools matter. A solid drill saves your wrists. A $15 clamp set can make joints line up clean instead of crooked. I’ve tried to wing it without, and the results always show.
DIY Projects for Architecture and Home Design
Real DIY ideas that work in real homes. Add charm, storage, or style without discovering all the hidden headaches afterwards.
Hard Lessons and Pro Tips
Seal before you install. Shelves, panels, counters—always easier on the bench than in the room.
Buy one extra of everything. Tile, board, knob. That spare piece is worth gold when something cracks at the end.
Never trust “easy install.” I’ve seen a client peel up a whole floor of click-lock vinyl because the subfloor wasn’t level. Test one strip, one shelf, one cut before going all-in.
How to Put It to Work
Start small. Paint a door trim, swap out one light fixture, or mount a single shelf. Build confidence before ripping out cabinets.
Mix stock and custom. IKEA boxes with your own faces. Thrifted cabinets with new hardware. It feels unique without draining your account.
Pick your battles. Some projects shine every day, like lighting or shelves. Others add clutter fast. If you’re not sure, hold off. The best DIY projects are the ones you live with happily, not the ones you explain away.
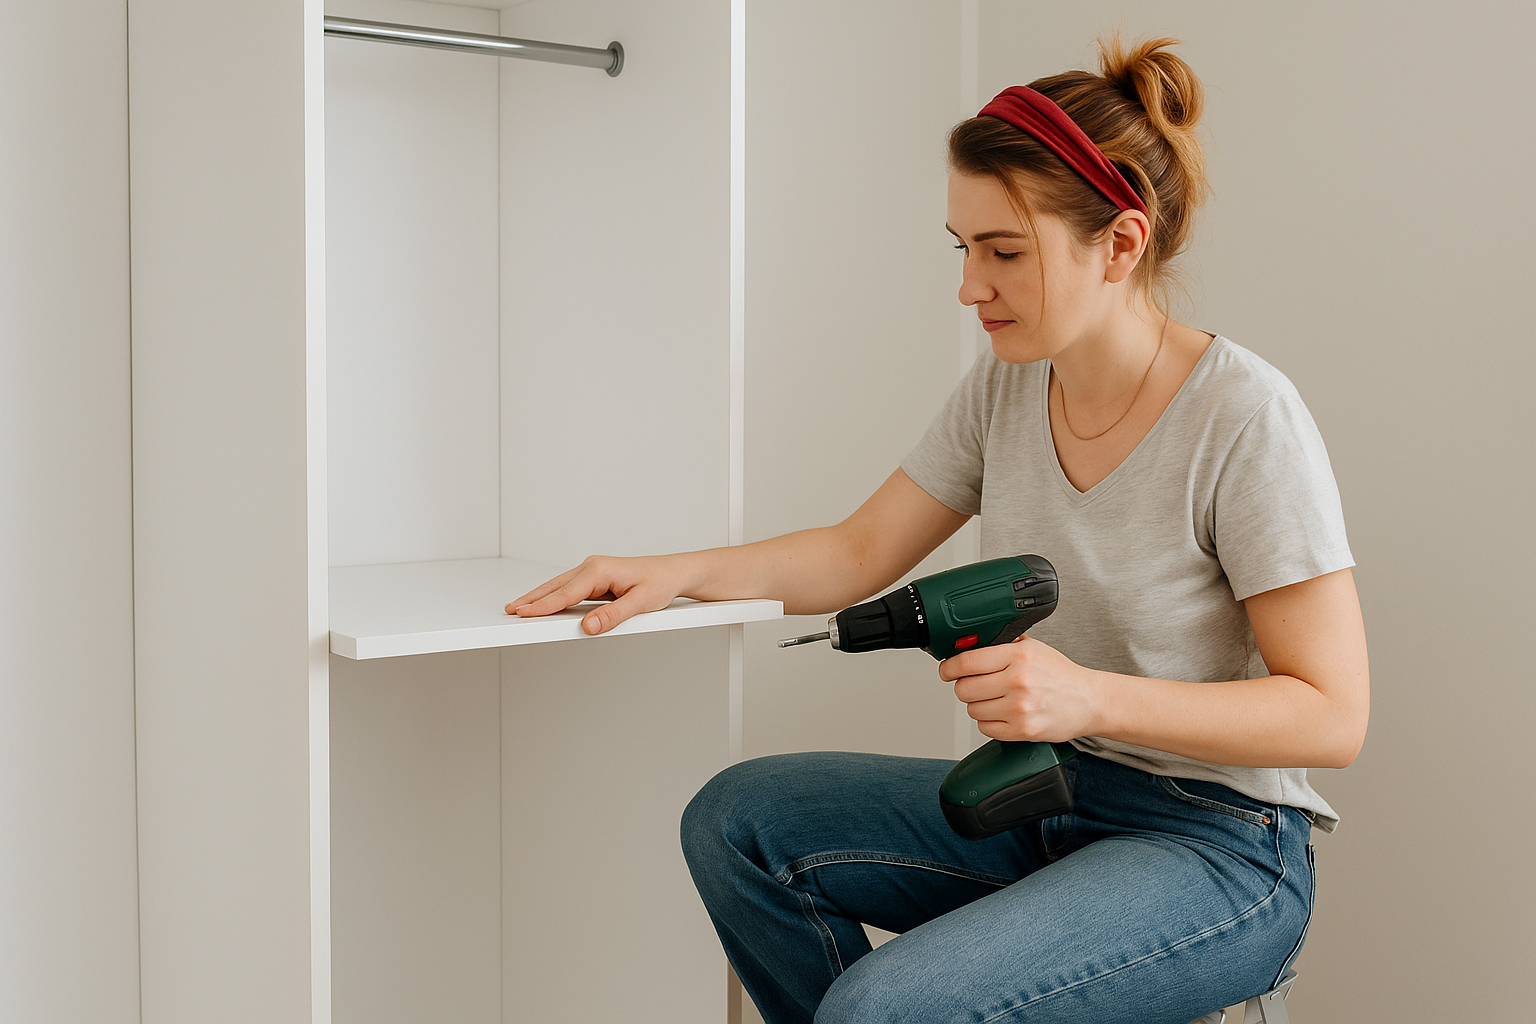
DIY Home Design Projects by Room
Not every project needs to be a shed or a bench. Smaller room-by-room builds sharpen your eye and give you something you’ll use every day. Here’s where to start.
Living Room Projects That Hold Up
Build a clean plywood coffee table. Nothing fancy—just get the proportions right and the edges soft. It teaches scale.
Try wall-mounted shelving that actually hits studs. You’ll curse the stud finder once, but when the shelf holds a stack of books for years, you’ll trust the process.
Reupholster a chair from the thrift store. New fabric, tight staples, clean trim. Suddenly a $30 find feels built for the room.
Bedroom Builds That Matter
Make a simple platform bed out of 2x6s. No headboard, no extras. Just square cuts, flush joints, and solid screws. If it doesn’t squeak after a year, you did it right.
Build a headboard from plywood and fabric. The mistake every student makes is rushing the staple job. Take your time and you’ll end up with something that looks custom.
Add floating nightstands. Two cuts of plywood, a hidden bracket, and you’ve built storage that clears floor space and feels clean.
Kitchen Fixes You Can Trust
Build open shelving, but seal it properly. Pine warps and stains. Sand, seal, repeat. Only then hang. You’ll learn fast about finishes and daily use.
Swap hardware on cabinets. Brass pulls or blackened steel. The weight in your hand matters more than looks.
Build a butcher block island. Not full-size—just a rolling cart with solid wood top. You’ll learn joinery and finishing, and you’ll use it every day.
Bathroom Projects That Don’t Fail
Frame a mirror with wood trim. Measure, cut, miter. Seal against moisture. It’s a small build with lessons in precision.
Build open shelves above the toilet. Hit studs, leave breathing room. Nothing teaches layout like a cramped space.
Try a simple vanity update: sand, prime, repaint, and replace hardware. It’s not just paint—it’s patience, prep, and learning how finish survives in wet rooms.
Outdoor Projects for Real Use
A cedar bench for the porch. Build it, seal it, leave it through winter. It will teach you how wood reacts outside.
Raised garden beds. Four cuts, screws, soil. Cheap, quick, and unforgiving if you ignore drainage.
A small deck or landing step. Joists, screws, spacing gaps. Suddenly you care about codes, slope, and weatherproofing.
Why This Hits Harder Than Pinterest
Every cut, screw, and seal teaches scale, weight, and wear. These projects turn design into use. You’ll know if your proportions work when you bump into them in the dark. You’ll know if your finish failed when water stains appear. That feedback is gold.
Tiny Houses: What It Really Takes
Why people build them
Tiny houses promise lower costs, less clutter, and smaller bills. For some it’s a cabin, for others it’s the only way to own. Heating and maintenance shrink with the footprint. The appeal is real.
What it takes
Don’t confuse small with simple. A tiny house still needs structure, insulation, plumbing, and wiring. Expect thirty to eighty thousand in costs if you want it to last. Push hard and you can build in four months. Stretch it to weekends and it becomes a year.
The land problem
This is where most plans stall. Codes and zoning don’t bend just because your house is smaller. Some dodge the rules by building on trailers, but that limits comfort and permanence. Rural plots are easier. Cities can be brutal.
The skill gap
If you can frame a shed, you have a start. But plumbing and electrical are where most DIY jobs break. Pay a pro for those systems or risk leaks and fire. The rest—walls, finishes, storage—teach you as you go.
How to start without sinking
Mock up your floor plan with tape in a driveway. Walk it. Lie down in the “bed.” Cook a pretend meal in the “kitchen.” You’ll learn fast what feels cramped. Build a smaller structure first, even a shed or office. That sweat is cheaper than mistakes in a full build.
The truth
Tiny houses are possible, but never easy. They demand more discipline, not less. If you want control, lower bills, and a design that forces every inch to work, they pay back.
See also: Design Your Own Tiny House: Architect Steps, Real Costs, Fewer Regrets
DIY Solar: What You Need to Know

Putting panels on your own roof sounds like a straight money-saver. And it can be. But it is not just a weekend job with a ladder. Solar is wiring, structure, code, and safety all at once. If you’re not comfortable on a roof or around electrical service, bring in a licensed electrician for the final hookup.
Roof Check Comes First
No point in adding solar to a roof that needs replacing in five years. Check the decking, shingles, and slope. South-facing and unobstructed is gold. Shade kills output.
Sizing the System
Figure out your actual load. A small starter setup might be a two-panel array with a microinverter—good for offsetting a fridge or lighting. A full roof install that powers most of a home is more like 10–20 panels, plus inverters and a battery bank if you want storage.
What It Costs
DIY kits exist. A basic 2 kW starter kit can run $3,000–$5,000 before wiring and mounting. Full-house systems jump to $12,000–$20,000. You save on labor, but expect to spend more time and buy extra tools: torque wrenches, conduit benders, and safety harnesses.
Permits and Inspections
Most cities require a permit. Utilities demand a net-metering agreement before you can feed power back. Don’t skip this—unauthorized tie-ins can void insurance and put linemen at risk.
Steps in the Build
Set the racking first. Bolt rails into roof rafters, flashing each penetration to avoid leaks. Mount the panels, wire them into inverters, run conduit down to your service panel. The electrician ties into your breaker box or subpanel and files the paperwork with the utility.
Mistakes I See All the Time
Lag bolts missing rafters. Conduits run without proper fittings. Panels placed too flat so dirt and snow pile up. Cheap mounting hardware that rusts in two winters. Every one of these eats output or lifespan.
Pro Moves Worth Copying
Leave 3–6 inches under panels for airflow—hot panels lose efficiency. Use microinverters on each panel if shade is unavoidable; one panel won’t drag the whole string down. Label every breaker and conduit cleanly. Inspectors appreciate it, and future you will too.
Bottom Line
DIY solar is possible. Plenty of homeowners have done it. But it takes planning, patience, and respect for the hazards. If you build smart, size right, and call in a pro where the code demands it, you’ll end up with a system that cuts bills and pays back for years.
DIY Projects That Keep Professionals Sharp
Even after years in practice, small builds keep you grounded. They test your specs, show you how materials age, and give you credibility with trades.
Material Mockups
What to build: A 2x2 wall or floor section with real finishes. Tile with trim, wood with stain, concrete with sealer.
Time: 4–6 hours.
Cost: $80–$200 depending on materials.
What it teaches: Whether the grout color clashes, if the sealer clouds the finish, how edges chip. One client of mine wanted glossy black tile until they saw it streak with every fingerprint on the mockup. Saved a whole bathroom.
One-to-One Details
What to build: The tricky part of your drawing set. A stair nosing, a window return, or a corner detail in drywall and trim.
Time: Half a day.
Cost: $50–$150.
What it teaches: Proportions you thought worked on paper may look clumsy in real life. A handrail bracket feels too sharp. A window return looks heavy. Fixing it at mockup saves endless RFIs on site.
Studio Furniture
What to build: A simple plywood bench or standing desk for your office. Not for show—just for ergonomics and clearance.
Time: 1–2 weekends.
Cost: $150–$400.
What it teaches: Scale. The difference between a seat at 16 inches and 18 inches. Why a 30-inch deep desk feels crowded. You don’t need ten models—just one piece you use daily.
Client Test Pieces
What to build: A small cabinet module, a door sample, or a mock wall with proposed finishes.
Time: 1 day.
Cost: $250–$600.
What it teaches: Clients finally get it when they touch it. A cabinet door that looks fine in render might feel flimsy in hand. I once mocked up a kitchen island corner detail—client hated the visible joint. We changed the spec before fabrication. Saved thousands.
Why Pros Should Still Build
It’s not about proving you can cut wood. It’s about tightening your eye. Details that survive mockups survive the field. Mistakes in miniature hurt less than mistakes at full build-out. And trades listen differently when you’ve held the same tools.
Why Architecture Students Need a DIY Build
You can draw all day. Until you cut wood, your lines have no weight. A small build flips the switch. Gravity becomes your critic. Tolerances stop being theory and start costing you time, money, and busted material.
What You Learn Fast
A build forces choices you can dodge on paper. Where the screw goes. Why a 2x4 isn’t two inches by four. How a millimeter feels when the hinge binds. Why glue creeps, why finish dries slow, why clamp pressure matters.
On site the rhythm is real: cut, test, adjust. No theory talk. Just the work telling you the truth.
Projects That Change Students
A plywood chair. Two sheets, four legs, no wobble. Looks simple, but one student burned thirty hours chasing a rattle. The fix was a diagonal brace. She never forgot that lesson.
A campus bench. Cedar seat, concrete feet, six friends lifted it into place. Coffee spilled the first day. It patinated, not failed. That bench taught drainage, spacing, and tilt.
A micro shed. Eight by ten, pier blocks, sheathing, metal roof. The team learned walls rack if not squared, why flashing matters, and how to recover when a saw blade dies mid-job.
What It Takes
Time: a “weekend” chair is twenty hours. A bench is two weekends. A shed, a month.
Money: 150 for a chair, 400 for a bench, 2,000 for a shed. Reclaimed stock saves cash but costs in labor.
Tools: drill, saw, clamps, chisel, sander. Borrow a miter saw. Dull blades will make you curse.
Mistakes You Will Make
Cutting on the wrong side of the line. Forgetting pilot holes and splitting boards. Hanging a door that scrapes. Good. That pain teaches faster than any lecture. Worst mistake? Scope creep. Keep the first build small. Ship it. Then move up.
Pro Moves
Dry-fit before glue. Break edges. Seal pieces flat on the bench. Use good hardware where hands touch. Record cut lists on a scrap for the next build.
Why It Makes Better Architects
You stop drawing impossible joints. You specify finishes that survive. You think about access, repair, and cost. You talk to trades with respect because you’ve eaten sawdust too.
Portfolios shift: not just renders, but process shots, cut lists, cost notes, a detail model that became real. Reviewers and employers spot the difference instantly.
What Changes in You
Patience grows. Promises get grounded. You ask sharper questions: Can this be built in this order? Can two people lift it? Will it survive rain? You become the one who can say what it costs, how long it takes, and what will fail first. That’s the architect people trust.
Start Now
Pick a project this week. Chair, bench, or cabinet. Lock a budget. Borrow tools. Book space. Draw one page. Cut. Learn. Fix. Finish. Live with it for a month. Then build the next thing.
See also: Why Architecture Students Need a DIY Build
Closing Note
DIY isn’t about showroom perfection. It’s about making a space yours. Paint will drip. A shelf might lean. You’ll curse a cut, then learn from it. Those mistakes become part of the story of your house. That’s the difference between a room that feels staged and one that feels lived in.
FAQs
Click a section to open, then expand any question for a direct answer. These are the real DIY questions people ask most.