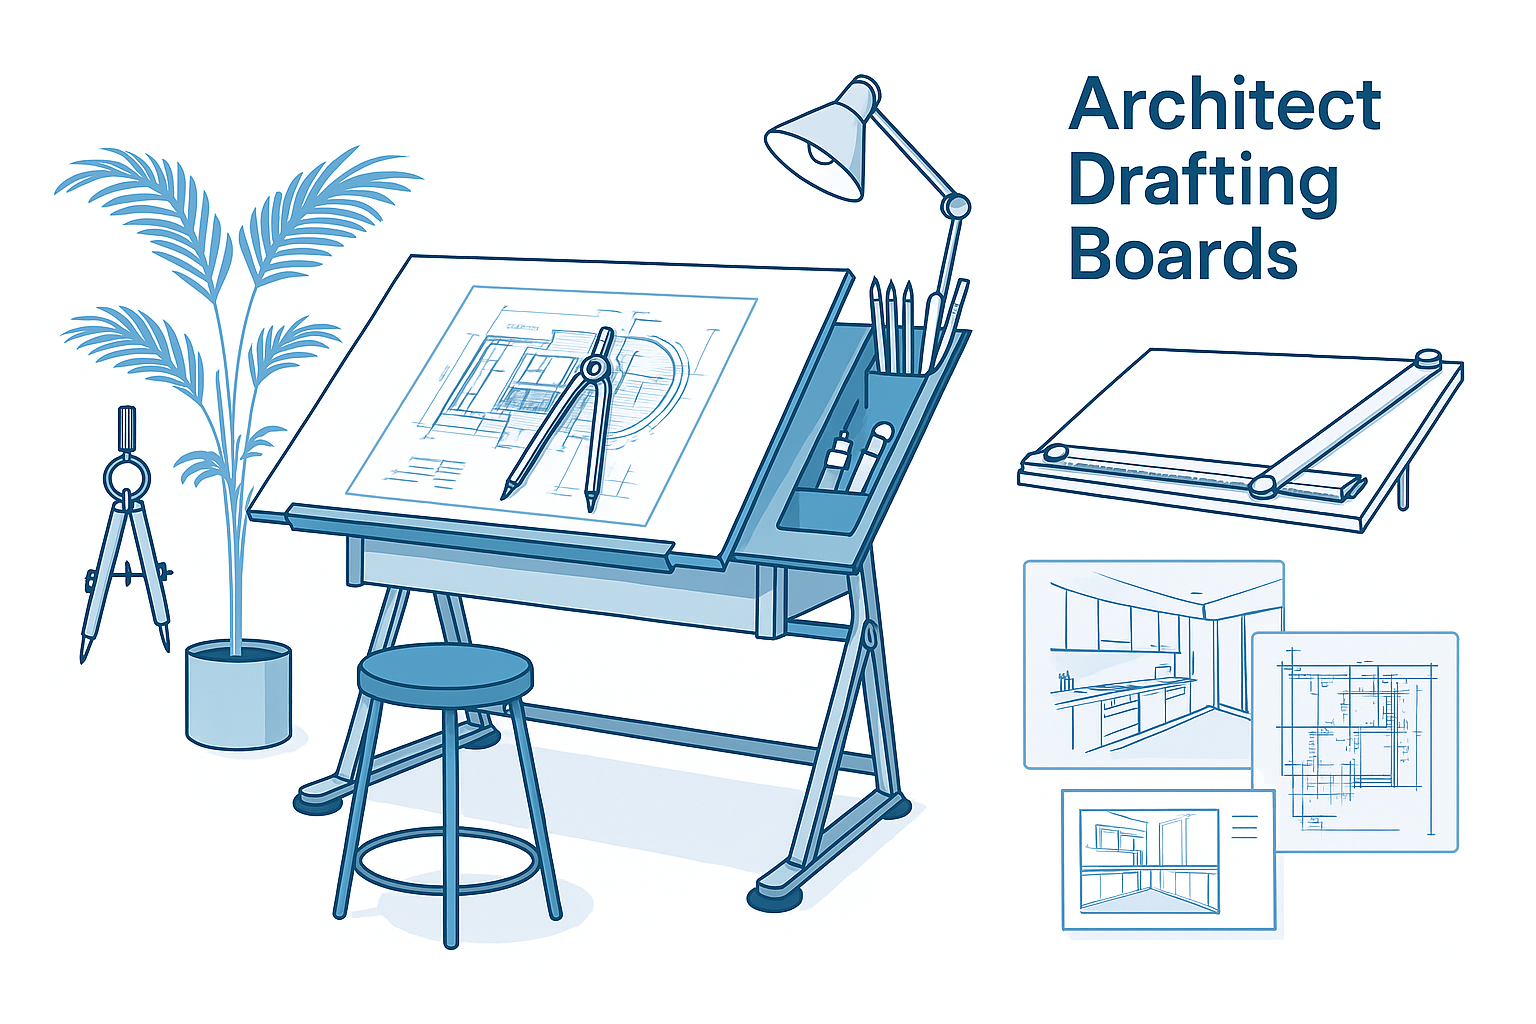
The Architect’s Guide to Drafting Boards
What You Actually Need (and What to Skip)
Not sure which drafting board to get? You're not alone. Between adjustable tables, portable boards, and full-on studio setups, the options get overwhelming fast.
This guide breaks it down with real advice from a working architect—what works, what doesn’t, and how to pick a board that actually fits your space, style, and workflow.
We’ll cover key types, practical use tips, setup mistakes, and a few lessons I learned the hard way. If you draw by hand—even part-time—this guide will save you hours.
Why a Drafting Board Still Matters

I’ve been an architect for over a decade. And even with all the digital tools out there, I still use a drafting board.
Why?
● It’s faster for early ideas – I can sketch a layout in seconds without booting anything up.
● It helps me think in space – Drawing by hand keeps me focused on form, proportion, and flow.
● It’s tactile – You feel the design. That connection matters when shaping real spaces.
● Clients still love a hand sketch – It feels personal and shows you’re actually thinking, not just clicking.
Digital is great—but a board gives you something else: clarity, speed, and connection to the craft.
Types of Architect Drafting Boards
The right drafting board depends on how you work—on the go, in a studio, or somewhere in between. Here’s what actually matters, from someone who’s used them all.
🔹 1. Portable Drafting Boards
Perfect for students, renters, or anyone short on space.
Why I Used It
When I was in school, I used a portable board in my apartment and took it everywhere. Built-in ruler, light to carry, easy setup.
Pros
● Easy to move and store
● Great for tight spaces
● Cheap and beginner-friendly
Cons
● Small surface—can’t handle full-size drawings
● Wobbly unless placed on a steady, non-slip surface
Pro Tip: Put it on a rubber mat or carpet. Mine once slid off the table during an all-nighter and nearly wrecked a week’s worth of drawings.
Alvin Portable Parallel Straightedge Board
-
Why I chose it: Great size (24×36"), sturdy build, smooth aluminum bar. Ideal for students or small-studio use.
-
Strength: Combines portability and parallel-bar precision—no need for a separate T-square.
-
Consideration: You’ll want a good surface underneath and occasional upkeep of the bar mechanism.
Or Martin Universal Design 24" x 36" Deluxe Adjustable Parallel Straightedge Board
🔹 2. Adjustable Drafting Tables
Best for pros, home studios, or serious hobbyists.
Why I Switched
As soon as I started full-time work, I got an adjustable table. Tilting changed everything—no more neck strain. The workspace felt real.
Pros
● Tilt and height control = better ergonomics
● Bigger surface for full sheets, tools, and models
● Some models come with drawers or pencil ledges
Cons
● Takes up space
● Good ones cost more—but worth it
Lesson Learned: Don’t cheap out. My first one wobbled every time I leaned in. I ended up buying again within a year. A solid table is non-negotiable.
Sogeshome Premium Adjustable Drafting Drawing Table
-
Why I chose it: Fully adjustable & affordable pro table. You can switch between flat and tilted work angles easily.
-
Perks: Steel frame, extra drawers, and tilting surface = great for long sessions without neck/back strain.
-
Heads-up: Takes real space—measure your studio first.
🔹 3. Drafting Boards with Parallel Bars
The precision upgrade you didn’t know you needed.
Why I Recommend It
Once I tried a parallel bar, I never looked back. Clean, consistent lines—no fiddling with a T-square every 5 minutes.
Pros
● Accurate, fast horizontal lines
● Looks clean and professional
● Ideal for technical work or complex plans
Cons
● Slight learning curve if you're used to freehand or T-squares
● Needs occasional alignment and dusting
Pro Tip: Clean the bar rails regularly. A little dust buildup can mess with the glide and drive you crazy mid-sketch.
Pacific Arc PXB Portable Drafting Board
-
Why I chose it: Top-tier portable board with locking parallel bar and solid glide.
-
Strength: Compact and precision-focused—perfect for detailed work in tight spaces.
-
Heads-up: Slightly more expensive, but worth it if you want top accuracy.
Which One’s Right for You?
● On a budget or student? → Go portable
● Working long hours at home? → Go adjustable
● Want precision? → Get a parallel bar model
Summary Table
| Type | Best For | My Experience |
|---|---|---|
| Portable Board (Alvin) | Students, travel, small apartments | Handy, reliable, easy to store |
| Adjustable Table (Sogeshome) | Home studios, long projects | Ergonomic, stable, adjustable |
| Parallel-Bar Board (Pacific Arc) | Precise line work anywhere | High-accuracy, smooth operation |
What Matters Most
-
Portability: Go with a board if you move around or have limited space.
-
Ergonomics: Choose an adjustable table for comfort during long hours.
-
Precision: Opt for a board with a quality parallel bar for accuracy.
Final Take
-
Student/Beginner? Get the Alvin Oral board — cheap, reliable, travel-ready.
-
Serious sketching or detailed work? The Pacific Arc board gives you pro precision.
-
Doing big, long sessions? Invest in the Sogeshome adjustable table—your back will thank you.
Each choice amps up your drafting game. Get the right foundation and your designs will follow.
Choosing the Right Drafting Board for Your Needs
Mastering the Art of Drafting: How to Choose and Use an Architect Drafting Board
Architect drafting boards are essential for precise design work. Learn from my experience with different types and find out how to choose the best one for your needs.
Consider Your Space and Workflow
One of the biggest mistakes I made early on was not considering how much space I had for my drafting setup. I bought a large drafting table, only to realize it barely fit in my home office. Here’s what to keep in mind:
- Size Matters: Measure your available space before buying. A drafting table that’s too big for your room will make it difficult to move around and use comfortably.
- Workspace Integration: Consider how the drafting board will fit with your other tools and equipment. Will you have room for your computer, printer, and other essentials?
- Mobility: If you need to move your board around, a portable option might be better. I’ve had to move studios a few times, and my adjustable table was a pain to disassemble and transport.
Tip: If you’re short on space, look for a foldable or wall-mounted drafting board. They offer a full-sized workspace without taking up permanent floor space.
What Features to Look For
Over the years, I’ve developed a checklist of features I look for in a drafting board:
- Stability: A stable base is crucial. Look for boards with solid construction and non-slip feet.
- Smooth Surface: A smooth, durable surface is essential for accurate drawing. Avoid boards that are too soft or easily dented.
- Angle Adjustability: The ability to tilt the board to different angles is a must-have for comfort and precision.
- Storage Options: Built-in drawers and tool trays are a huge plus, keeping your workspace organized and tools within reach.
Lesson Learned: Don’t be swayed by flashy features you don’t need. Focus on what will improve your workflow and comfort.
Brands and Recommendations
I’ve tried boards from several different brands, and there are a few standouts:
- Alvin: Known for high-quality, durable drafting tables. My first adjustable table was from Alvin, and it’s still going strong.
- Studio Designs: Offers affordable options with good build quality. I recommend their portable boards for students or those with limited space.
- Safco: Great for larger, more professional setups. I’ve used their drafting tables in a few studios and found them to be very stable and reliable.
Pro Tip: Try before you buy, if possible. What works for one person might not be comfortable for another. I’ve returned more than one drafting board because it didn’t feel right after a few hours of use.
MORE PICKS
Review of Architectural Drawing Boards
From an Architect's Perspective
As an architect who values precision and comfort during long drafting sessions, choosing the right drawing board can be a game-changer. After testing several popular options available on Amazon, here's my honest take on each of them.
1. ALVIN Adjustable Drafting Board (Ergonomic)
What I Liked: As a professional architect, I appreciated the ergonomic design of this board. It has a solid build, which ensures stability even during more intense drafting sessions. The adjustable height and angle are easy to set, and it’s comfortable to use for long periods.
- Pros:
- Ergonomic design reduces strain
- Very sturdy and doesn’t move while working
- Easy-to-use adjustment knobs for angle and height
- Excellent surface for precise technical drawing
What I Didn't Like: While the durability and stability are impressive, this board is heavier and bulkier compared to other options, making it less portable.
- Cons:
- Bulky and not easy to move around
- Higher price point
Overall: If you're a professional looking for a reliable, long-term drafting solution, this is one of the best options. It’s particularly great for detailed technical drawings where accuracy is key.
2. Portable Multi-Function Drafting Board with Adjustable Angle and Measuring Grid
What I Liked: This board is surprisingly versatile for its size. The built-in measuring grid is a nice touch for quick references, and its portability is ideal for architects on the go. The surface is smooth and works well for both pencil and pen sketches.
- Pros:
- Lightweight and compact design
- Includes a measuring grid for added convenience
- Adjustable angle for better comfort
- Great for fieldwork and client meetings
What I Didn't Like: Its lightweight nature can be a drawback if you need a stable, non-moving surface for detailed technical work. It’s more suitable for quick sketches or initial drafts than precise architectural drawings.
- Cons:
- Not stable enough for heavy-handed drafters
- Smaller size limits the working area
Overall: A great option for architecture students or professionals who need a portable drafting solution. However, it may not provide the stability needed for more intricate work.
3. ALVIN Professional Drawing Board
What I Liked: This board stands out for its professional-grade quality. The build is incredibly solid, and the adjustments are smooth and intuitive. As someone who spends hours drafting, I appreciated how ergonomic and comfortable it was, even during long sessions. The surface is excellent for precise work.
- Pros:
- Professional-grade, very stable
- Ergonomically designed for long hours
- Smooth surface, perfect for detailed architectural plans
- Multiple angle settings
What I Didn't Like: The only downside is its weight—it’s not something you’d want to move around frequently. It's more suited for a permanent workspace.
- Cons:
- Heavy and not portable
- More expensive than other options
Overall: This board is an investment, but it's well worth it if you're a professional architect who spends significant time drafting. It’s built to last and offers exceptional comfort and stability.
4. U.S. Art Supply Adjustable Wood Drawing Board
What I Liked: This board surprised me with its sturdy yet lightweight build. The adjustable angle feature is a great bonus, especially when you need to shift between different perspectives quickly. It’s portable, which makes it convenient for architects who don’t have a permanent drafting station at home.
- Pros:
- Lightweight and easy to transport
- Adjustable to different angles
- Smooth surface, ideal for sketching and detailed work
- Affordable price point
What I Didn't Like: While it's a great option for casual sketching, the board tends to slide around a bit if you apply too much pressure. It could benefit from non-slip pads to hold it more firmly in place.
- Cons:
- Lacks a non-slip base
- Not as durable for heavy-duty use
Overall: This board is perfect for students or hobbyists but may not meet the long-term needs of professional architects who require heavy-duty equipment.
The Verdict: Best Overall
After testing all these boards, the ALVIN Professional Drawing Board is hands down the best overall, especially for professionals. Its combination of durability, comfort, and precise drafting surface makes it perfect for long-term use. While it's not the most portable option, its sturdiness and functionality make it a reliable choice for any architect.
For students or those looking for a more budget-friendly option, the U.S. Art Supply Adjustable Wood Drawing Board is a solid choice for lighter, more casual use. It’s affordable and easy to transport, making it ideal for those who need a more flexible setup.
Ultimately, your choice depends on your specific needs—whether you prioritize portability or professional-grade stability, there’s something here for everyone!
Affiliate Notice:
"We're passionate about sharing knowledge and making architecture accessible to everyone. That's why we offer these free courses! To keep providing high-quality content, we sometimes recommend resources we've personally tried or thoroughly researched, like books and courses. We carefully select them based on strict criteria to ensure they're the best of the best for your learning journey.
While there's no additional cost to you, we do earn a commission through affiliate links if you choose to purchase something after following our recommendation. This commission helps us continue creating valuable content for you."
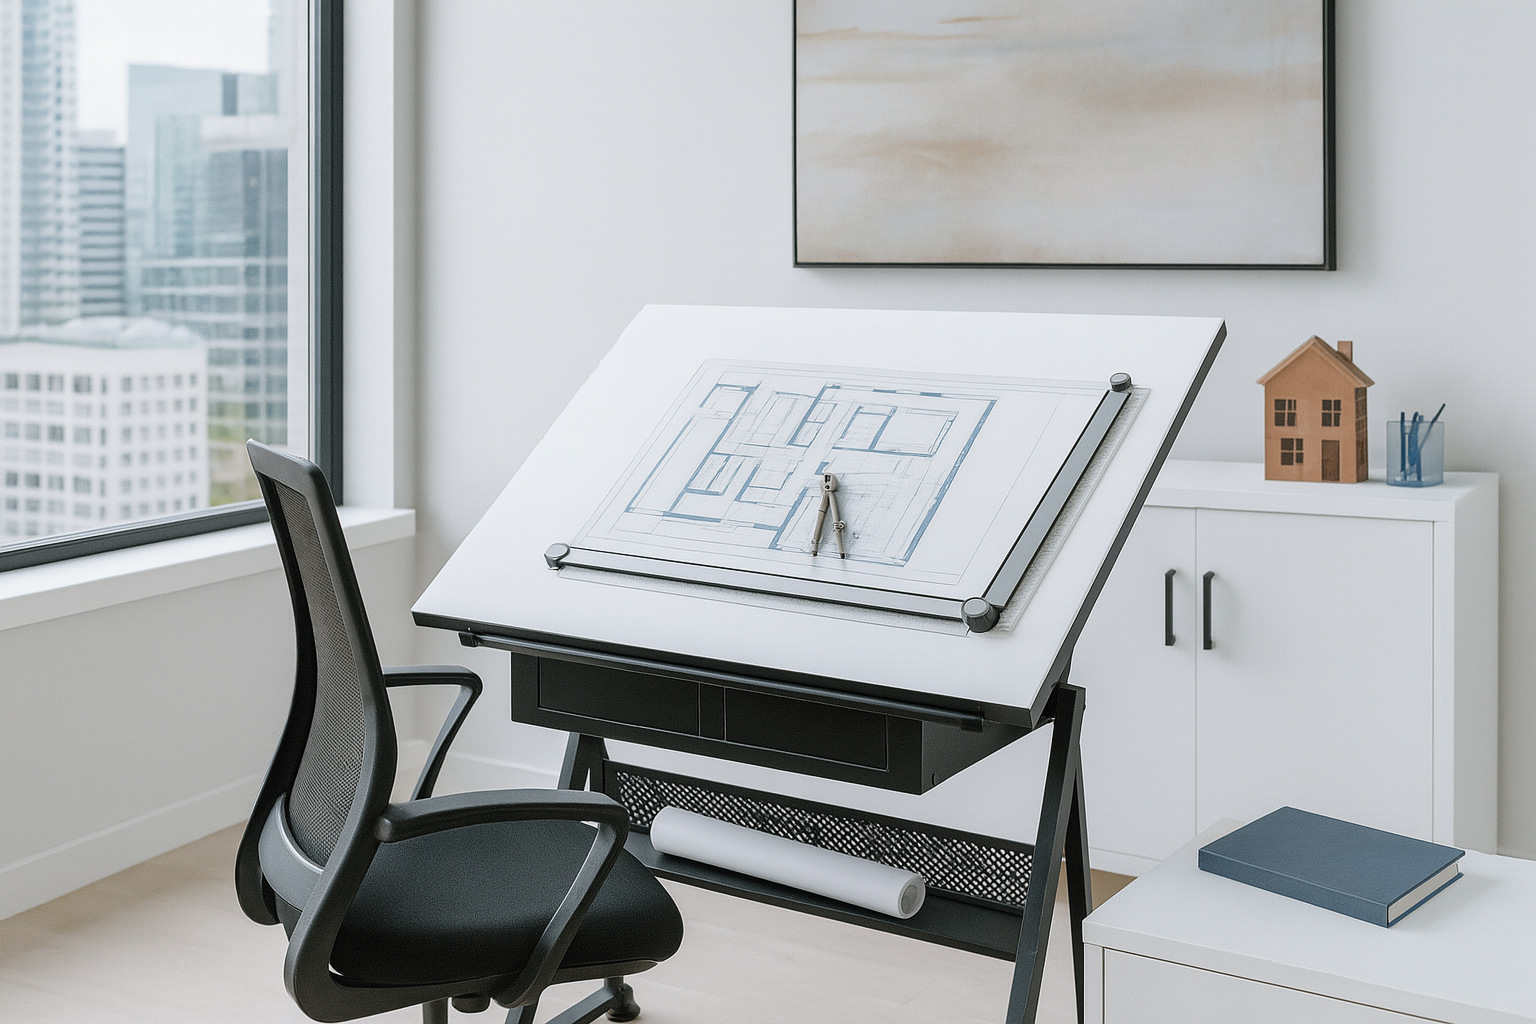
Setting Up Your Drafting Board
Positioning and Ergonomics
How you set up your drafting board can make a big difference in your comfort and productivity.
- Height: Make sure the board is at a comfortable height for your work, whether you’re sitting or standing. A good rule of thumb is to position the top edge of the board just below your chin level when sitting.
- Angle: Tilt the board to reduce neck strain. I usually set mine at a 30-degree angle, but adjust it based on what feels best for you.
- Lighting: Good lighting is crucial. I use an adjustable architect desk lamp with a bright, even light source. It cuts down on eye strain and lets me see all the details clearly.
Tip: Invest in an ergonomic chair that supports your back. You’re going to spend a lot of time at your drafting board, and proper support can prevent back pain.
Organizing Your Tools
A cluttered workspace can slow you down and make it harder to focus. Here’s how I keep my drafting area organized:
- Tool Trays: I keep a tool tray attached to the side of my drafting table for easy access to pencils, erasers, and rulers.
- Drawer Dividers: If your drafting board has built-in drawers, use dividers to keep everything organized. I keep a separate drawer for leads, pens, and other small items.
- Cable Management: If you use a lamp or other electronic tools, keep the cords organized and out of the way. I use adhesive clips to keep cables secured to the underside of the table.
Lesson Learned: Don’t wait until your workspace is a mess to organize it. Set up a system from the beginning, and you’ll save time and reduce frustration.
Using Your Drafting Board Effectively
Techniques for Better Drafting
I’ve picked up a few techniques over the years that have made my drafting process smoother:
- Use the Parallel Bar Wisely: When using a parallel bar, always start from the bottom and work your way up. This prevents smudging and keeps your lines consistent.
- Pencil Selection: Use a harder pencil (like a 2H) for construction lines and a softer pencil (like a B) for darker, final lines. This keeps your drawing clean and easy to read.
- Eraser Shield: An eraser shield is a lifesaver for small corrections. It helps you erase only what you need without affecting the rest of your drawing.
Tip: Keep a drafting brush handy to sweep away eraser shavings. Blowing on your drawing can smudge the lines or leave moisture spots.
Mistakes to Avoid
I’ve made plenty of mistakes with my drafting board over the years. Here are a few you can avoid:
- Not Checking Alignment: Always check the alignment of your parallel bar or T-square before starting. I once completed an entire drawing before realizing my parallel bar was slightly off. I had to redo the whole thing!
- Using the Wrong Paper: Make sure you’re using the right type of paper for your drawing. Thick, textured paper is great for sketches but terrible for precise technical drawings.
- Overusing Erasers: Excessive erasing can damage your board’s surface. Use a light touch and don’t overdo it.
Lesson Learned: Mistakes are part of the learning process, but taking the time to set up properly can prevent a lot of headaches.
Maintaining Your Drafting Board
Cleaning and Care
Keeping your drafting board clean and well-maintained will extend its life and keep it working smoothly.
- Regular Cleaning: Wipe down the board with a damp cloth to remove dust and pencil marks. Avoid harsh chemicals that can damage the surface.
- Check Moving Parts: If your board has a parallel bar or other moving parts, make sure they’re clean and well-lubricated. Dust and debris can cause sticking and uneven movement.
- Protect the Surface: Use a drafting board cover when not in use. This prevents dust buildup and protects the surface from scratches.
Pro Tip: If your drafting board surface gets scratched or worn, you can apply a layer of drafting film. It’s a quick, inexpensive fix that makes your board feel like new.
Long-Term Storage
If you need to store your drafting board for a while, take a few precautions:
- Store Flat: Always store your board flat to prevent warping.
- Cover It Up: Use a cover or wrap it in a clean cloth to protect it from dust and damage.
- Keep It Dry: Avoid storing in damp areas. Moisture can damage the board and cause the surface to warp or peel.
Lesson Learned: Proper maintenance and storage can keep your drafting board in top condition for years. Treat it well, and it will serve you faithfully.
HISTORY!
The Forgotten History of the Drafting Board
Drafting boards didn’t start as background tools—they helped redefine the architectural profession.
Before Drafting Boards
● Architects used flat tables or floors to draw.
● Drawings were done while kneeling—awkward and imprecise.
● Architecture was more craft than profession, often done by builders.
The Shift: 1800s
● Drafting boards introduced in the mid-1800s.
● Allowed seated or standing work, tilt for precision.
● Helped formalize architectural drawing as a core skill.
● Marked the transition from builder to professional architect.
Pushback
● Traditionalists resisted, calling it elitist.
● Debates sparked over “real” architecture vs. desk work.
● But schools adopted it, and it stuck.
Legacy
● By the 1900s, the drafting board became a symbol of the architect.
● Precision, theory, and design over on-site sketching.
● A tool that quietly revolutionized the profession.
Fun Fact: Early boards had built-in ink wells—yes, ink, not pencil. Messy days.
Why Every Architect Still Needs an Eraser Shield
The $5 Tool That’s Saved My Drawings More Than Once
The Humble Eraser Shield: Still a Drafting Essential
Small, cheap, and easy to ignore—but every architect should own one.
What It Is
A flat piece of thin metal or plastic with cutouts. Slip it over your drawing to erase tiny details without touching the rest. That’s it. No gimmicks. Just precision.
Why It Matters
● Fixes mistakes cleanly—no smudges, no redos
● Saves time—targets the problem area without affecting surrounding lines
● Improves confidence—lets you work looser knowing you can fix it cleanly
I’ve ruined drawings with one careless swipe of an eraser. The shield stops that.
Real Uses
● Clean up tight corners
● Erase between two parallel lines
● Sharpen up sketches after tracing overlays
● Tidy graphite or ink edges before scanning
Bonus Uses
● Use it as a mini straightedge
● Guide X-Acto cuts
● Help with stippling or dot rendering (yes, really)
Pro Tip
Bend it slightly for better control. It won’t break. Just don’t lose it—buy 2.
This isn’t some nostalgic tool. It still belongs in every architect’s kit. Simple. Cheap. Critical.
Final Word
A good drafting board isn’t just equipment—it’s where your best ideas begin. For students, it builds the habit of precision. For pros, it keeps the craft alive. Choose one that fits your space, style, and posture. Use it well, and it won’t just hold paper—it’ll hold your process together.
FAQ
- What’s the best way to maintain a drafting board? Regularly clean the surface with a damp cloth to remove dust and pencil smudges. If it has a parallel bar, ensure it’s properly aligned and free of debris. Using a cover when the board is not in use can prevent scratches and dust accumulation.
- Is it worth investing in an expensive drafting table as a beginner? It depends on your commitment to the craft. A high-quality drafting table offers better stability, durability, and comfort, but for beginners, a good-quality portable drafting board might suffice until you’re sure you need more features.
- Can drafting boards be used for digital design as well? Absolutely! Many architects use drafting boards as a stable base for their digital tablets or laptops. It provides the same ergonomic benefits and workspace organization as for traditional drawing.
- Why is an eraser shield essential for architectural drawings? An eraser shield allows you to make precise corrections without affecting surrounding details. It’s particularly useful for small adjustments in intricate drawings, ensuring your work stays clean and professional.
- What’s the ideal size for a drafting board? The size depends on your workspace and the scale of your drawings. A1 and A0 sizes are standard for architectural work, but if you’re short on space, an A2 board might be more practical.
- Is a drafting table better than a regular desk? Yes, for drafting work, a drafting table is preferable because it can be tilted to reduce strain on your neck and back. It also typically has a larger surface area designed for spreading out drawings and tools.
- How do I choose between a portable drafting board and an adjustable drafting table? If you need mobility and space-saving options, go for a portable board. If you have a dedicated workspace and need more stability and features, an adjustable drafting table is the better choice.
- What’s the best way to clean my drafting board? Use a soft, damp cloth to clean the surface. Avoid harsh chemicals. For stubborn marks, a bit of mild soap and water should do the trick. Regular cleaning keeps your board in good condition and ready for work.
Related Articles
- “How to Choose the Best Architect Desk Lamp for Your Workspace”
- “Top Tips for Setting Up a Productive Architectural Studio”
- “Must-Have Drawing Tools for Architecture Students”
- “The Ultimate Guide to Architect Pencil Sets”
- “From Blueprint to Model: Essential Tools for Architectural Design”
- “From Student to Pro: Choosing the Right Drafting Tools for Your Career”
- “Architectural History: Tools That Changed the Way We Design”
- “How to Keep Your Workspace Organized: Tips from an Architect”
- “Top Gadgets and Tools for Improving Your Drafting Accuracy”
- “Drafting Essentials: Why You Need More Than Just a Pencil and Paper”
Affiliate Notes
This post contains affiliate links. We may earn a small commission from Amazon if you make a purchase through these links, at no additional cost to you.