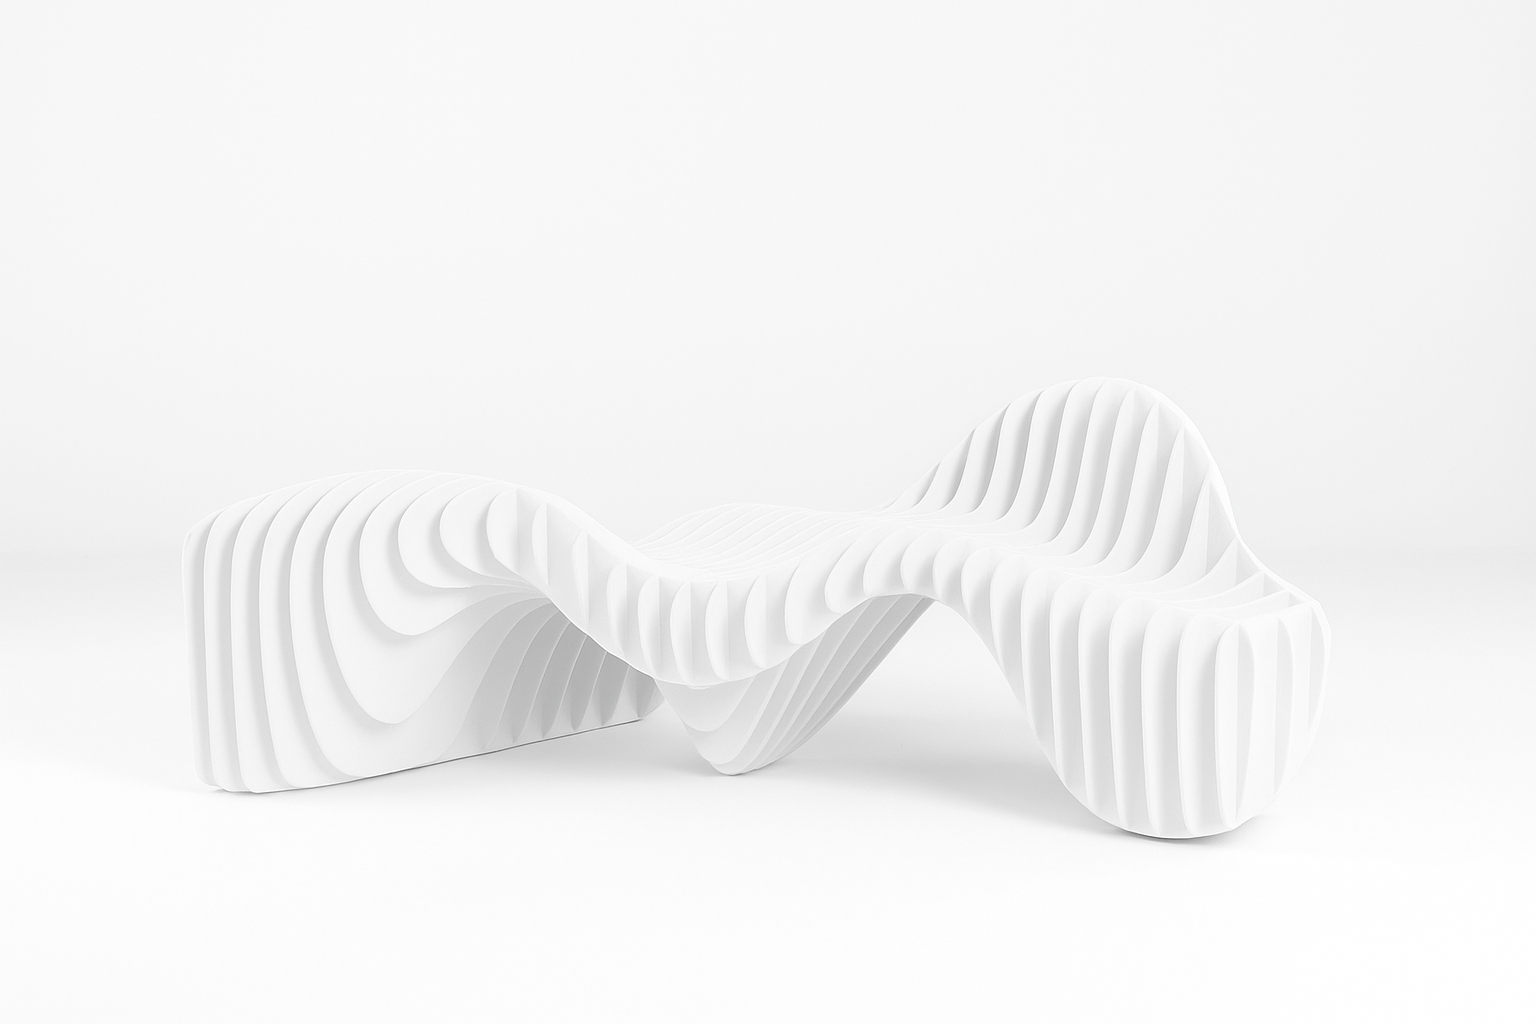
Parametric Furniture Design: Beyond the Ordinary
Parametric design uses rules to drive shape, fit, and function. You set inputs. The model responds. The result is furniture that fits space, body, and material limits instead of fighting them.
Below is a clear, buildable take on parametric furniture with examples, tools, and steps you can use in a studio or a shop.
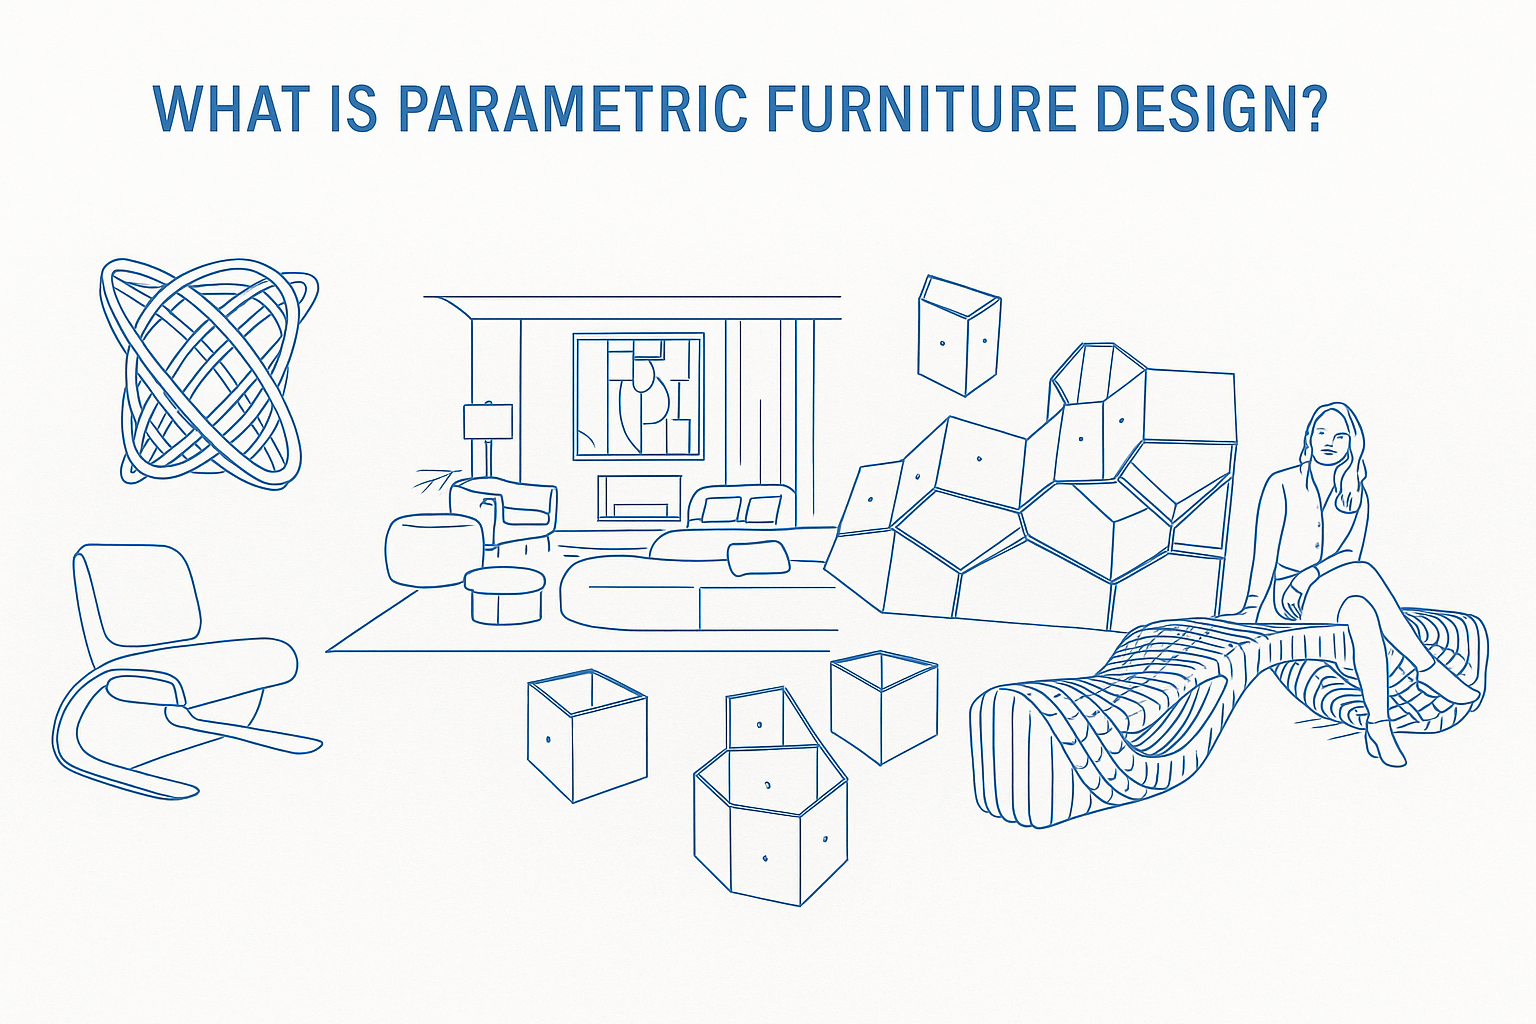
What Is Parametric Furniture Design?
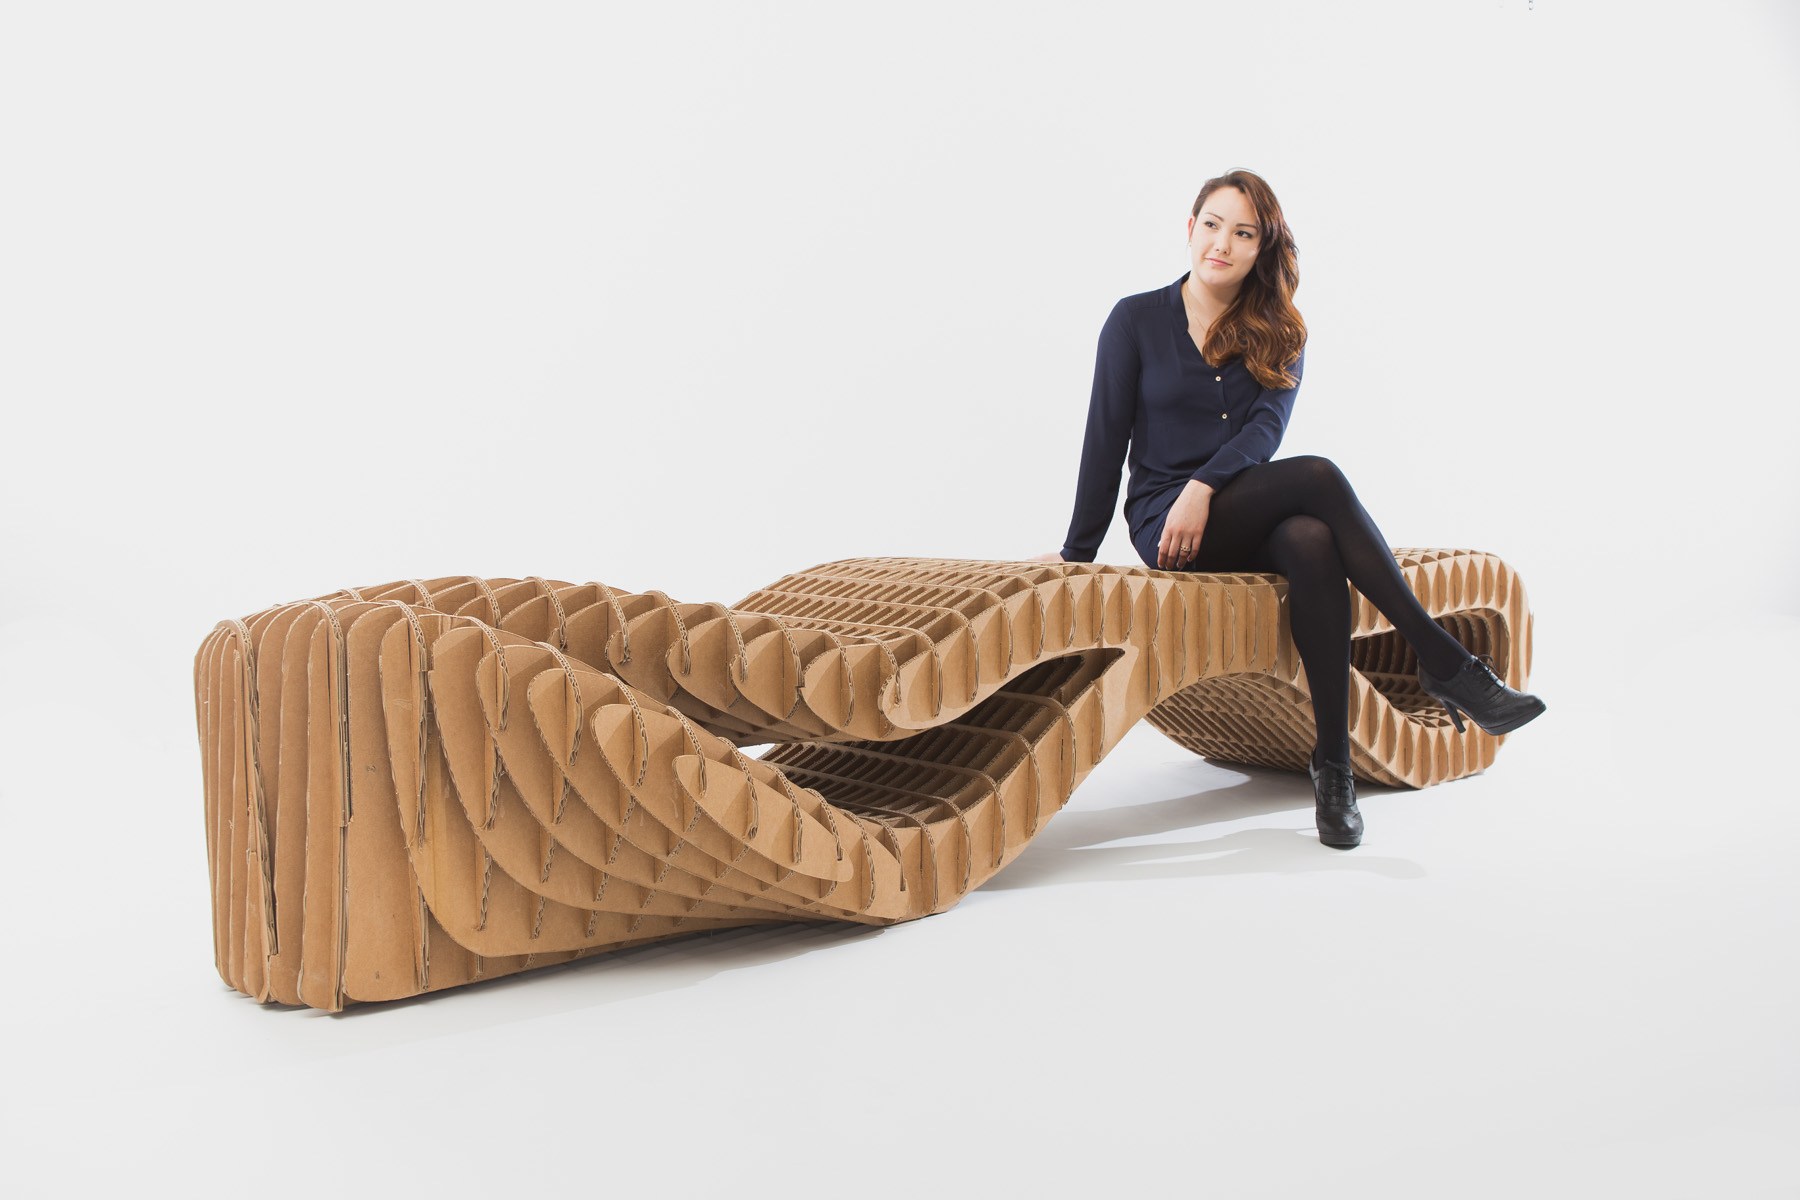
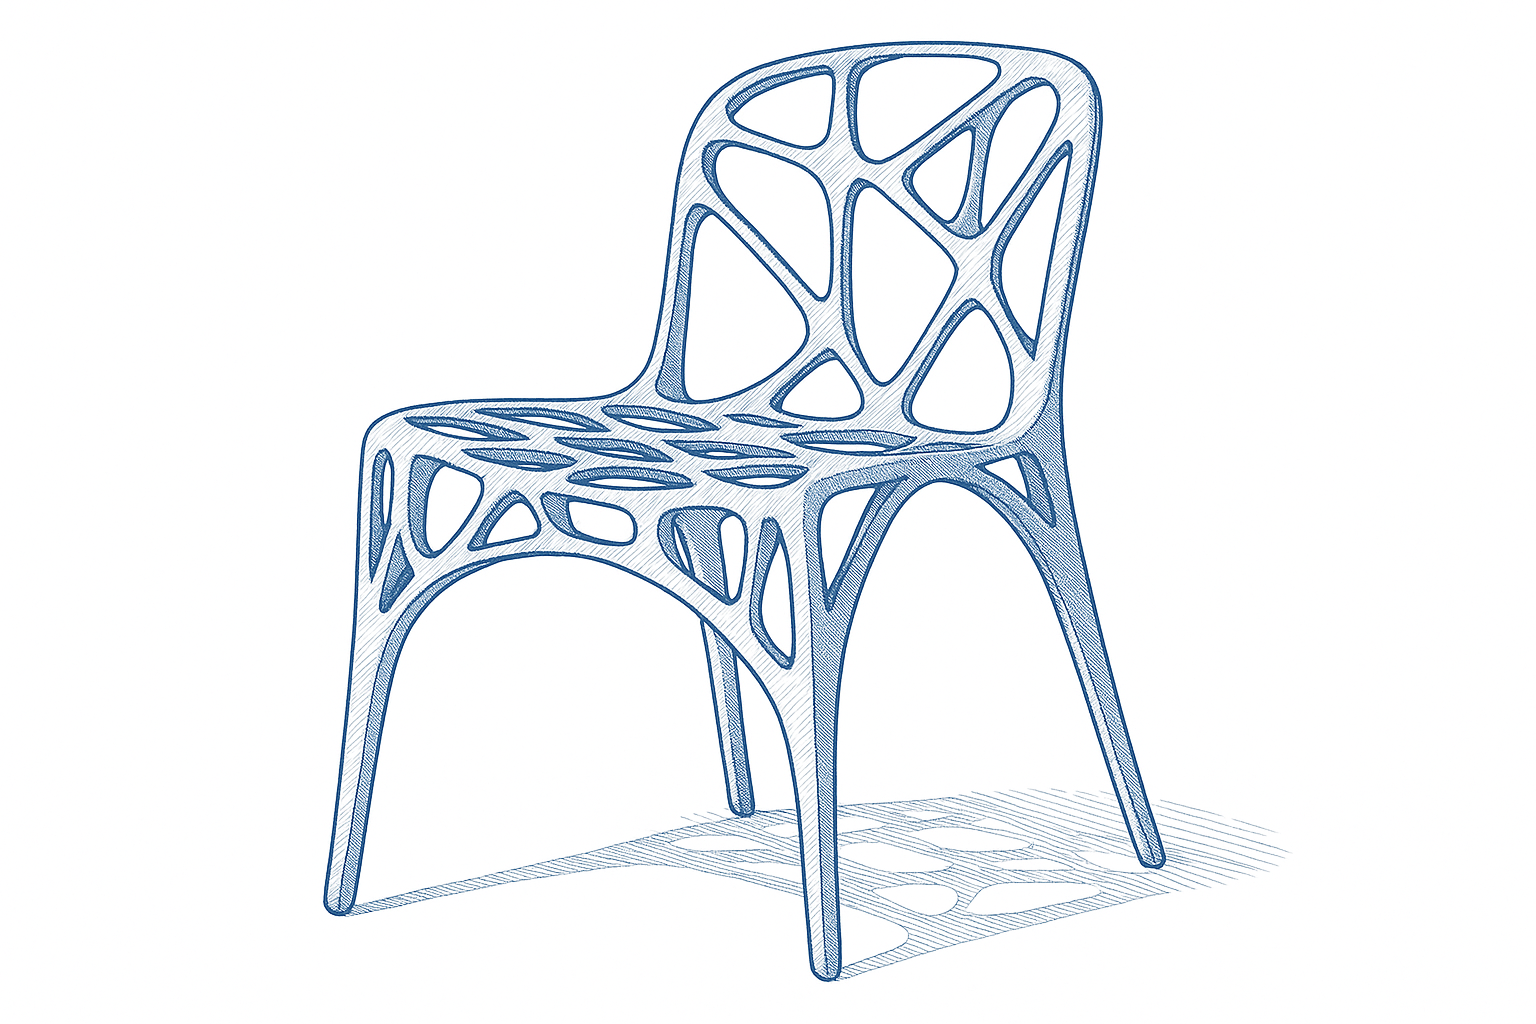
Parametric furniture links geometry to inputs like overall size, panel thickness, joinery type, load, reach, and tool limits. Change an input and the model updates without breaking structure or finish. You are not sketching a single chair. You are encoding how that family of chairs behaves when the user, the room, or the stock changes.
Smarter Furniture Through Smart Rules
Traditional pieces are fixed once built. Parametric pieces adapt. You define ranges for seat height, slope, leg spread, cavity depth, cable paths, shelf spacing, and edge radii. The graph drives every curve and cut. Not guesswork.
This approach scales. It shapes chairs and tables. It also shapes full rooms from parametric interiors to adaptive parametric ceilings.
Picture a wall unit that tightens shelf spacing where books cluster and opens bays where you need display or speakers. Same family. Different behavior.
Why It Matters
Parametric design is not about showing off curves. It is a cleaner way to hit targets.
▪ Custom fit → Pieces match users and rooms
▪ Efficient use → Less waste and tighter nesting
▪ Design range → Calm to expressive without new hardware
▪ Real function → Cable paths, vents, grip zones, access
Ceilings and casework prove the point. A parametric ceiling can tune reverberation and light. A tight parametric interior can fix circulation, sightlines, and storage in one pass.
Related Topics
● Parametric Ceiling Design
● Parametric Interior Design
FIELD PICK
Elements of Parametric Design by Robert Woodbury. Clear logic. Useful graphs.
Workflow That Holds Up In The Shop
Use a loop that survives schedule pressure and tool noise. No magic. Just order.
- Set targets. Seat height range. Load. Sheet stock. Tool path limits. Finish schedule. Shipping constraints.
- Encode rules. Tenon depth ties to sheet thickness. Hole arrays tie to hardware spec. Fillets tie to bit size. Gaps tie to finish build.
- Generate versions. A few, not dozens. Adjust inside ranges that matter for comfort, cost, and yield.
- Test performance. Deflection, wobble, torsion, reach, pinch points. Kill weak options fast.
- Lock the kit. Minimal unique parts. Repeat fasteners. Repeat radii. Repeat clearances.
- Document from the model. The same graph outputs DXF, BOM, labels, and assembly order.
Do this and your second build is faster than the first. Your fifth feels automatic.
Materials That Behave Well Under Rules
Parametric pieces work when the material matches the logic in the graph.
Plywood and LVL
Good sheet yield. Predictable strength. Clean edges with the right bit. Encode face grain direction for exposed laminations. Snap part sizes to standard sheets to cut waste. Mark show edges on the DXF.
Solid timber
Looks rich. Moves with humidity. Encode grain, quarter sawn preference, and max board width. Design joints that can breathe. Keep seasonal gaps honest. Add screw slots that allow movement.
Engineered panels
MDF and HDF route clean. Heavy. Paint grade. Use for hidden ribs, baffles, or cores. Set minimum web thickness in the graph so nothing crushes under screws. Call out primer and sand back steps.
Aluminum and steel
Stiff and thin when you need it. Encode minimum bend radius and standard extrusion sizes. Keep perforations honest. Tie hole spacing to off the shelf brackets. Protect dissimilar metals at contact points.
Composites and bio based
Flax, hemp, bamboo veneers, recycled cores. Good stiffness to weight. Check fastener pull out. Encode drill speeds and edge distances so panels do not crack. Keep radii friendly to skins.
Joinery That Fits A Parametric Mindset
Rules make joinery repeatable. Stop inventing a new joint every time a length changes.
Tab and slot
Classic CNC. Encode slot width as sheet thickness plus allowance. Add dog bone radii tied to bit diameter. Fast to cut. Honest edges when left exposed. Add wedge options when you need clamp free fit.
Knock down fasteners
Confirmat. Cross dowels. Cams. Good for flat pack. Encode hole patterns so they never drift. Keep driver access clear. Note torque and thread type in the drawings.
Biscuit and domino
Solid timber frames and thick panels. Encode spacing by member length. Keep edge distances safe. Mark hidden reinforcements on the shop drawings. Note glue type and open time.
Mortise and tenon variants
High load connections. Encode shoulders and haunches. Let sizes scale with thickness and span. Add draw bore pins when you need tight pulls without clamps.
Hybrid ribs and skins
Sculpted shells and long spans. Encode rib spacing to limit skin deflection. Snap skin thickness to stock. Tie fasteners to ribs. Add service openings into the graph.
Manufacturing Reality: From Graph To Toolpath
Pretty graphs mean nothing if the cut list is junk. Keep outputs tight.
Nesting and kerf
Set global clearance for nesting. Encode kerf. Leave onion skins where needed. Use dog bones or T bones where interior slots meet. Flag small parts for tabs or vacuum zones.
Bits and radii
Minimum internal radius must match bit size. Encode fillet rules. Avoid sharp inside corners that force hand work. Round what the bit can round. Set a default bit per material.
Tabs and labels
Automate tab placement and part labels. Output DXF and a matching CSV for BOM. Put the same part ID on drawings, stickers, and assembly steps. Label faces when finish differs.
Edge treatment
Call out edges that get veneer, oil, paint, or raw. Encode edge types into part data so finishers are not guessing. Note grain wrap rules for exposed laminations.
Fixtures and reference
Design drill jigs and assembly squares inside the same model. Encode hole guides for repeatability. Build the jig before the hero part. Store jigs and their IDs in the BOM.
Ergonomics That Actually Move The Graph
Comfort fails are expensive. Encode human ranges so the model guards you.
Seating
Seat height range ties to user percentile. Seat slope range ties to task time. Back rake ties to task. Lumbar target ties to user height. Arm clearances for elbows and side pulls. Each input scales related geometry.
Work surfaces
Standing and seated heights. Reach arcs for screens and accessories. Cable drops that do not fight drawers. Knee clear volumes. Monitor center lines that match eye height. The graph should hold these without manual edits.
Storage
Grip zones at hand level. Drawer depth ties to slide spec. Shelf spans tie to deflection limits. Door swings that clear adjacent elements. Add stops where doors meet walls.
Casework Families That Print Money
A small, disciplined catalog beats a scatter of one offs. Encode the family once. Sell it many times.
Base carcasses
Widths snap to a module. Heights snap to a plinth plus carcass. Hole arrays tie to shelf pins and hinges. Face options swap without breaking the box. Add service voids that never change.
Uprights and ladders
Encode hole ladders for flexible shelf positions. Tie ladder spacing to spans and deflection. Keep the same drill pattern across widths. Add tie backs for walls with poor studs.
Doors and fronts
Gaps tie to hinge spec. Handle centers tie to a grid. Soft close options drop in with the same drilling. Note tip on and push to open options.
Back panels and bracing
The model picks back thickness from span and load. Cross rails appear when aspect ratio triggers them. Scribes appear when walls are out of plumb.
Finishes That Survive Hands And Time
Finishes fail when you do not encode edge prep, sanding steps, and dry times. Treat finish like a part of the graph.
Oils and hardwax
Good for timber. Encode grit ladders. Call out flood time. Call out buffing pads. Mark high touch zones for extra coats. Note cure times before pack.
Lacquer and paint
MDF shines here. Encode primer passes and sand back. Keep radii friendly to sprayed edges. Mask hinge cups and runners in the drawing set. Note overspray risks.
Laminates and edgeband
Snap part sizes to band thickness so finished dimensions land right. Encode inside radii to match postform limits. Mark scribe panels and their oversize.
Assembly Without Drama
Most mistakes happen after cutting. Stop them with order and marks.
Number the build
Define an assembly sequence. Each step shows only the parts and fasteners for that step. Include torque notes. Include clamp count. Add cure times.
Marking and references
Add hidden reference notches the jig can find. Keep a common origin for all parts so assembly squares make sense. Align labels with that origin.
Fastener discipline
Limit fastener types. Encode driver sizes on the drawings. No hunting across bit sets during install. Store spares in the crate with a count.
Costing That Keeps You Honest
Price from the model or you will bleed. Encode the cost math so options stay real.
Material
BOM counts sheets and boards from nesting or length breakdown. Add waste factors that scale with complexity. Update prices from your supplier CSV. Flag low stock materials.
Operations
Cut time from toolpath length and feed. Drill time per hole count. Sanding and finishing as minutes per face area. Assembly as minutes per fastener. These start crude. Tune them after each build. Save the multipliers in the graph.
Shipping and install
Flat pack counts boxes and weights. Built up counts truck space and straps. Stairs and elevators add time. Encode those multipliers as site inputs. Add site risk buffers.
Failures You Will See And How To Avoid Them
Parametric work saves time until it explodes. These are the common explosions.
Inside corners burn or chip
Cause: zero fillet. Fix: encode fillets tied to bit size. Add dog bones for slots. Do not fake square corners.
Tabs snap during routing
Cause: tabs too thin. Fix: tie tab width to sheet thickness. Place tabs away from grain runout. Reduce feed near tabs.
Joints too tight or too loose
Cause: no allowance for finish and kerf. Fix: encode allowances by finish type. Test coupons. Store offsets per material and per bit.
Racks and wobbles
Cause: no triangulation or poor shelf spans. Fix: add backs or rails when aspect ratios trigger them. Tie spans to deflection targets. Wobble is a graph bug, not a site bug.
Cable chaos
Cause: no routed paths. Fix: encode cable races and grommet positions. Keep clear of slides and hinge arms. Add strain relief near exits.
Finish blotch and telegraph
Cause: poor prep or thin veneers. Fix: encode sanding steps. Use sealers on problem species. Avoid aggressive edges on thin face.
Notable Examples Of Parametric Furniture Design
What you will learn
→ How top designers encode rules
→ Which tools map to each task
→ How parameters drive form and use
● Prouvé Raw by Ronan and Erwan Bouroullec
Why it stands out
Steel and timber logic reworked with parametric control of thickness, angle, and span. Looks faithful. Builds smarter.
Focus
Keep original proportions legible. Optimize cuts and joints for current stock sizes and current hardware.
Design insight
Leg frames and seat shells became adjustable parts. New families came from one clean graph with tight ranges.
Tools
Rhino + Grasshopper
● D3 Design Collection by D3 Studio
Why it stands out
A catalog runs on three inputs: width module, connector type, load class. Fewer parts. More jobs.
What to learn
Variation through density and rotation, not endless new parts. Repeat fasteners. Repeat drills.
Design insight
Geometry sets look and shear paths so the same kit covers short spans and long spans. One family. Many rooms.
Tools
Autodesk Alias + Rhino
● Parametric Desk by Marco Hemmerling
Why it stands out
Expressive shell with ergonomics and cable management encoded as rules. The look follows the logic.
What to learn
Start from reach zones, clearances, and screen heights. Let the shell follow those curves.
Design insight
The graph ties knee space, brace position, and port locations to user height and task time.
Tools
Rhino + Grasshopper
● HoloDesk by HoloDesign
Why it stands out
Parametric carcass with AR overlays for live placement and routing. Digital and physical share the same graph.
Focus
Split the desk into physical and digital zones. Keep sensors serviceable. Keep cable runs repairable.
Design insight
Inputs include motion arcs, light levels, and device footprints. Outputs drive cut paths and brackets with a stable drill pattern.
Tools
Fusion 360 + Rhino
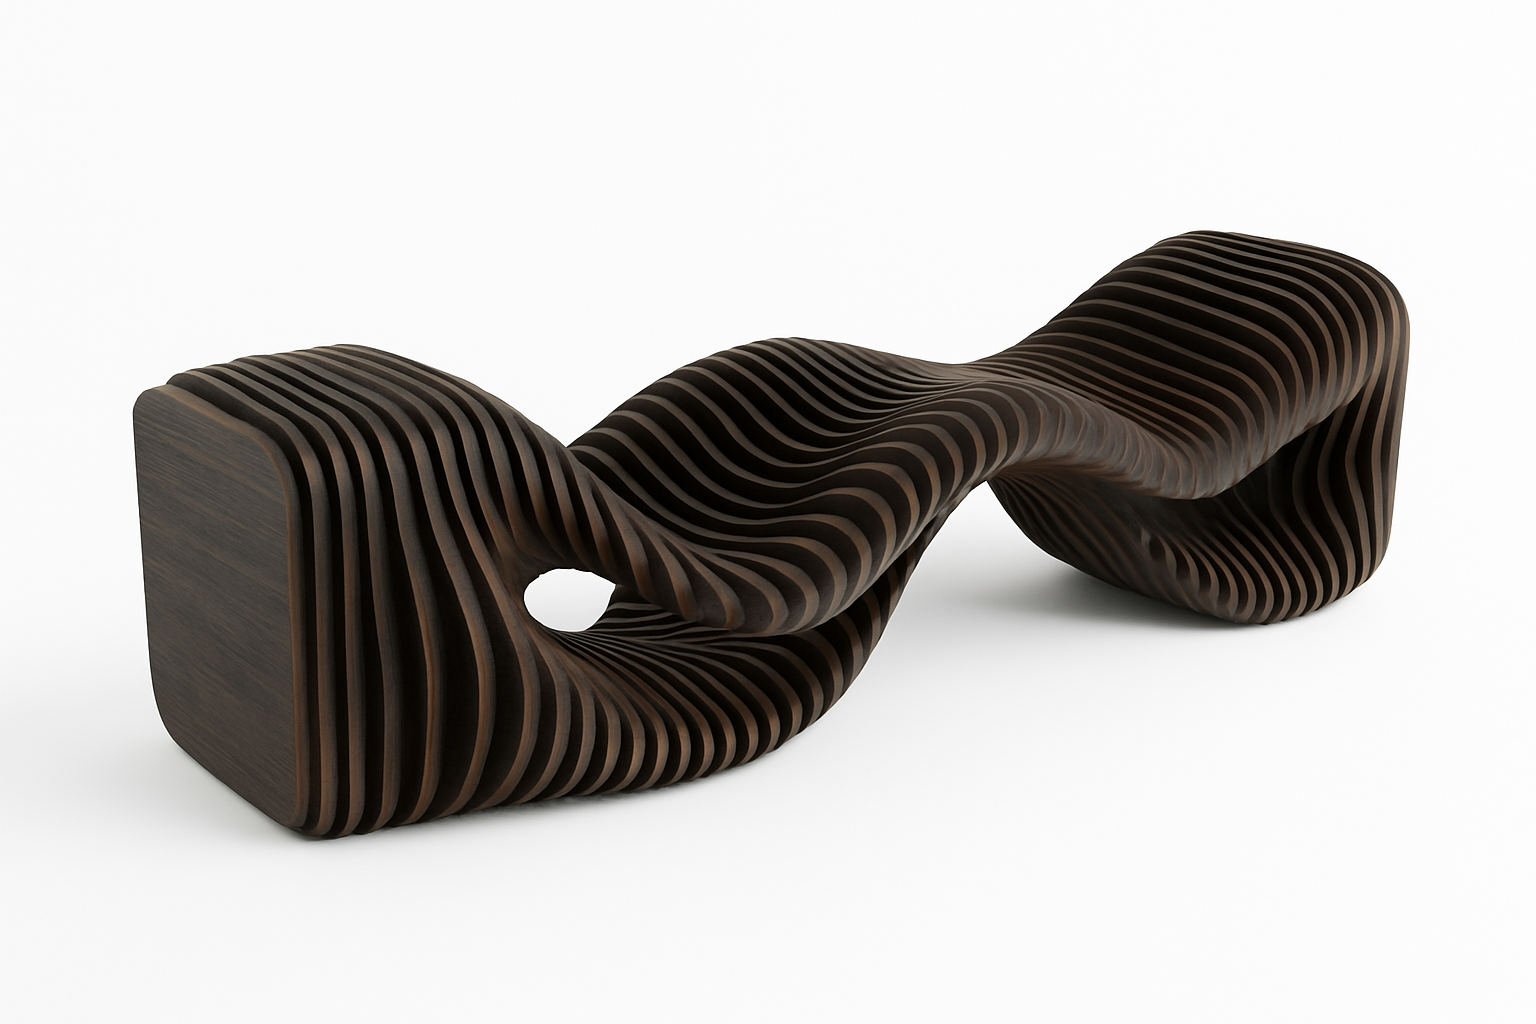
● Algor Table by Studio Nucleo
Why it stands out
Recursive patterns read sculptural and still sit on solid structural logic. Drama with discipline.
What to learn
Math fields are fine when spans, bearings, and joints stay honest. Beauty is a side effect of good limits.
Design insight
Fractal variation is bounded by minimum member size and max overhang. Free look. Clean build. No cheating at the glue line.
Tools
Rhino + Grasshopper
Design takeaway
Five modes to study: historical remix, system catalogs, ergonomic precision, tech hybrid, sculptural field.
Two Real Case Studies You Can Copy
Case 1. Compact Media Console For A Small Living Room
Targets
Overall width 1400 to 1800. Depth 380. Height 520. Vent area for hot gear. Cable race. No visible fasteners on face. Flat pack ship.
Inputs
Module width 300. Shelf span max 700 at 18 mm ply. Back relief 50. Plinth 60. Face gap 2. Hardware: concealed hinges 110 degree, push to open latches.
Rules
Shelves add when width passes module breaks. Rails add when aspect ratio triggers. Door count grows with width. Vents scale as percent of back area. Cable race sits 80 above plinth.
Outputs
DXF with tabs and labels. BOM with sheets, hinges, latches, screws, edgeband length. Assembly steps with eight moves. Site checklist with wall conditions.
Result
Three widths produced. Same jigs. Same drills. Cost stayed predictable. Install in under two hours.
Case 2. Adjustable Studio Chair For Mixed Heights
Targets
Seat height 420 to 500. Back rake 12 to 18. Load 130 kg. Replaceable seat pad. No pinch points. Fast assembly.
Inputs
Seat slope 2 to 5. Back height 450 to 520. Leg spread for tip stability. Tenon size tied to sheet thickness. Pad snaps tied to fabric stretch.
Rules
Seat and back shells scale from reach data. Tenons lengthen with rake. Gussets appear when leg spread grows. Pad pattern auto updates with shell size.
Outputs
Cut files for ribs and shells. Sew pattern for pad. Assembly order. Torque notes. Finish schedule. Repair guide.
Result
Stable at tall settings. Comfortable at low settings. Repairable pad. Repeatable build with short training.
Student Starter Pack
Use this if you have a week and access to a small CNC.
✓ Pick one problem. Side table, small shelf, or a stool.
✓ Fix targets. Height, width, load, sheet stock, bit size.
✓ Encode three rules. Thickness drives slots. Bit drives radii. Span drives ribs.
✓ Generate three options inside the ranges. Not thirty.
✓ Cut one at quarter scale from cheap stock. Test joints and wobble.
✓ Adjust allowances. Cut full size. Photograph under real light.
Quote
“I stopped redrawing the stool each time. I started redrawing the rules.”
Tips For Learning Parametric Furniture Design
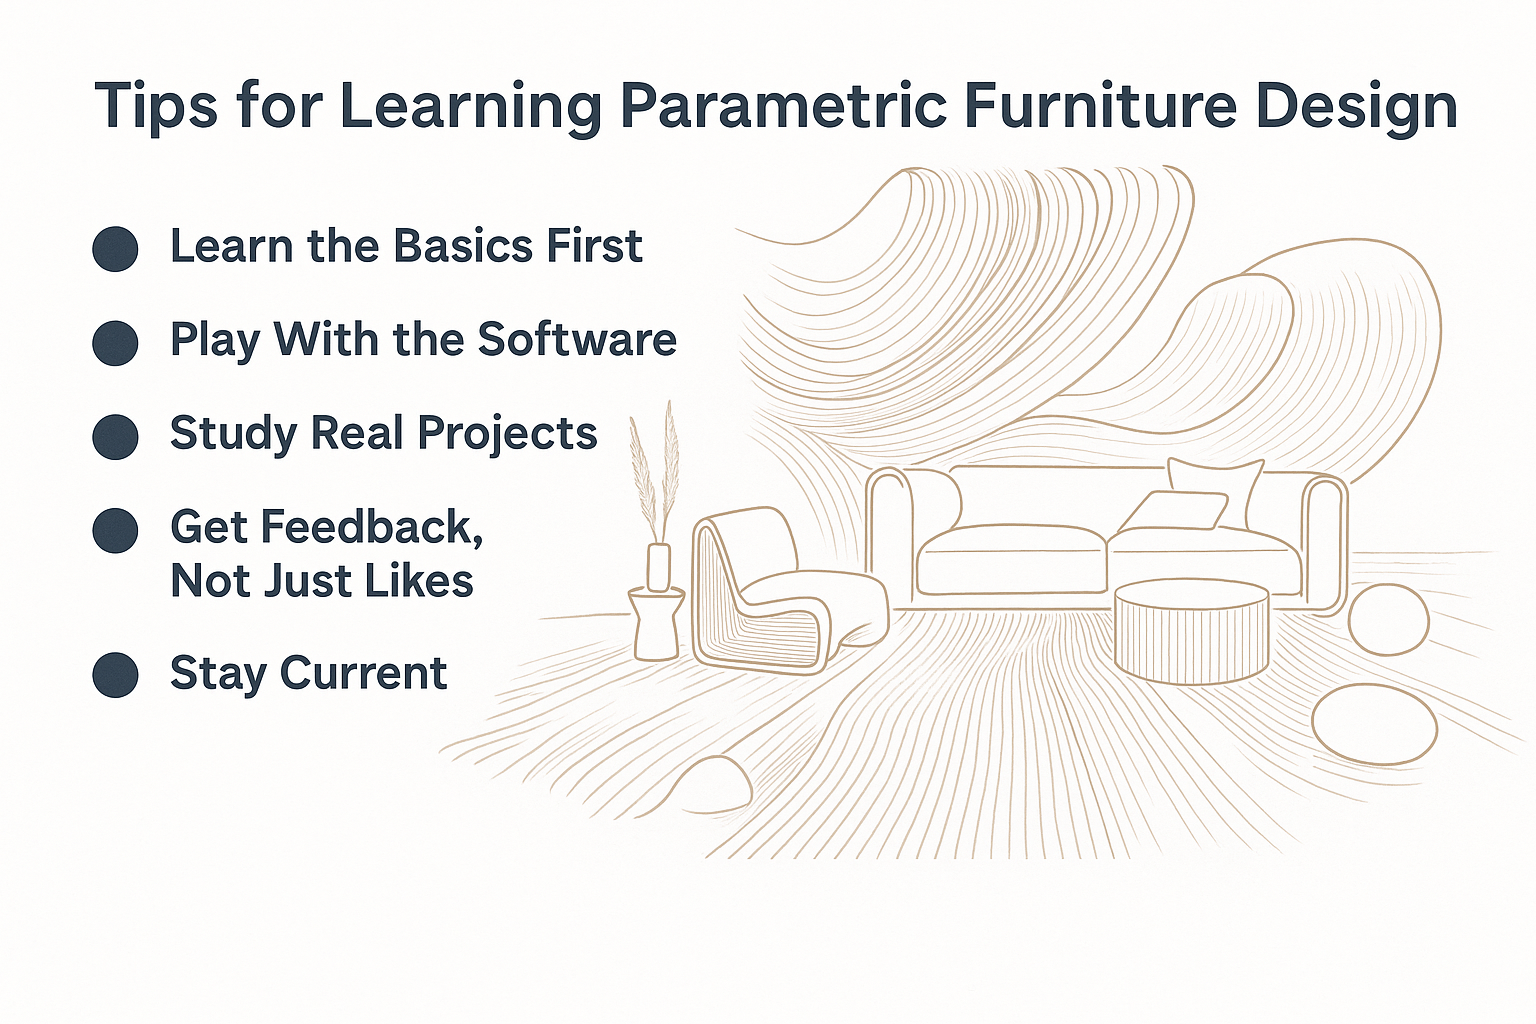
Where to start and how to level up
● Learn the basics first
Start with Rhino. Then Grasshopper. Understand lists, data trees, and transforms before plugins. Practice clean names and clean groups. Future you will thank you.
● Build, break, rebuild
Prototype small graphs. Two inputs. One output. Add complexity only when a target demands it. Keep versions. Note what failed and why.
● Study real projects
Reverse engineer a chair you like. Identify parameters that control comfort, stance, and weight. Map each to a slider or a number source.
● Get real feedback
Share with people who build. Ask about tolerance, bit wear, tabs, fasteners, and finish time. Then rewrite the rules based on what they tell you.
● Stay current
Follow active Grasshopper forums. Track joinery systems and nesting add ins. Document what works. Delete what wastes time.
Good reading: Elements of Parametric Design
In Focus: Emerging Trends
AR placement and fit
Use AR to check reach, leg clearance, cable drops, and sightlines before cutting material. Walk the client through the layout and lock decisions early.
Sustainable stock and finishes
Design for sheet yield, standard lengths, and low VOC finishes. Snap the graph to supply. Avoid orphan parts that only one vendor can cut.
Ergonomic catalogs
Encode sizes for percentiles. Swap tops and bases without redrawing. Keep the drill patterns fixed. Offer a small set of finish packs.
Sensor aware furniture
Hide sensors in serviceable places. Route cables through planned races. Make the electronics removable so the core stays useful when the tech changes.
Mistakes To Avoid
● Drawing by eye after the graph is set. Breaks the promise of rules.
● Ignoring allowances for finish. Doors will bind. Joints will bruise.
● Using five fastener types when two would work. Installs slow down.
● Over nesting small parts. They char, fly, or vanish. Batch them on a parent panel.
● Overusing perforations for the look. Weak panels and long cut times.
● Letting cable holes drift. Retrofits look messy and cost hours.
How To Apply This
1. Pick one product you already make. A stool or a shelf.
2. Write five targets. Size, load, stock, finish, shipping.
3. Encode five rules. Slots, fillets, spans, holes, clearances.
4. Cut a cheap prototype. Record wobble, fit, and time to build.
5. Adjust the graph. Lock allowances. Lock the kit of parts.
6. Export labeled cut files, BOM, and a one page assembly guide.
7. Photograph in real light. Price from the model. Ship flat if possible.
FAQ
What is parametric furniture design
A rule based workflow where geometry responds to inputs like size, load, joinery, and material. Change inputs. The model updates. Structure stays honest.
Which software is common
Rhino and Grasshopper for rules. Fusion 360 and Autodesk Alias for parts and surfacing. Keep files clean. Name everything.
How does it improve function
It ties form to ergonomics, structure, airflow, and cable paths so pieces work better in use. Comfort and access stop being afterthoughts.
Can it scale to production
Yes. Keep part families tight. Use nesting to cut waste. Lock tolerances and hole patterns early. Add jigs to the graph and label them.
Is it beginner friendly
Start simple. Learn lists, data trees, and transforms. Grow into fabrication constraints. Cut small tests before full sheets.
What about sustainability
Optimized sheet layouts, fewer uniques, reversible fasteners, and repairable pads reduce waste and extend life. Use finishes that can be renewed.
Essential Reads
- Elements of Parametric Design by Robert Woodbury
- Parametric Design for Architecture by Wassim Jabi
- Digital and Parametric Architecture by Carlo Aiello
- Parametric Building Design Using Autodesk Maya by Ming Tang
- Post-Parametric Automation in Design and Construction by Thomas Spiegelhalter
References
- Terraform Design — Parametric style furniture guide
- Novatr — Ten parametric furniture projects worth studying
- Shapr3D — Parametric workflows for furniture parts
- BeeGraphy — How parametric rules change furniture creation