You’re not really asking for “math.” You’re asking for insurance.
Insurance that you won’t be short at the worst moment (mid-pour), and insurance that you won’t wildly over-order and eat a cancellation or short-load fee. Most slab estimating pages pretend the only variable is length × width × thickness. Real pours don’t behave that clean.
- How to estimate cubic yards (ready-mix) and bag counts (mix-at-home)
- Simple thickness rules-of-thumb that match how slabs are actually used
- Waste factors that make sense (and when 10% still isn’t enough)
- Truck minimums, short-load fees, and why “just add a yard” can backfire
- A myth sweep: the repeat bad takes that keep costing people time and money
The common misunderstanding: concrete quantity isn’t the hardest part
Most mistakes happen before the math. People estimate a perfect rectangle at a perfect thickness, then pour into something that isn’t perfect: base has waves, forms aren’t square, edges slump, and “4 inches” becomes “3-1/4 here, 5-1/2 there.”
That’s why the same pattern keeps showing up in real-world discussions: the calculation was fine, but the slab wasn’t what they calculated. The fix is boring and consistent.
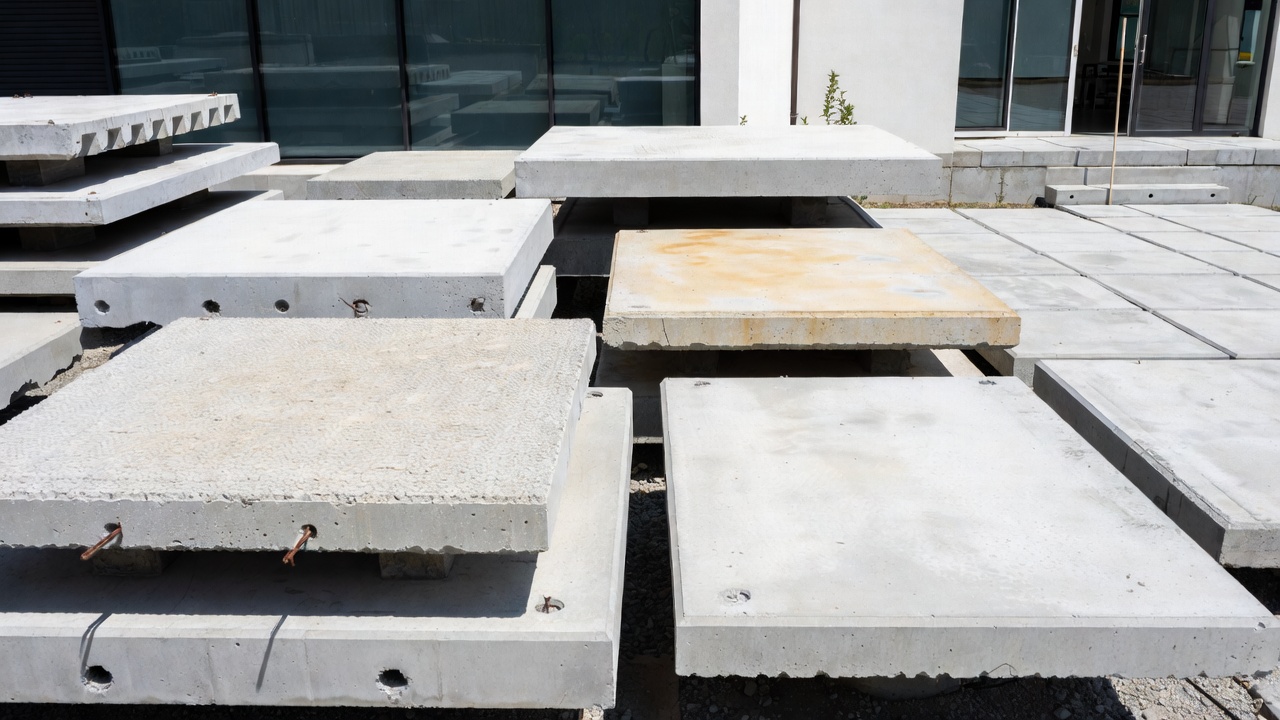
Measure the slab you’re actually building. Not the slab you drew in your head. If you’re still deciding what kind of pad you’re even building (patio vs shed vs equipment), this overview helps frame the real use-cases: concrete pad uses and installation basics.
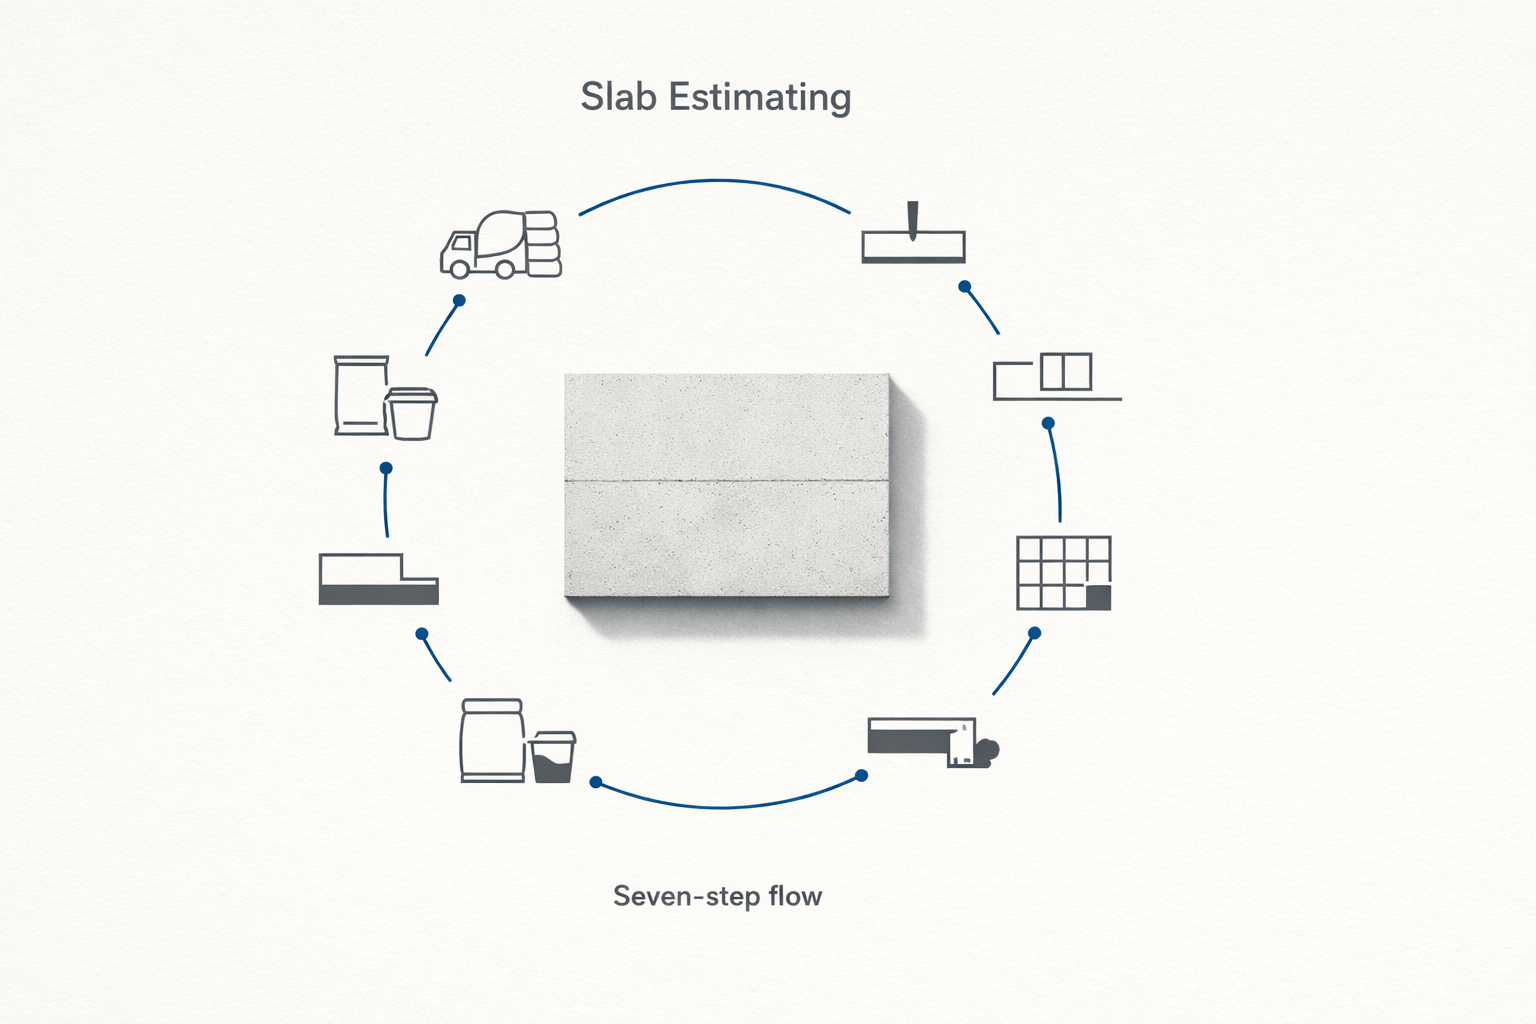
Estimating Concrete Slabs: Step-by-Step
(A Quick Calculator You Can Trust)
Step 1: Decide if this is a ready-mix job or a bag job
Bag mix is tempting because it feels controllable. You can buy it in chunks. The reality is labor and time. Once your bag count is high, the slab turns into a race you didn’t plan for: mixing speed, placement speed, finishing window, and fatigue. This is where “it’s only a few more bags” turns into a long, ugly day.
Ready-mix costs more per unit, but buys you consistency and time. It also introduces delivery constraints: minimum order sizes, short-load fees, washout rules, access, and timing. Concrete doesn’t care that you’re not ready yet.
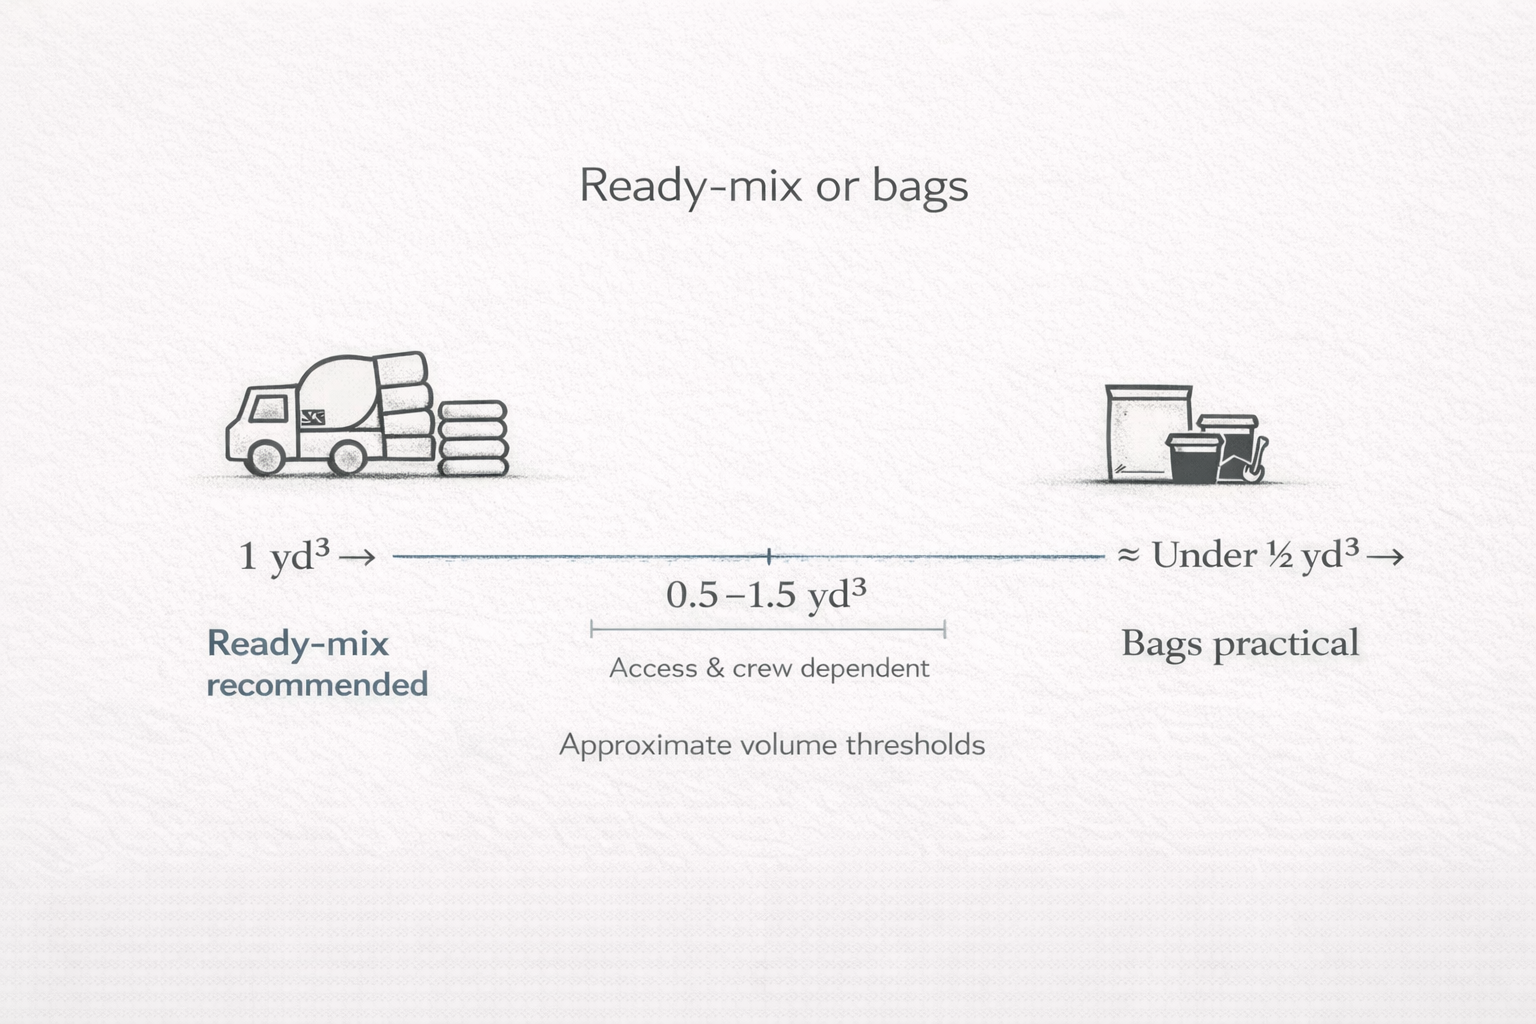
Quick decision rule:
- If you’re over roughly 1 yard (or you need a clean finish), ready-mix starts making more sense.
- If you’re under roughly 1/2 yard and access is easy, bag mix can be fine.
- If you’re in the “middle” (0.5–1.5 yards), it’s usually a logistics choice: access for trucks, wheelbarrow distance, helpers, and how tight your finish requirements are.
Step 2: Get the slab thickness right (because thickness drives everything)
People obsess over yardage and ignore the more important decision: thickness. If thickness is wrong, the slab is wrong. And your “accurate estimate” was accurate for the wrong slab.
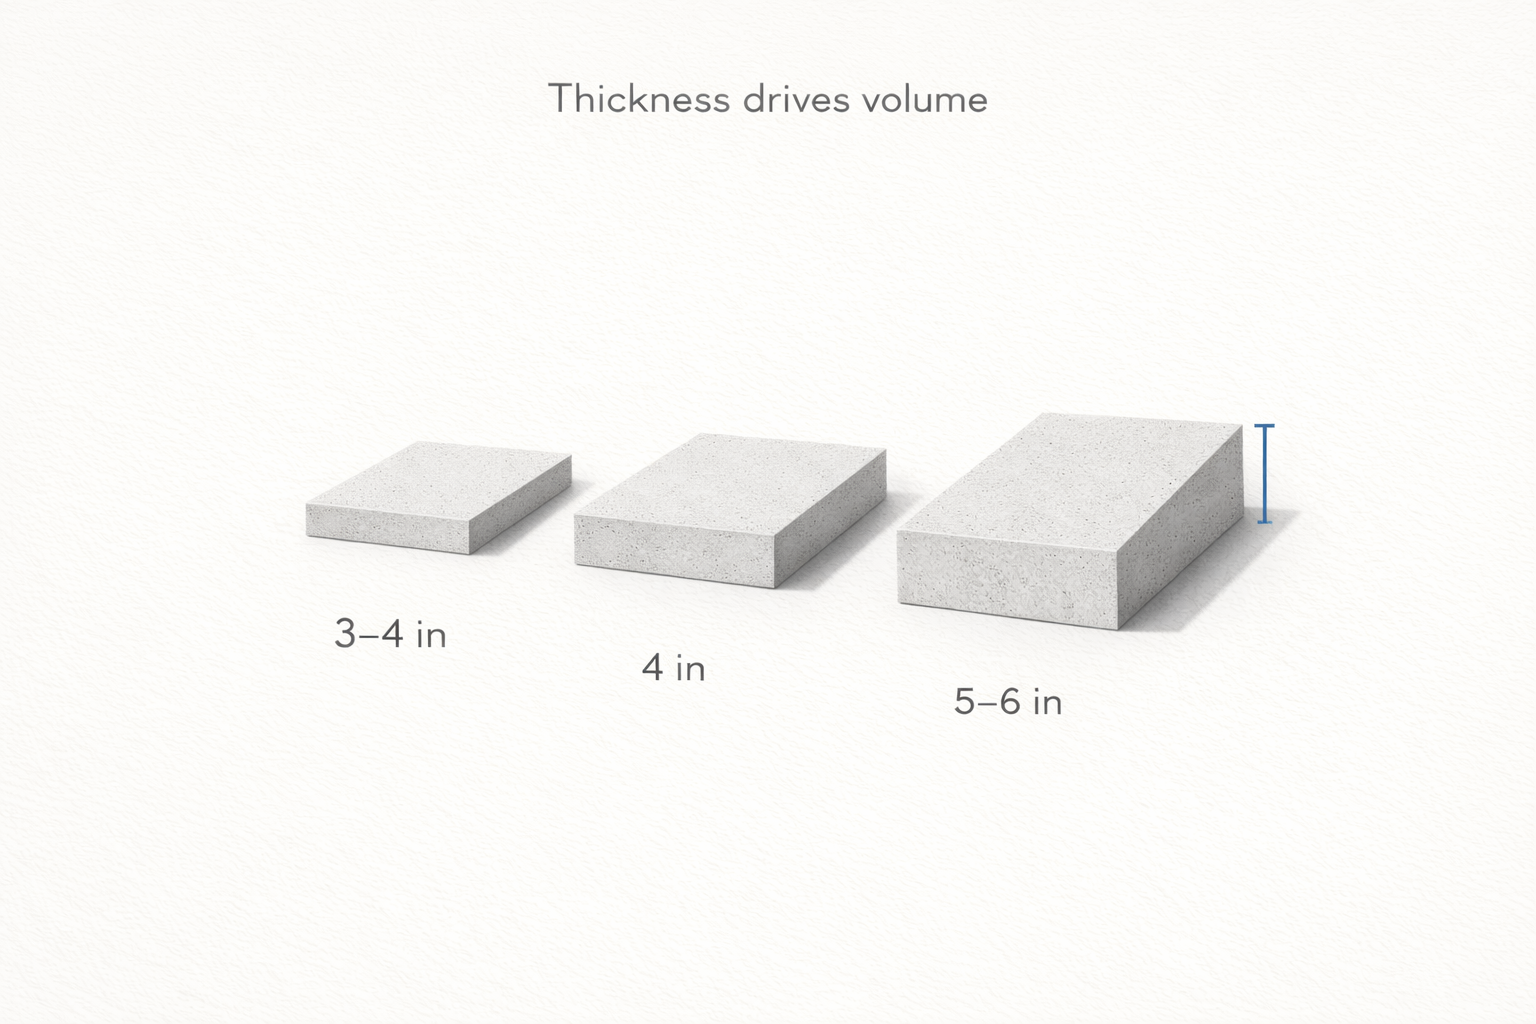
Common thickness bands people keep circling around:
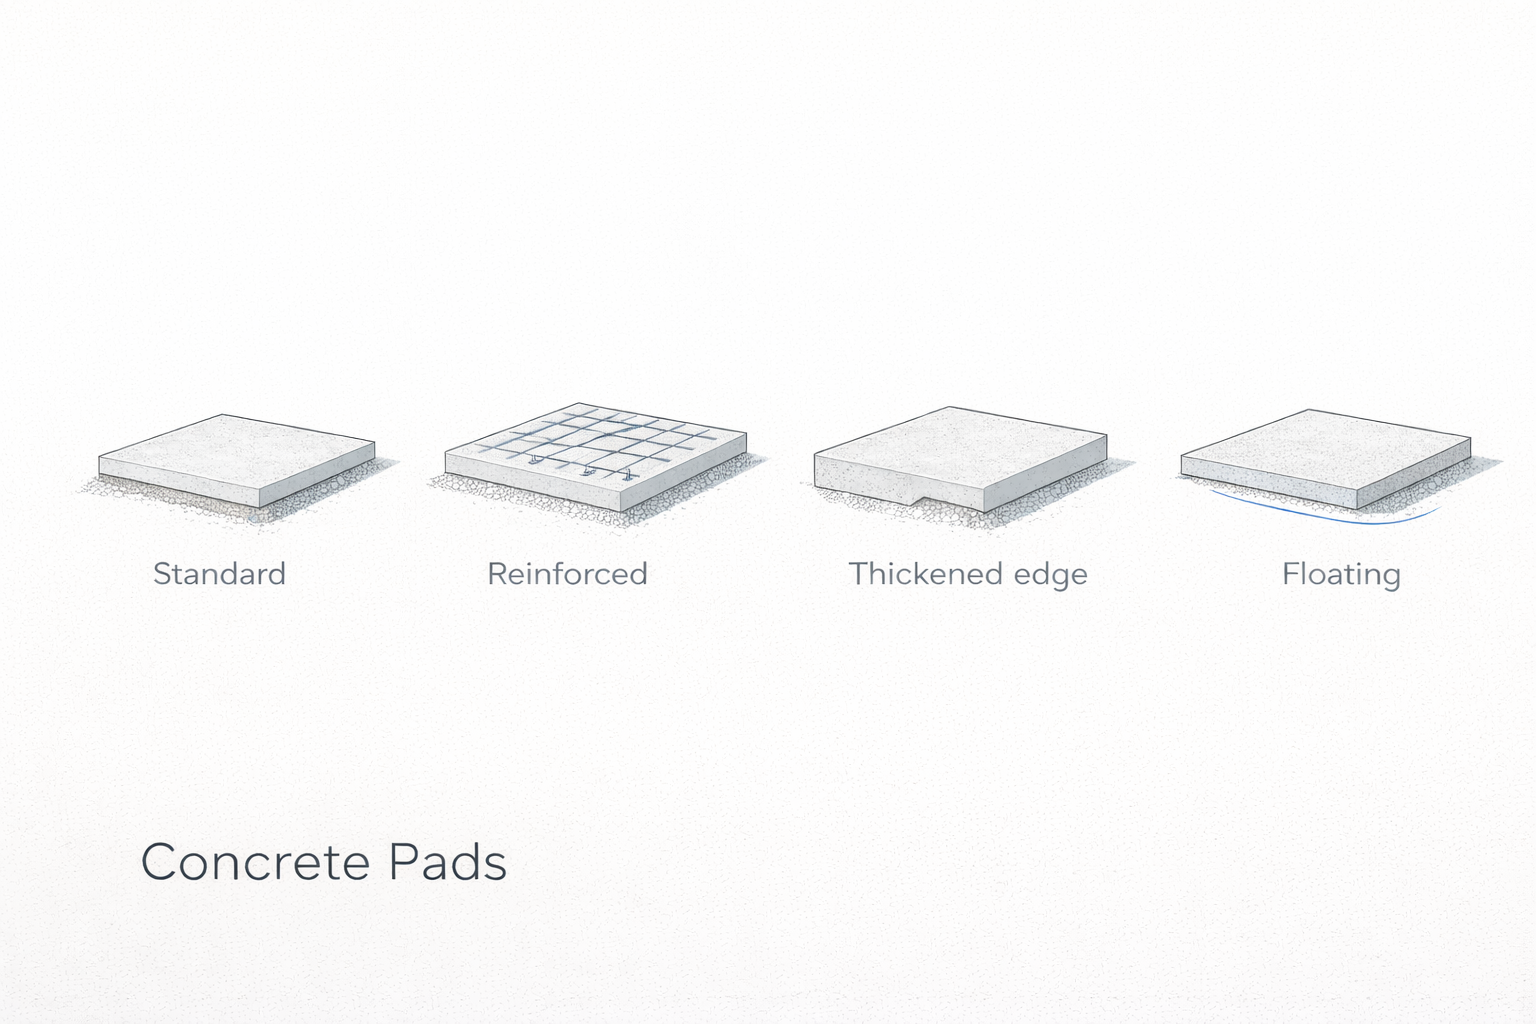
- 3–4 inches (often 4): patios, sidewalks, light pads, shed floors (with a real base)
- 4 inches: the default “general slab” thickness — default doesn’t mean adequate
- 5–6 inches: heavier loads, garages, shop floors, places where you don’t want to wonder later
-
Thickened edges / thickened pads: when the perimeter needs to act more like a footing
The trade-off: every extra inch adds a lot of concrete across big areas, but the cost jump is often smaller than the cost of rework, cracking, or regret. On the other hand, going thick everywhere isn’t automatically smart if your base and drainage are weak. Thickness won’t save a slab that’s sitting on a sponge.
If you’re upgrading anything, upgrade the base and drainage first. Then thickness. Reinforcement comes after that. And if your slab edge is doing “footing work” (heavy point loads, frost sensitivity, perimeter bearing), read up on how footings behave before you guess: concrete footing fundamentals.
Step 3: The core volume math (yards) — keep it simple and defensible
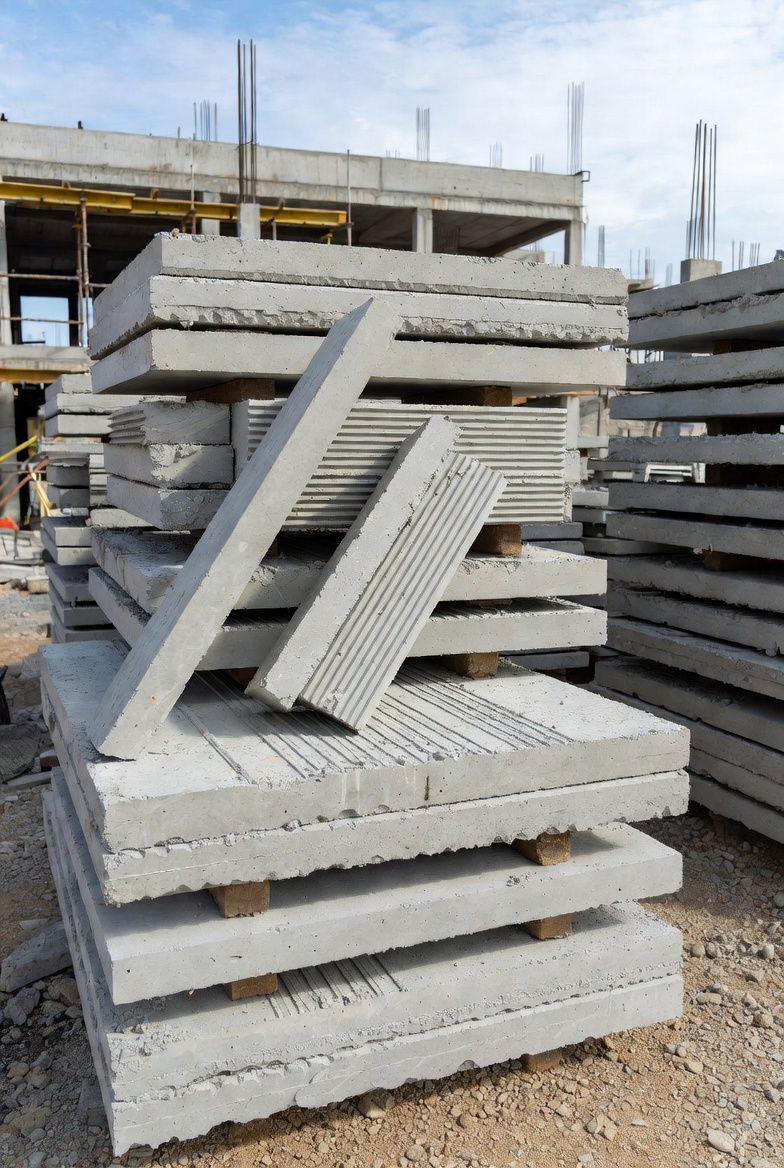
Rectangular slab volume in cubic feet:
Length (ft) × Width (ft) × Thickness (ft) = Cubic feet
Convert cubic feet to cubic yards:
Cubic feet ÷ 27 = Cubic yards
Thickness conversions (inches to feet):
- 3" = 0.25 ft
- 4" = 0.333 ft
- 5" = 0.417 ft
- 6" = 0.5 ft
Example: 12 ft × 16 ft slab at 4" thickness
- Thickness: 4" = 0.333 ft
- Volume: 12 × 16 × 0.333 = 63.9 cubic feet
- Yards: 63.9 ÷ 27 = 2.37 cubic yards
That’s the clean number. Real life comes next: waste, thickened edges, and base variation.
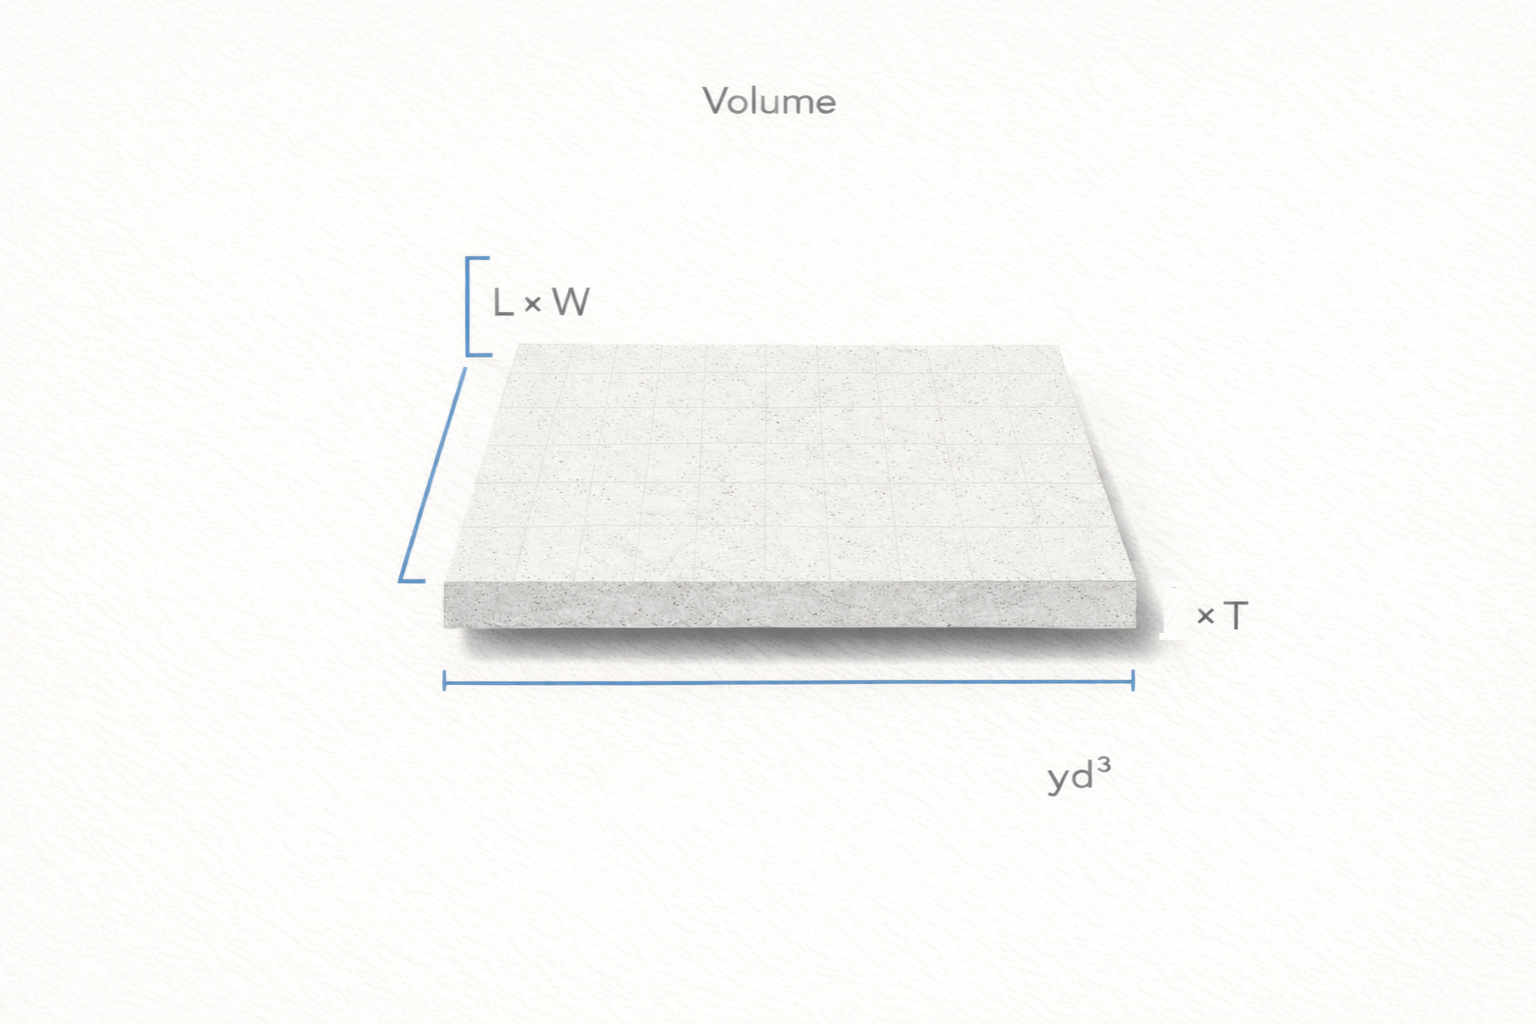
Step 4: The fastest “sanity check” method (yards per 100 sq ft)
When people are ordering, they want a quick back-of-napkin check. This is the one that stops bad orders before they happen.
Yards for a slab = (Area in sq ft) × (Thickness in feet) ÷ 27
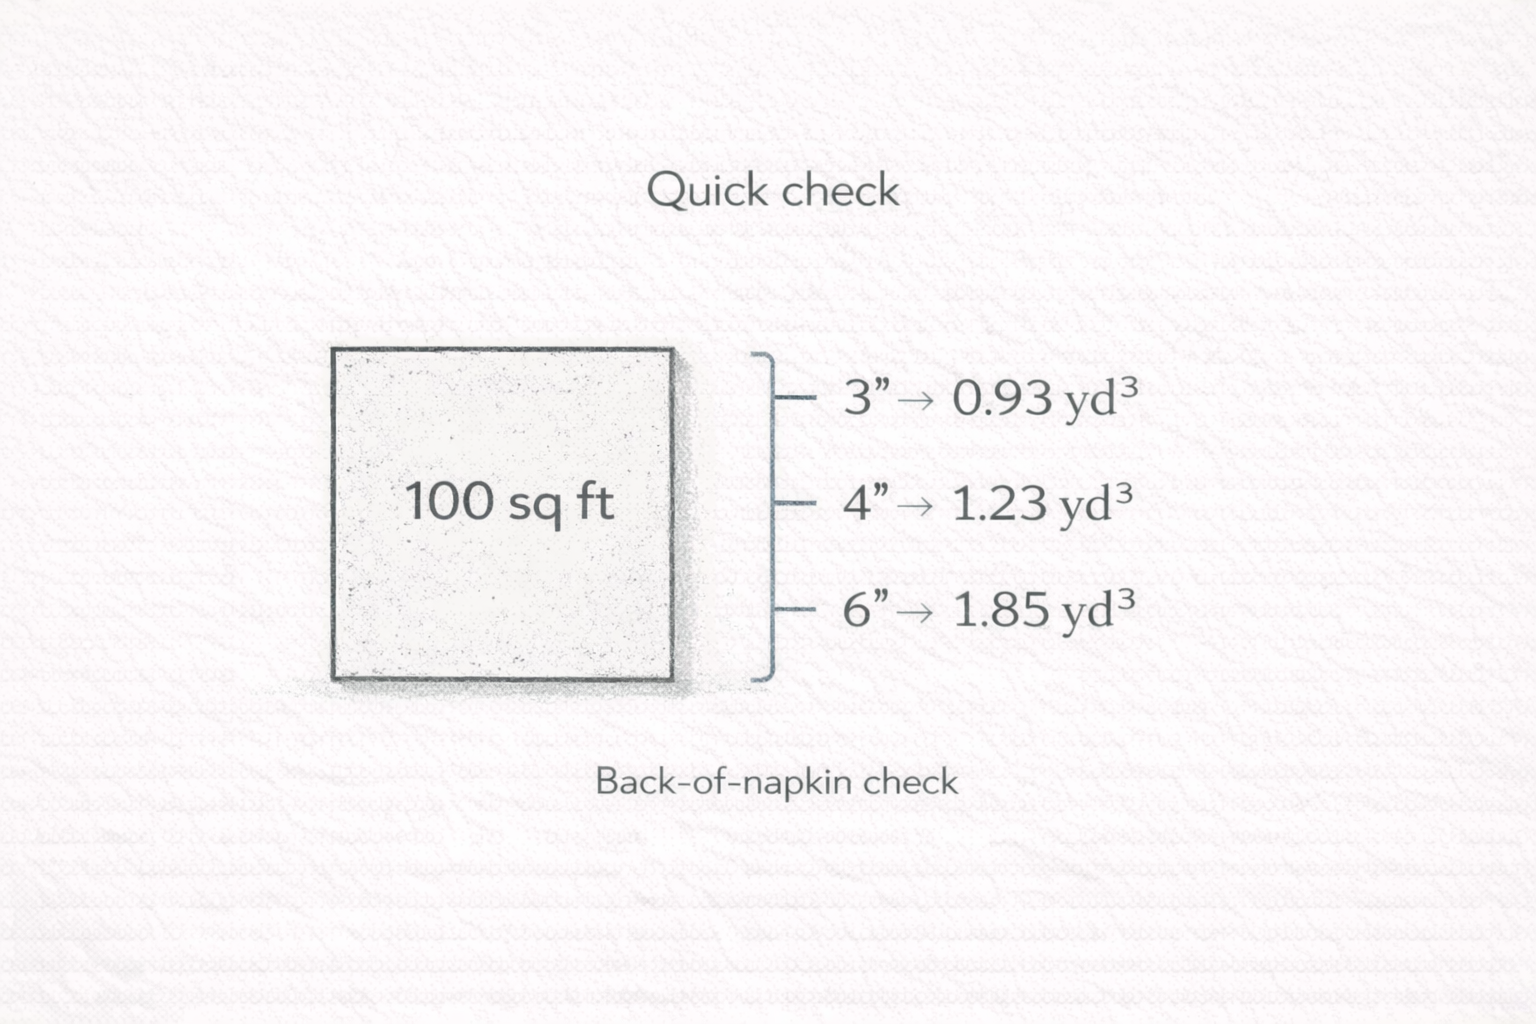
Or use a quick table for 100 sq ft chunks:
| Thickness | Concrete per 100 sq ft | Concrete per 500 sq ft |
|---|---|---|
| 3" | 0.93 yd³ | 4.63 yd³ |
| 4" | 1.23 yd³ | 6.17 yd³ |
| 5" | 1.54 yd³ | 7.72 yd³ |
| 6" | 1.85 yd³ | 9.26 yd³ |
Use this like a lie detector: if someone tells you a 500 sq ft slab at 4" is “about 4 yards,” you know something is off. That’s a 6+ yard pour before waste and edge details.
Step 5: Waste factor (the part everyone argues about)
This is where “Top answers” and “Controversial answers” actually both matter.
The crowd consensus: add waste. It’s cheaper than being short mid-pour.
The argument: how much waste depends on whether your slab is truly flat, truly uniform, and whether you have thickened edges, trenches, or a sloppy base. That’s not philosophy — it’s geometry.
Practical waste bands that match what people keep reporting:
- 5%: clean forms, flat base, simple rectangle, experienced placement
- 7–10%: typical slab work (small variations, a little base wave, normal mess)
- 10–15%: thickened edges, odd shapes, poor access (wheelbarrows), uneven subgrade, you’re learning
Two realities that drive waste up:
- Base isn’t level. Low spots swallow concrete. High spots leave you thin. You correct in the moment by “making it work.” That is waste.
- Edges and corners. Forms bow. Corners break down. People “overbuild” the edge because it feels safer. That is also waste.
Decision rule: if you can’t confidently say your base is flat and your forms are stiff, don’t pretend you’re a 5% waste job. If you want the bigger foundation context (why slabs fail or move), the clean overview is here: concrete foundations 101.
Step 6: Thickened edges and turn-downs (where estimates go to die)
A slab with a thickened perimeter is not “a slab.” It’s a slab plus a band beam. The volume is not captured by the simple rectangle at uniform thickness.
How to estimate thickened edges without overthinking it:
1) Calculate the main slab at the nominal thickness.
2) Add the extra volume for the thickened edge as a separate piece.
Example setup: 20 ft × 20 ft slab, 4" field thickness, thickened edge 12" wide and 12" deep.
- Main slab: 20 × 20 × 0.333 = 133.2 cu ft = 4.93 yd³
- Perimeter length: 20+20+20+20 = 80 ft
- Thickened edge “extra” thickness beyond the 4" field: (12" − 4") = 8" = 0.667 ft
- Edge volume (extra only): Perimeter (80) × Width (1.0 ft) × Extra thickness (0.667) = 53.4 cu ft
- Edge extra in yards: 53.4 ÷ 27 = 1.98 yd³
- Total before waste: 4.93 + 1.98 = 6.91 yd³
This “separate the extra” method avoids double-counting and keeps you honest.
Common failure: people calculate the full 12" edge volume and also calculate the full slab volume at 4". That double counts. Then they wonder why the estimate looks huge.
Step 7: Estimating bagged concrete (bag yield is the key)
Bag math looks simple until you realize different bag sizes yield different volumes, and “high-yield” mixes exist. You can’t just compare weights. You need the yield printed on the bag or the product data sheet.
Typical yields for standard concrete mix bags:
- 40 lb bag ≈ 0.30 cubic feet
- 50 lb bag ≈ 0.375 cubic feet
- 60 lb bag ≈ 0.45 cubic feet
- 80 lb bag ≈ 0.60 cubic feet
- 90 lb bag ≈ 0.675 cubic feet
Convert slab volume to bags:
Bags = Total cubic feet ÷ Yield per bag (in cubic feet)
Example: same 12 ft × 16 ft slab at 4"
- Total volume: 63.9 cubic feet
- 80 lb bags at 0.60 cu ft each: 63.9 ÷ 0.60 = 106.5 bags
- Round up: 107 bags (then add a small waste cushion)
Reality check: 100+ bags is not “a quick weekend pour” unless you have the crew, the mixing setup, and a plan for placement and finishing. This is where most bag pours go sideways: not because the math is wrong, but because the process can’t keep up.
Bag-to-yard conversions
If you remember one conversion, make it this one.
One cubic yard = 27 cubic feet.
So bag counts per yard are just:
27 ÷ (bag yield in cubic feet) = bags per yard
| Bag size | Typical yield | Bags per cubic yard |
|---|---|---|
| 40 lb | 0.30 cu ft | 90 bags |
| 50 lb | 0.375 cu ft | 72 bags |
| 60 lb | 0.45 cu ft | 60 bags |
| 80 lb | 0.60 cu ft | 45 bags |
| 90 lb | 0.675 cu ft | 40 bags |
Read that table slowly: ordering “just one yard” in bags can mean 45–90 bags depending on size. That’s why people underestimate bag jobs. They think in yards, then shop in bags.
Truck minimums, short loads, and why small pours are weirdly expensive
Small slabs are where the business side shows up. The plant still has to batch. The driver still has to deliver. The truck still has to wash out. You pay for the fixed costs even if you only want “a couple yards.”
Common patterns that keep appearing:
- Many suppliers have a minimum order (often around a few cubic meters / a few cubic yards).
- If you order under the minimum, you may get hit with a short-load fee.
- Some areas push small jobs toward volumetric (on-site mix) trucks or bag/buggy mixers because it’s cleaner logistically.
Decision rule: if your slab is in the “small but not tiny” zone (roughly 1–3 yards), call two suppliers and ask the same three questions:
- What’s your minimum order?
- What’s the short-load fee under that minimum?
- How much time do I get on site before extra charges (and what counts as “time starts”)?
This avoids the classic surprise: “The concrete cost is fine, but the fees doubled it.”
Waste isn’t only material — it’s time
(and time has a price)
Concrete estimating is two estimates: material volume and workable time.
Bag pours waste time through mixing. Ready-mix pours waste time through access and logistics. Both can kill the finish if you misjudge the pace.
Two trade-offs that show up constantly:
- Speed vs. quality: rushing placement causes low spots, segregation, and messy edges. But going slow risks cold joints and bad finishing timing.
- Cost vs. control: bag mixing feels controllable, but a big bag job is physically punishing and hard to keep consistent. Ready-mix costs more, but buys uniformity and a better finishing window if your site is ready.
Practical pacing check: if your process can’t place and level concrete at a steady rate, the finish will suffer. That’s not a skill issue. It’s a workflow issue.
Estimating “odd shapes” without turning it into calculus
Most slabs aren’t perfect rectangles. They’re L-shapes, tapered walkways, pads with cutouts, thickened strips, and weird corners that existed “because that’s where it fits.”
Use one of these methods:
Method A: Break it into rectangles.
Split the plan into simple rectangles, calculate each, then add them up.
Method B: Use average width for a taper (only if it’s gentle).
If a slab tapers from 4 ft wide to 6 ft wide over a length, the average width is (4+6)/2 = 5 ft. Multiply length × average width × thickness.
Method C: Convert to square footage first, then use the 100 sq ft yard table.
This is the fastest sanity check and keeps you from under-ordering on odd shapes.
Don’t get cute with precision. Your base and forms aren’t precise. The goal is a correct order, not an impressive spreadsheet.
Myth sweep: the repeat bad takes that keep burning people
Myth 1: “Pouring on dirt is fine if you tamp it.”
Sometimes you get away with it. That’s not the same as “it’s fine.” Dirt holds water, moves with moisture, and settles unevenly. A stable base isn’t optional if you want predictable thickness and fewer cracks.
Myth 2: “More water makes it stronger and easier.”
More water makes it easier to place. It can also reduce strength and increase shrinkage cracking. Workability should come from mix design and placement method, not dumping extra water until it behaves.
Myth 3: “Mesh on the ground still counts.”
Reinforcement only helps where it sits in the slab. If it’s at the bottom, it’s mostly along for the ride. If you’re using mesh or rebar, plan how it gets supported at the right height while you place concrete. If you want the bigger reinforcement logic (what matters, what doesn’t), this is the deeper reference: reinforced concrete basics and case notes.
Myth 4: “No joints = cleaner look.”
Concrete will crack. The only real choice is where. Control joints are how you tell concrete where you’re willing to accept cracks. A “clean look” that turns into random cracks is not cleaner.
Myth 5: “If it cracks, I’ll just patch it later.”
Cosmetic patching is not structural repair. If the slab moves, cracks keep coming back. Fixing movement is drainage, base, subgrade, and sometimes thickness — not a tube of filler. If you’re already dealing with movement or recurring cracks, this repair page is the practical next step: how to repair a concrete slab foundation.
The “order day” checklist
(what to confirm before you call it in)
People get burned by ordering the right quantity on the wrong day, with the wrong site conditions. Concrete is unforgiving about timing.
Confirm these before ordering:
- Forms are braced and the base is compacted and level (no soft spots)
- Thickness is clearly defined and checked at multiple points
- Access path is real (truck access, wheelbarrow route, ground conditions)
- Helpers are lined up and roles are clear (place, screed, edge, finish)
- You know where washout will go (don’t improvise this)
- You asked the supplier about minimums, short loads, and time charges
- You have curing plan ready (water, cover, or curing compound — pick one)
- Weather reality is accounted for (wind, sun, heat, cold, rain)
Practical examples people actually ask for
Example 1: 10 × 10 pad, 4" thick
- Volume: 10 × 10 × 0.333 = 33.3 cu ft
- Yards: 33.3 ÷ 27 = 1.23 yd³
- With 10% waste: 1.35 yd³ (round based on supplier delivery realities)
Example 2: 12 × 24 patio, 4" thick
- Volume: 12 × 24 × 0.333 = 95.9 cu ft
- Yards: 95.9 ÷ 27 = 3.55 yd³
- With 7% waste: 3.80 yd³
Example 3: 20 × 30 slab, 5" thick
- Thickness: 5" = 0.417 ft
- Volume: 20 × 30 × 0.417 = 250.2 cu ft
- Yards: 250.2 ÷ 27 = 9.27 yd³
- With 7% waste: 9.92 yd³
Notice the pattern: thickness changes everything. That 20 × 30 slab at 4" would be about 7.4 yards. At 5" it’s about 9.3 yards. That’s a big swing, and it’s why “close enough” thickness decisions create expensive surprises.
Metric conversions
(because half the world measures in m³)
If you’re working in metric, keep it clean.
- 1 cubic meter (m³) ≈ 1.31 cubic yards (yd³)
- 1 cubic yard (yd³) ≈ 0.76 cubic meters (m³)
- 1 cubic meter (m³) = 1,000 liters
Metric slab volume:
Length (m) × Width (m) × Thickness (m) = Cubic meters (m³)
Quick thickness conversions:
- 100 mm = 0.10 m (about 4")
- 125 mm = 0.125 m (about 5")
- 150 mm = 0.15 m (about 6")
Checklist
The estimator you can use today
- Measure the slab you’re truly pouring (shape + edges + cutouts)
- Pick thickness based on use, not vibes
- Compute cubic feet (or m³) and convert to yards (or order in m³)
- Add thickened edges as a separate “extra volume,” not guesswork
- Add waste: 7–10% typical; more if base/forms are imperfect
- Decide bag vs ready-mix based on volume and finishing demands
- Check supplier minimums and short-load fees before finalizing quantity
- Confirm access and placement method (truck chute, pump, buggy, wheelbarrow)
- Plan washout and curing before concrete arrives
- Round your order based on supplier realities (don’t order “2.37 yards” and expect miracles)
Conclusion
Estimating a concrete slab is simple until it isn’t. The math is straightforward. The job site isn’t. If you measure the real geometry, separate thickened edges, use a realistic waste factor, and check delivery minimums before you order, you’ll be ahead of most first-time slab pours — and you’ll avoid the classic failure: being short with wet concrete on the ground.
FAQ
How much concrete do I need for a 10 × 10 slab at 4 inches?
About 1.23 cubic yards before waste. With typical waste, you’re closer to 1.3–1.4 yards. Then reality: your supplier might treat that as a short load, so confirm minimums and fees first.
How many 80 lb bags make a cubic yard?
About 45 bags for standard mix (because 1 yard is 27 cu ft, and an 80 lb bag is commonly about 0.60 cu ft). That’s why bag pours scale badly as slabs get bigger.
What waste factor should I use for a slab?
7–10% is a common real-world range for simple slabs. If you have thickened edges, odd shapes, an uneven base, or you’re placing with wheelbarrows and learning as you go, 10–15% is more realistic.
Should I round up or round down when ordering ready-mix?
In practice, you almost always round up. Being short mid-pour is a bigger problem than having a little extra. The only time rounding up hurts is when it pushes you into a different fee structure (minimum order, short-load fee, extra truck). That’s why you check supplier rules before you finalize.
Can I pour a slab using bags if it’s only 2–3 yards?
You can. The question is whether you can place and finish it fast enough. Two yards can be 90 bags if you’re using 40 lb bags, or around 45 bags per yard if you’re using 80 lb bags. That’s a lot of mixing, hauling, placing, and screeding inside a tight finishing window. If you don’t have help and a mixing plan, bag pours at that scale are where people tend to regret the decision.
Do I need to include the gravel base volume in my concrete estimate?
No. Base and concrete are separate estimates. But base affects concrete quantity indirectly: if the base is uneven or soft, you’ll “spend” concrete correcting it during the pour. That’s one of the biggest hidden drivers of waste.
How do I estimate concrete for a thickened edge or turn-down?
Estimate the slab field at the normal thickness first, then estimate the extra volume of the thickened edge as its own piece (perimeter length × thickened width × extra thickness). This avoids double counting and keeps your estimate readable.
What if my slab is an L-shape?
Split it into rectangles. Calculate each rectangle, then add them up. If the shape is messy, estimate total square footage and use the yards-per-100-sq-ft table as a sanity check. Precision is less important than not missing a whole chunk of area.
What’s the biggest reason people come up short on concrete?
They estimate a perfect slab and then pour into an imperfect setup: uneven base, bowed forms, thickened edges they forgot to calculate, and “we’ll just make it work” corrections that eat volume fast.
References
(official standards + code bodies)
Note: Some standards are paywalled. That’s normal for ASTM/ACI/ICC. Linking to the issuing body’s official page still signals credibility and lets readers verify the exact document.
- ASTM C94/C94M — Standard Specification for Ready-Mixed Concrete (ordering, delivery, and purchaser/producer responsibilities).
- NRMCA CIP 26 — Jobsite Addition of Water (what “adding water at the site” means, why it matters, and how it should be controlled/documented).
- NRMCA FAQ — Concrete Materials (jobsite water, slump, delivery ticket notes) (plain-language interpretation aligned with industry practice).
- ACI PRC-302.1-15 — Guide to Concrete Floor and Slab Construction (slabs-on-ground fundamentals: subgrade prep, finishing, joints, curing, serviceability).
- ACI PRC-306-16 — Guide to Cold Weather Concreting (placement temperature, protection, curing in freezing conditions).
- ACI PRC-305-20 — Guide to Hot Weather Concreting (temperature control, evaporation risk, curing planning).
- ICC International Residential Code (IRC) — Chapter 4 Foundations (residential foundation/slab context; local amendments still apply).
- ICC International Building Code (IBC) — Chapter 19 Concrete (general concrete provisions referenced by many jurisdictions).