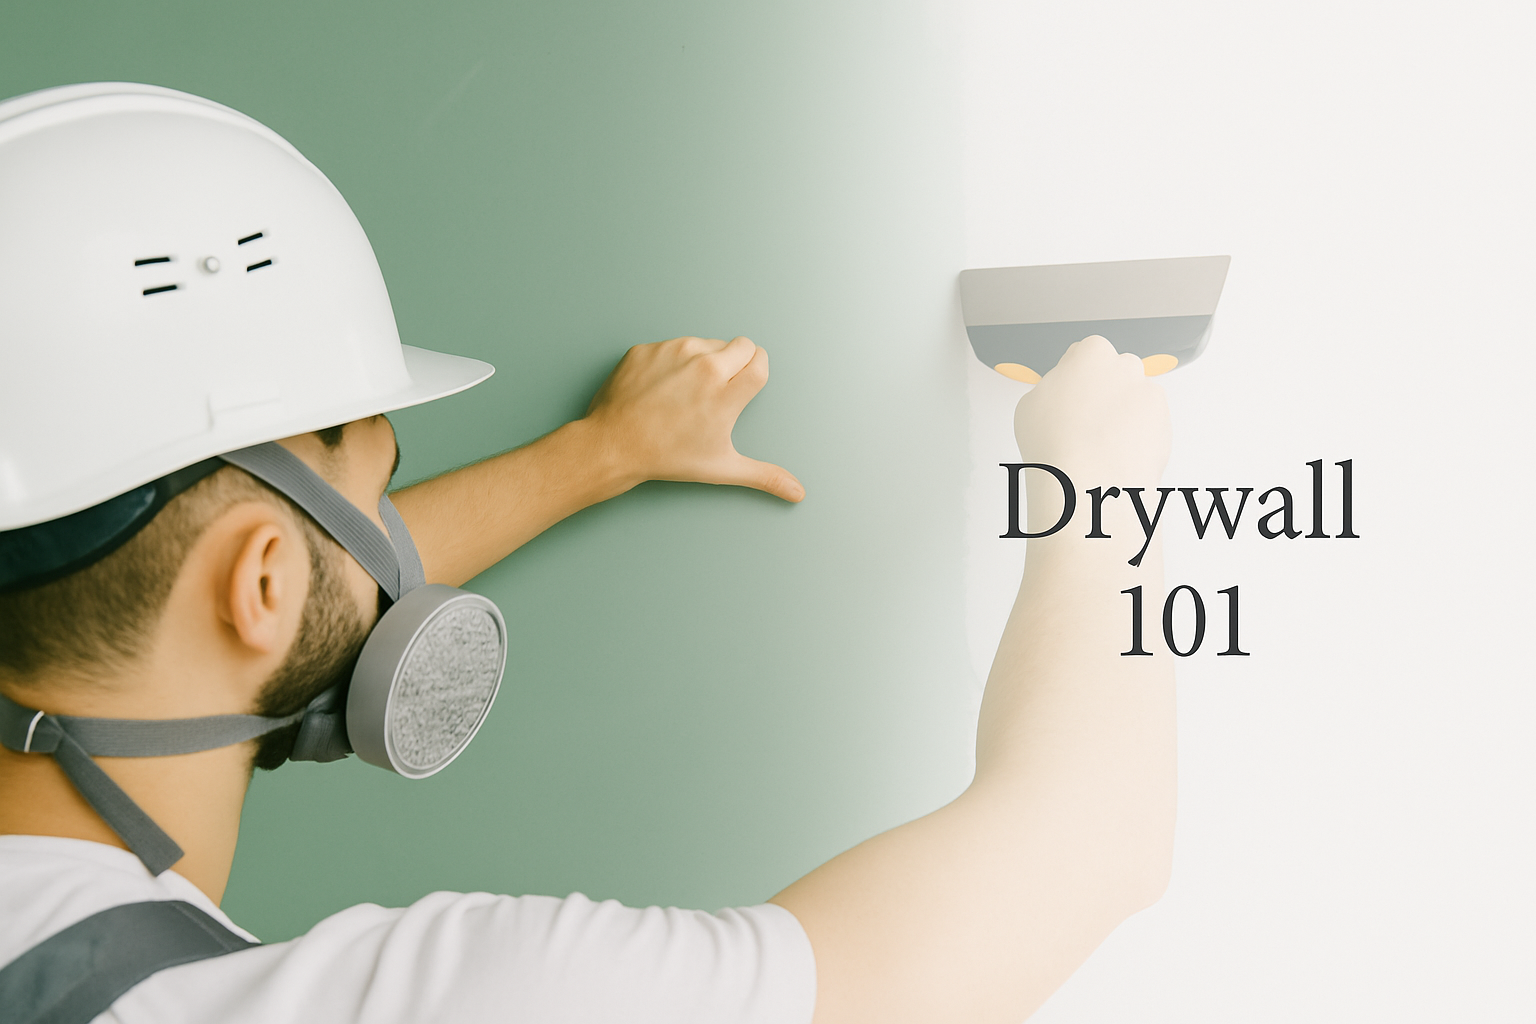
Drywall 101: What Every Builder and Homeowner Should Know
Drywall is the skin of a house. It hides the studs, locks in insulation, and gives you the smooth walls and ceilings you see every day. Without it, rooms are just frames. With it, you get spaces ready for paint, tile, or texture.
Below we cover the full cycle: how drywall is installed, finished, repaired, and detailed. We will look at ceilings as well as walls, explain different board types, break down costs, flag the common hazards, and show how drywall ties into framing and insulation.
What Drywall Is
If you have ever patched a wall or replaced a ceiling panel, you already know drywall. At its core it is gypsum rock ground fine, mixed with water and additives, and sandwiched between sheets of heavy paper. That simple recipe makes the skin of almost every modern house.
The names can confuse new builders. “Drywall,” “sheetrock,” “plasterboard,” and “gypsum wallboard” all mean the same thing. Sheetrock is just a brand. Inspectors often call it gypsum board because that is how it shows up in code. Older trades sometimes say plasterboard. Ask a supplier and they will hand you drywall.
The board comes in different thicknesses. Quarter inch bends for curved walls and archways. Half inch is the default for interior walls. Five eighths stiffens ceilings, damps sound, and satisfies fire codes. Every crew has its habits but thickness is never a style choice. It decides whether the wall lasts.
On site drywall does three jobs. It hides studs and wires. It locks in insulation. It gives painters, tilers, or finishers a surface that looks finished. Without it, rooms remain frames. With it, they become spaces people can live in.
The mistake I see with new crews is thinking drywall is just a cover. The choice of board thickness, sheet size, and facing matters before a screw is driven. A nine foot wall hung with standard four by eight sheets leaves a mid seam that flashes under side light. Order fifty four inch boards and that seam disappears. Ceilings framed at twenty four inches on center need sag resistant board or five eighths inch thickness. Get it wrong and you stare at waves forever.
Drywall looks like the cheapest part of the house. It is not. It is the finish everyone sees. That is why picking the right sheet is the first decision, not the last.
See the detailed guide: Types of Drywall Sheets and Sizes Explained
FIELD PICK
The Gypsum Construction Handbook (7th Edition)
Drywall, plaster, ceilings, acoustics. The go-to training manual from USG, updated with ultralight panels, joint compounds, and sustainable products.
Drywall in the Building Process
Drywall in the Building Process
Drywall comes late in the build. The studs stand. The wires and pipes are in. The insulation is tucked between bays. Then the drywall crew arrives to close it all in.
On a typical job sequence, drywall follows inspections for framing, mechanicals, and insulation. This is critical. Once the board is up, walls are closed. Fixing missed plumbing or electrical after that means cutting fresh board and wasting labor.
Where drywall goes depends on the room. Standard half inch panels work fine for interior partitions. Ceilings need heavier five eighths or sag resistant half inch. Basements need mold resistant board or cement backer in damp corners. Bathrooms use moisture resistant or tile backers. Garages and stairwells that share a wall with living space often require fire rated board by code.
This is where coordination with framing and insulation pays off. If a stud layout does not land where two sheets meet, joints hang in air. That leads to cracks and callbacks. Smart foremen mark layouts so the drywall crew can run sheets tight. Insulation must be set flush with stud faces so sheets do not bulge or hollow.
A detail most owners never see is how drywall ties into vapor barriers. In cold climates the wrong sequencing traps moisture in walls. In hot humid climates the wrong vapor control causes mold. Drywall is not just a surface finish. It is part of the wall assembly.
Drywall is also the moment when a house feels like a house. Walk into a framed shell and it is a skeleton. Walk in after the drywall crew and you can read rooms, light, and proportion.
For step by step detail, see: How Drywall Works With Framing and Foundations.
Installing Drywall
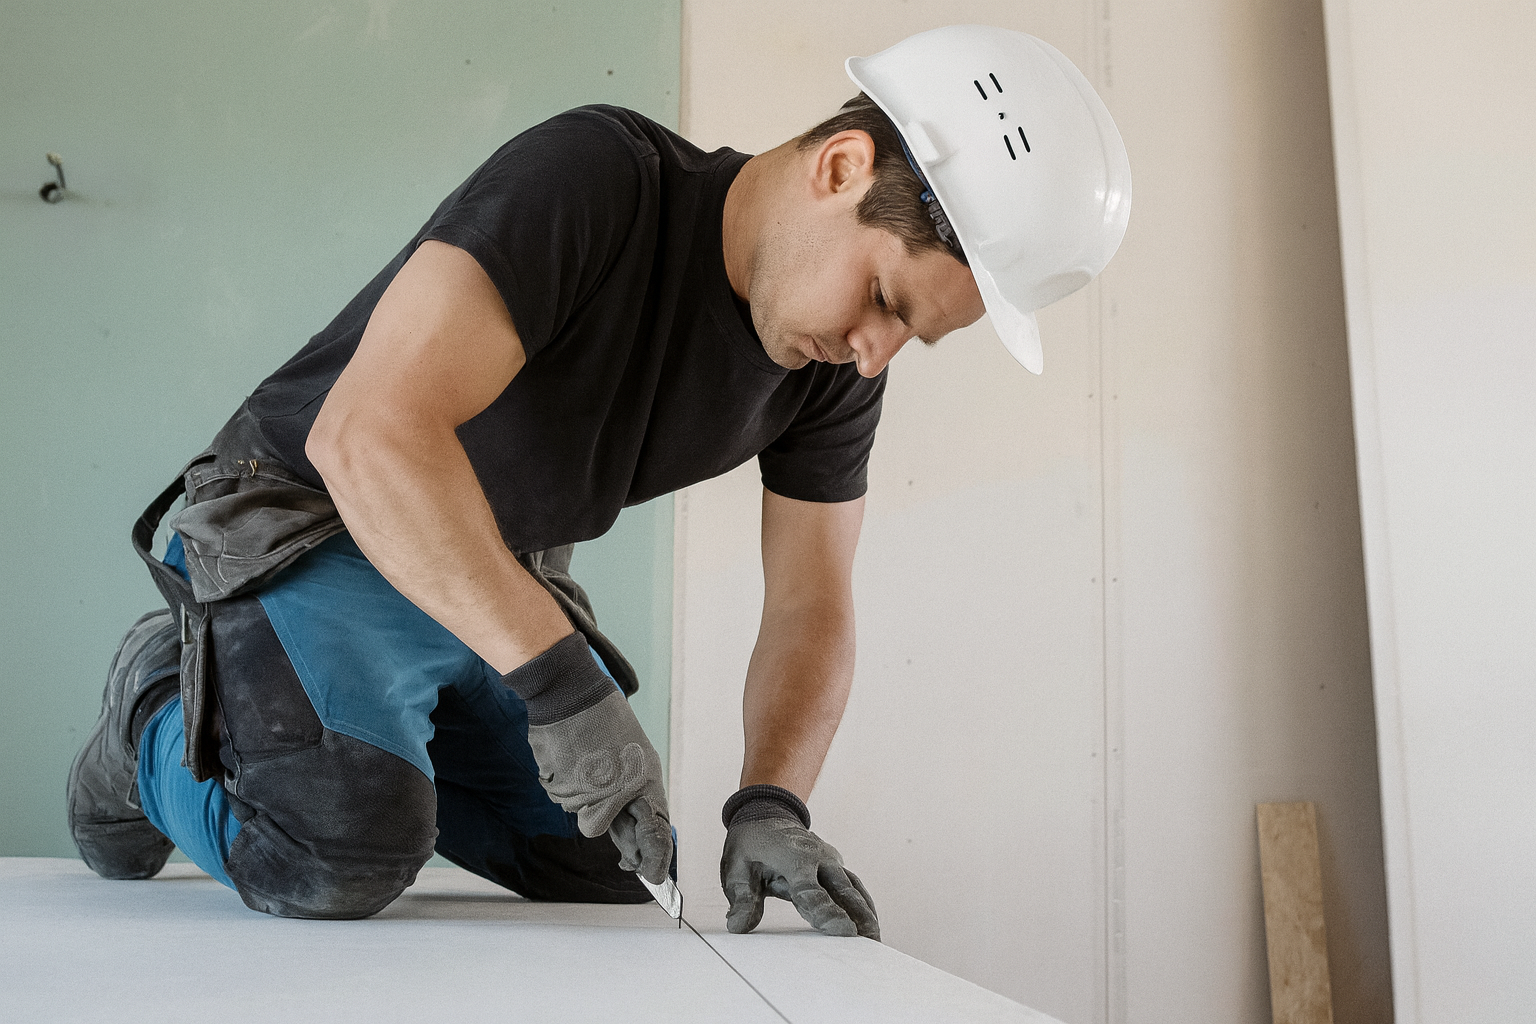
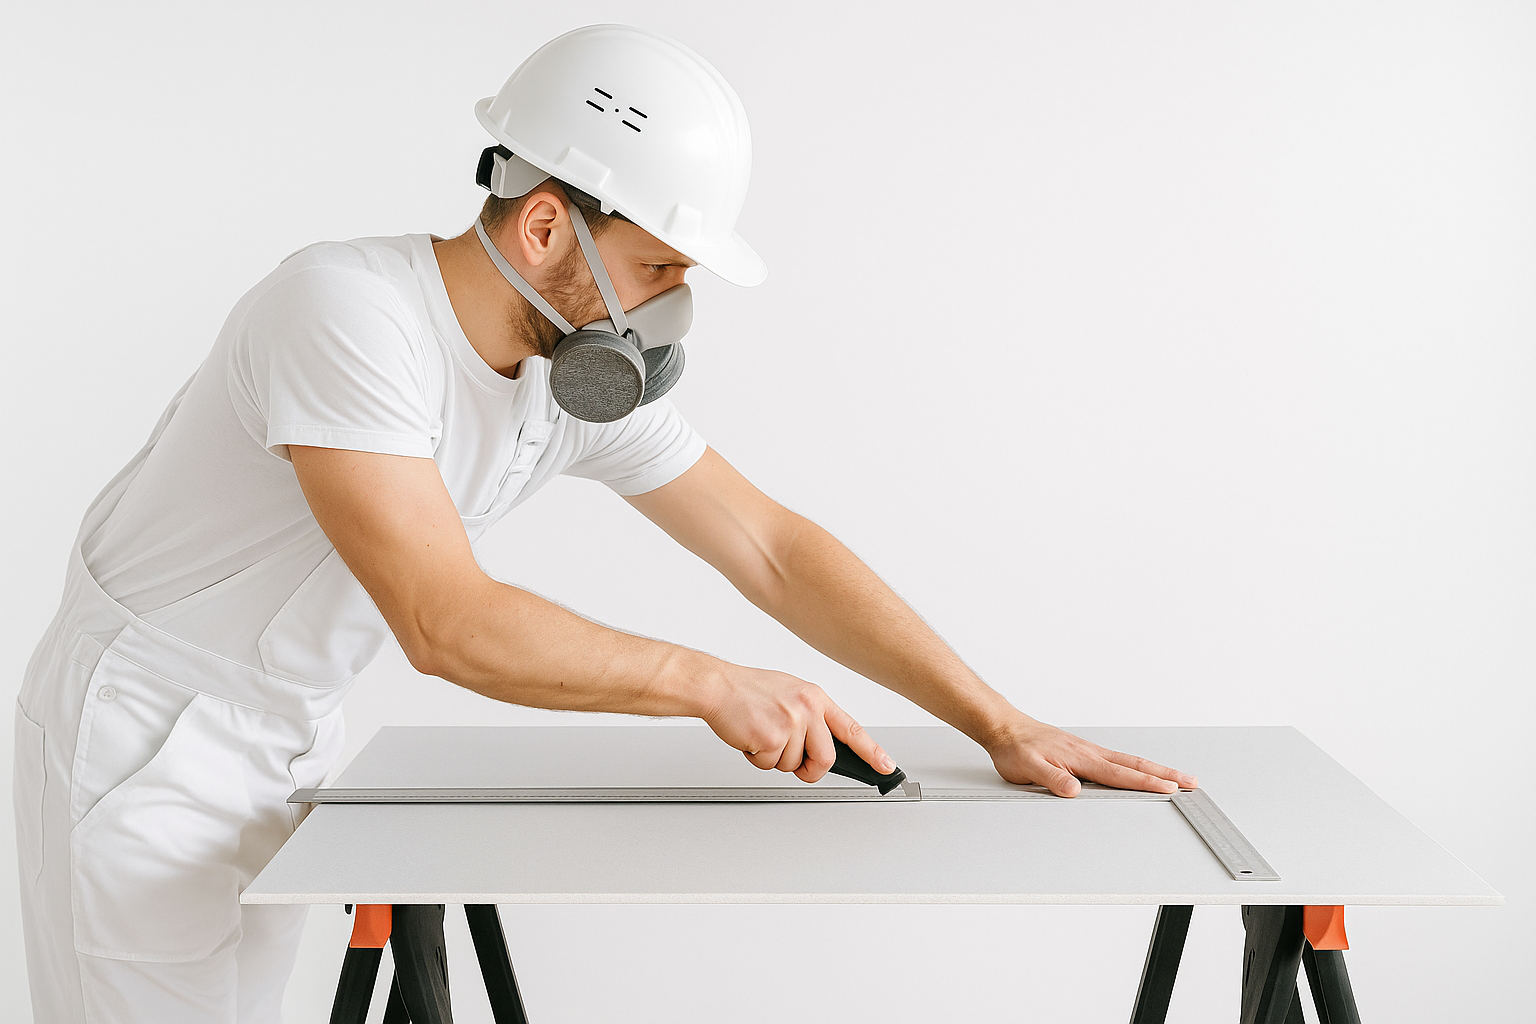
Hanging drywall is heavy, dusty, and unforgiving. The basics look simple. Cut the sheet. Lift it into place. Fasten with screws. Repeat. In practice the quality comes from planning the layout before lifting a single board.
The first choice is direction. On walls I run sheets horizontally to stagger joints and line up with electrical boxes. On ceilings I run sheets perpendicular to joists so the load distributes evenly. I avoid butt joints where light will rake across them, usually in the center of big rooms.
Tools make or break the job. A drywall jack saves your back on ceilings. Fasteners matter too. Screws hold better than nails and reduce pops, but only if they are driven just below the surface without breaking the paper. Adhesive between studs and boards reduces screw count and stiffens walls.
Safety is easy to ignore until you spend a day cutting and sanding. A mask and eye protection are not optional. Gypsum dust fills lungs and stings eyes. Lifting twelve foot sheets without help risks both injury and broken edges. Smart crews work in pairs or use lifts.
The hidden step is sealing air leaks. Any gap around penetrations lets air move through the wall and carry moisture. A bead of sealant at boxes and penetrations before the board goes up pays back in comfort and durability.
The last thing I tell new apprentices is this: straight cuts and clean seams are faster than rushing. Bad cuts mean wide joints, which mean more mud, more sanding, and more days lost. Hanging well saves finishing later.
For detailed installation, see: Drywall Installation Steps: Walls and Ceilings.
MUST READ
Visual Handbook of Building and Remodeling (5th Edition) – Charlie Wing
The one book builders, remodelers, and serious homeowners actually use. Clear drawings, updated codes, and straight answers for every part of a house.
Get it on Amazon
Taping, Mudding, and Finishing
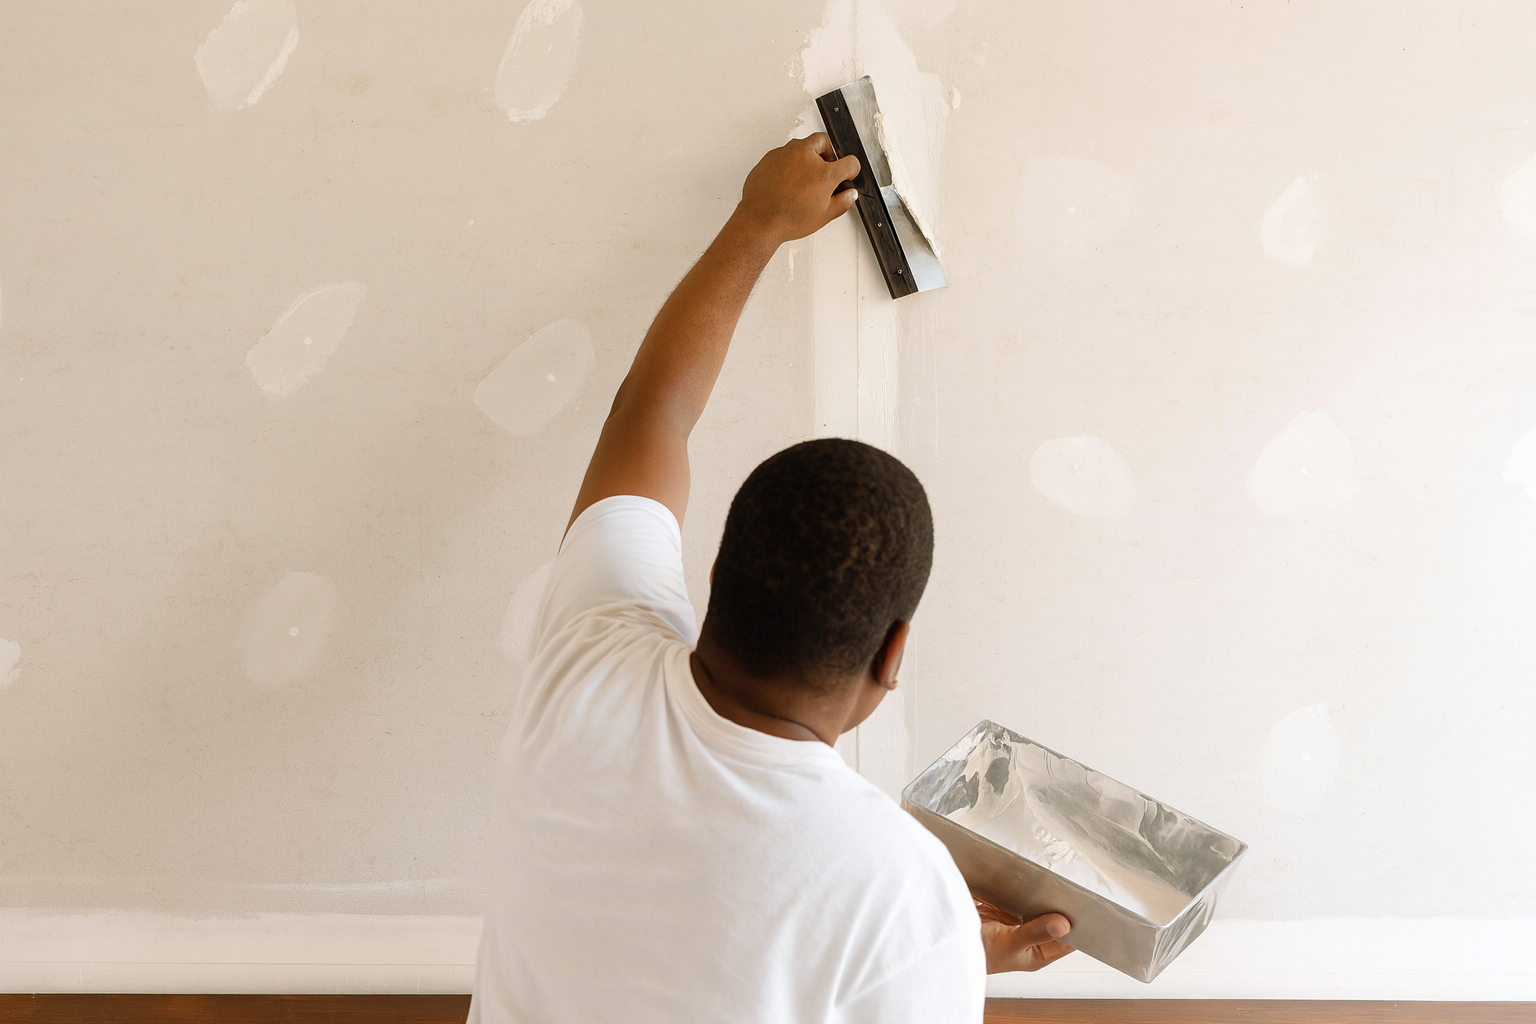
Drywall looks raw until the seams disappear. That is the taper’s job. Once sheets are hung, every joint, screw, and corner gets covered in joint compound. Do it well and you forget the seams exist. Do it poorly and every line shows under paint.
The sequence starts with tape. Paper tape has strength but wrinkles if the mud under it is not even. Mesh tape is faster but can crack if you do not embed it right. I use paper on flat seams and mesh only for repairs. Corners need specialty tapes or corner beads. Get the bead straight at the start. Crooked corners haunt you later.
The mud comes in three flavors. All purpose for the first coat, lightweight for topping, and hot mud that sets chemically in 20, 45, or 90 minutes for repairs or quick jobs. A common mistake is laying it on too thick. Thin coats dry faster, crack less, and sand cleaner. Three thin coats beat one thick one every time.
Sanding separates pros from amateurs. I use pole sanders with vacuum attachment or dustless sanders when clients are living on site. Light pressure, broad strokes, and constant backlighting with a work light expose flaws before paint does. Skipping this step is how you end up with flashing seams when the sun hits the wall at 5 p.m.
Finishes are graded from Level 1 to Level 5. Level 1 is a fire-taped joint in a utility room. Level 4 is what most houses get: three coats, sanded smooth, ready for paint with some sheen tolerance. Level 5 is a skim coat across the entire surface, needed when side light or glossy paint will expose every imperfection. I only specify Level 5 when lighting or owner expectations demand it.
The truth is drywall finishing is where schedule slips. Rushing drying times causes cracks and ridges. Planning for enough curing and sanding days saves rework.
For full details see:
- Drywall Installation and Finishing Levels Explained.
- Mudding and Taping Drywall Step by Step
- Mudding Walls: Step by Step for Smooth Finishes
- Drywall Installation and Finishing: Levels 1 to 5 Explained
- Level 4 vs Level 5 Drywall Finishes
MUST READ
Ultimate Guide to Home Repair and Improvement (3rd Edition)
Over 600 pages, 325 step-by-step projects, and thousands of photos. Wiring, plumbing, roofing, heating, flooring—this one covers the whole house.
Drywall Textures and Surface Finishes
Not every wall ends up smooth. Textures hide flaws, add character, or speed production. I learned this the hard way on spec houses where the budget left no room for Level 5 finishes. Texture covered what flat paint would have exposed.
The most common is orange peel. A light spray of thinned mud gives walls a fine, bumpy skin. Knockdown is similar but gets troweled flat after spraying, leaving a mottled look that hides seams. Skip trowel uses a wider knife to drag compound into random arcs, popular in southwestern houses. Popcorn ceilings used to be standard for noise control but are now often scraped off during remodels.
Skim coating is the opposite. Instead of texture, you flatten everything with a thin coat across the whole wall. It refreshes old plaster and sets up for smooth paint or wallpaper. It takes skill and time but delivers the cleanest look.
Ceilings expose mistakes fastest. Any light rakes across them, so texture can be a lifesaver. I specify knockdown or a light orange peel on production jobs where perfection is not realistic. On high-end work I budget for full skim coats and sanding under work lights.
Clients often think texture is just decoration. It is not. It is a tool for balancing budget, schedule, and finish quality. A good finisher knows when to suggest it and when to push for smooth.
For deeper coverage see: Drywall Textures and Skim Coating Guide.
Specialized Drywall Types
Drywall is not one product. It is a family of boards tuned for different risks. Use the wrong one and repairs show up fast.
Moisture resistant boards, often called green board or purple board, work in damp rooms but not in direct water. They are fine for laundry rooms or half baths. In showers I switch to cement board, fiber cement, or foam tile backers. Regular drywall in a wet zone is a lawsuit waiting to happen.
Fire rated drywall, labeled “Type X,” is 5/8 inch thick with additives that hold longer in fire. It is required by code in garages, stairwells, and walls between units. Some systems use “Type C” panels for higher endurance. The key is to follow tested assemblies, not just swap board types.
Soundproof boards combine gypsum layers with damping cores. They help, but only when part of a complete sound wall with insulation, air gaps, and sealed perimeters. Alone they disappoint.
Mold resistant boards use glass mats or treated paper facings. They are not magic but they buy time in basements and humid spaces. Abuse resistant and high impact boards go in schools, hospitals, or corridors where carts and backpacks hit walls daily.
There are also lighter boards that save labor, paperless boards that resist mold, and flexible boards that bend around curves. Each has its place. The mistake is treating drywall as interchangeable. Match the board to the room.
For a full breakdown see:
- Moisture, Fire, and Soundproof Drywall Explained.
- Moisture and Mold Resistant Drywall in Bathrooms and Basements
- Fire Rated Drywall: What Builders Need to Know
- Soundproof Drywall for Homes
- Lightweight, Flexible, and Paperless Drywall Explained
Ceilings, Basements, and Applications
Drywall is heavier than it looks, and ceilings are where mistakes show up fast. A half-inch panel on joists at 24 inches on center will sag over time, especially with insulation sitting on top. I’ve seen living rooms where you could trace the joists with your eyes just from the dips. The safe move is either 5/8-inch or sag-resistant 1/2-inch that’s rated for ceilings.
Basements bring another layer of risk. Damp air and the occasional leak mean standard drywall is a gamble. Mold-resistant board or cement board in problem zones buys time when moisture sneaks in. I’ve torn out plenty of basement drywall that looked fine on the outside but was black and crumbly behind paint.
Suspended ceilings use drywall differently. You’re not just hanging sheets—you’re working within a grid or furring system, which changes how you plan joints and backing. That’s where weight and access matter more than finish.
See the detailed guide on drywall ceilings and basements.
Common Problems and Repairs
Every homeowner meets drywall repairs sooner or later. The classics: nail pops where fasteners lose grip, hairline cracks along joints, and dents from door handles or chairs. Nail pops are easy—set a new screw a couple of inches away and patch. Cracks need tape and compound, not just spackle. Holes are split into two camps: small ones you can patch with mesh or a simple plug, and big ones that need backer boards before you mud.
Ceiling repairs are harder. Gravity works against you, and blending texture overhead takes patience. I’ve spent more time sanding ceilings than I care to admit. And water damage is its own category. If drywall has been soaked and turned soft, don’t patch. Replace it.
Full breakdown here:
- Rrywall Repair Methods and Water Damage Fixes
- Drywall Repair Basics: Holes, Cracks, and Water Damage
- How to Patch Large vs Small Drywall Holes
- How to Repair a Small Hole in a Drywall Ceiling
Water Damage and Mold Issues
Wet drywall loses strength fast. After a plumbing leak or roof issue, I check if the board stayed intact or if it’s swollen and crumbling. Anything soft to the touch has to go. Drying only works if the core is still sound. Otherwise, you’re leaving food for mold.
Bathrooms, basements, and laundry rooms are hotspots. I’ve cut open plenty of walls where the paint looked fine but mold had spread inside. Once drywall grows mold, replacement is usually the only real solution. Some contractors try to bleach and seal, but the spores hide in the core.
Ceilings are especially brutal. A roof leak can soak a wide area before you even notice, and gravity pulls the weight down until seams split or the board bows. Never ignore a stain overhead.
Read the field notes here:
- Drywall Water Damage, Repairs, and Mold Safety.
- Drywall Water Damage: Causes, Repairs, and When to Replace
- Repairing Drywall Ceilings After Water Damage
- Wet Drywall Repair: When to Save and When to Tear Out
- Moldy Drywall: Identification, Health Risks, and Fixes
Hazards and Failures
Drywall looks harmless, but it has a few ugly stories in its history. Older houses sometimes hide asbestos in joint compounds from the mid-20th century. You cannot tell by sight. Testing is cheap and worth it before sanding or demo. In the 2000s, “Chinese drywall” hit the market and brought corrosion problems that destroyed wiring and HVAC coils in entire neighborhoods. If a house was built or remodeled during that time, it is worth checking the supply records.
Water is still the biggest everyday threat. Drywall that has taken on repeated leaks turns soft, crumbles, and can no longer hold fasteners. Add mold, and the board goes from cosmetic issue to health risk. I have been called to inspect walls where the paint looked fine, but behind it the gypsum was black, damp, and useless.
The failures are predictable: sagging ceilings from undersized boards, mold from ignoring bathroom ventilation, fire ratings lost because someone swapped Type X for standard board. Each one comes down to skipping the rules that are written in codes and datasheets.
See the detailed guide on Drywall Hazards and Failure Cases
and
Drywall Hazards: Asbestos, Mold, and Problem Materials
Costs and Labor Considerations
Drywall is cheap per sheet but expensive in mistakes. Standard 1/2-inch boards run a few dollars each, while 5/8-inch or specialty boards cost more. But the real cost is labor. Hanging is one rate, finishing is another, and finish levels make the biggest swing. Level 4 is the normal contractor finish. Level 5—the skim coat you need under harsh lighting—costs much more in time and money.
Regional pricing matters. Crews in major cities charge higher rates than small towns. Big jobs usually run by square foot, small repairs by the hour. One trick I learned: always budget for 54-inch sheets on nine-foot walls. They cost more up front but save finish work, which is the real money sink.
DIY can save labor but often adds time. If you have never finished drywall before, expect rough joints that show through paint. Professionals earn their rate because they can run tape and mud cleanly in one or two passes instead of five.
Full Write-Up on Drywall Costs and Labor Patterns
Drywall Installation and Finishing Costs
Tools and Materials for Drywall Work
The material list seems simple until you see the choices. Joint compound alone comes in quick-set, lightweight, and all-purpose varieties. Tape can be paper, fiberglass mesh, or newer paperless hybrids. Each has a place. Paper tape holds strongest in flat joints. Mesh is fast but weaker without setting compound.
Tools make or break speed. A drywall lift turns a two-person ceiling job into a safe one-person task. Automatic tapers save time on big commercial jobs but take practice. Even corner beads have evolved: metal for toughness, vinyl for curves, hybrid types for flexibility.
I still keep the basics close—sharp utility knives, screw guns with depth stops, sanding poles. Fancy tools help, but good habits matter more. Backing at butt joints, screws set just right, and dust control on site save more hours than any gadget.
See the detailed guide on drywall tools and material choices.
Drywall in Modern Design and Sustainability
Drywall is not standing still. Manufacturers keep pushing lighter boards that are easier to lift, paperless boards that resist mold, and stronger cores that survive abuse in schools and hospitals. On the sustainability side, gypsum is one of the few materials that can be recycled almost endlessly. Some plants already run their boards with a high percentage of reclaimed gypsum and low-VOC additives.
The bigger shift is how drywall compares to plaster. Plaster has heritage and durability, but drywall wins on speed, cost, and adaptability. In modern work, I see architects specify drywall for the base system and then add selective plaster finishes where they want texture or history. The hybrid approach saves budget and keeps the finish flexible.
On the green front, jobs with LEED or similar standards often track drywall waste carefully. Cutting smarter and ordering the right sheet sizes does more for sustainability than most fancy coatings. In multifamily work I have also seen acoustic and thermal panels integrated into drywall assemblies so one wall hits multiple performance goals.
See the detailed guide on sustainable drywall and design trends.
Contractor Reviews and Local Services
Most homeowners will hire out drywall. The difference between a clean Level 4 finish and a wall that shows every seam is usually the crew. Good drywall contractors measure twice, pre-plan board layout, and keep dust under control. Bad ones rush joints, skip backing, and leave you fighting cracks a year later.
Pricing and service vary widely. In one market, I saw a three-bedroom house finished for a flat rate per square foot. In another, contractors priced by the room. Always ask for finish level in writing. If the bid just says “taped and sanded,” you are leaving quality up to interpretation.
Local reviews matter, but I also pay attention to how crews treat a site. A drywall job fills the air with dust and scraps. If a contractor has a system for cleanup and sealing off spaces, they usually take care with the work itself.
Walkthrough with examples on how to choose and work with drywall contractors.
See also: Cohen’s Drywall Company Review
Closing: Bringing It All Together
Drywall looks simple until it fails. The right board, thickness, and layout save months of patching later. The wrong call shows up in sagging ceilings, moldy showers, and endless seams under paint.
Think of it as a system, not a single sheet. It ties into framing, insulation, finishes, and codes. Each step—installation, finishing, repairs, specialty boards—has its own best practices. Skip them and the problems are permanent.
This hub gives you the framework. For the nuts and bolts of hanging, finishing levels, texture options, or costs, see the focused guides linked in each section. Drywall is the skin of a house. Get it right and you never think about it again. Get it wrong and you will see it every day.
FAQ
Drywall Basics and Common Questions
What thickness of drywall should I use for walls and ceilings?
½ inch is standard for interior walls with framing at 16 inches on center. Ceilings framed at 24 inches need either ⅝ inch or a sag-resistant ½ inch panel. Bathrooms, garages, and fire walls usually call for ⅝ inch Type X.
Can I use regular drywall in a bathroom?
Not on shower or tub walls. Regular drywall will grow mold. Use cement board, fiber-cement, or a glass-mat tile backer with a waterproofing system. Regular drywall is fine for bathroom ceilings if ventilation is good.
What is “Type X” drywall?
It is a ⅝ inch fire-rated gypsum board tested as part of one-hour or longer fire assemblies. By itself it is not “fireproof.” It must be installed exactly as listed in the tested wall or ceiling system.
What’s the difference between green board and mold-resistant drywall?
Green board is water-resistant only. It slows moisture but is not mold-proof. Mold-resistant boards are paperless or have additives that resist fungal growth. Neither replaces a true waterproofing membrane where walls see direct water.
Is thicker drywall always better?
Not necessarily. ⅝ inch is stronger and better for sound, but it is heavier and costs more. Use the thickness that matches the span, fire rating, and room condition.
How do I know what finish level I need?
Level 3 is fine for garages or walls that get texture. Level 4 is the standard painted finish for most homes. Level 5 is needed where strong side lighting will show every joint.
What causes drywall cracks?
Movement in framing, seasonal changes, or rushed finishing. Small hairlines at seams are common. Wider or repeating cracks often mean structural or moisture issues.
Can moldy drywall be cleaned and saved?
No. Once paper facing is colonized, it has to be cut out and replaced. Mold remediation companies will tell you the same.
How much does drywall cost?
Standard ½ inch panels run a few dollars per sheet. Installed, finished, and painted walls usually cost between $1.50 and $3.00 per square foot depending on region and finish level.
Is drywall environmentally friendly?
Gypsum can be recycled, and many plants already use reclaimed gypsum. Choosing the right sheet sizes to minimize waste and avoiding over-specifying thickness does more for sustainability than gimmicks.
References
- Gypsum Association. GA-216 Application and Finishing of Gypsum Panel Products.
- ASTM C1396. Standard Specification for Gypsum Board.
- UL Fire Resistance Directory, Design No. U305.
- USG Corporation. Sheetrock Brand Gypsum Panels Technical Guide.
- CertainTeed. Gypsum Board Product Data.