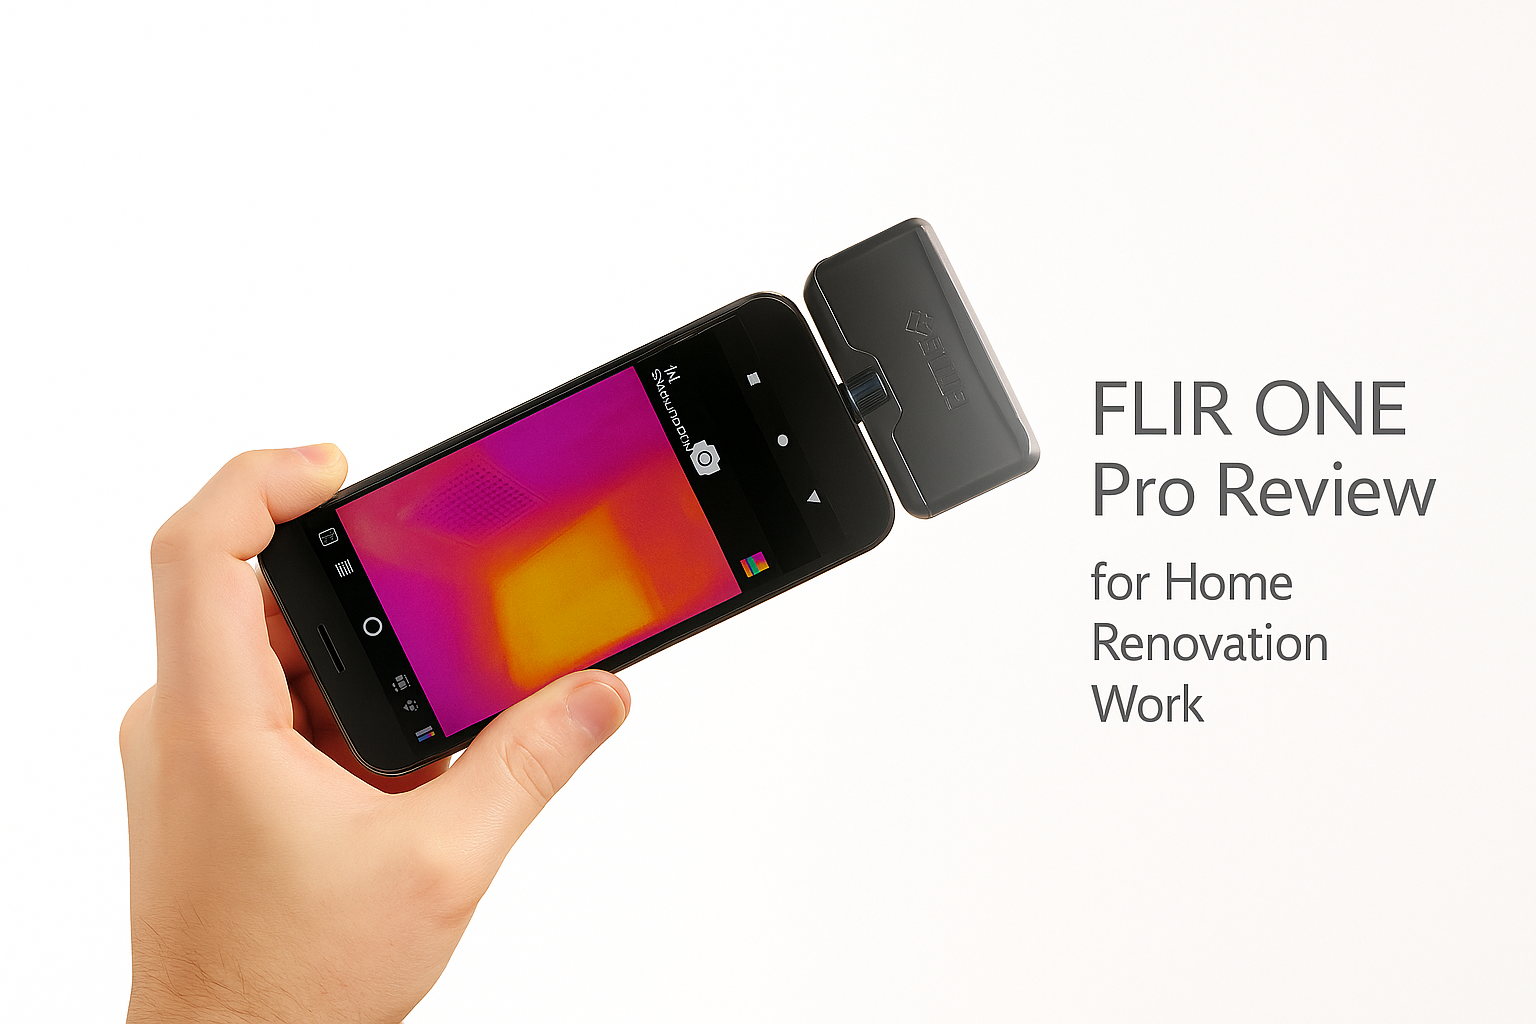
FLIR ONE Pro for Home Renovation
It’s not a toy. This camera attachment has saved me from drilling into live heating loops, tearing open walls I didn’t need to, and guessing where insulation was thin. Battery life is short. Handling is awkward on ladders. But for the money, it’s the cleanest way to add thermal vision to a job.
What it does well
Thermal clarity. The resolution is enough to see studs, ducts, and voids. I’ve used it to find missing insulation in a ceiling and to trace wiring behind plaster. You don’t need lab-grade detail—just patterns that make decisions clear.
Catches the usual suspects.
-
Cold air pouring at rim joists
-
Radiant floor loops under tile
-
Drafts around bath fans
-
PEX lines hiding where you want to drill
Tagged spots. Being able to mark the hottest, coldest, and one more point on screen helps when explaining to a client why a room feels off.
Edge overlay. The outline overlay keeps the thermal image from looking like soup. Pipes, studs, and joist lines stand out so you don’t confuse one blob for another.
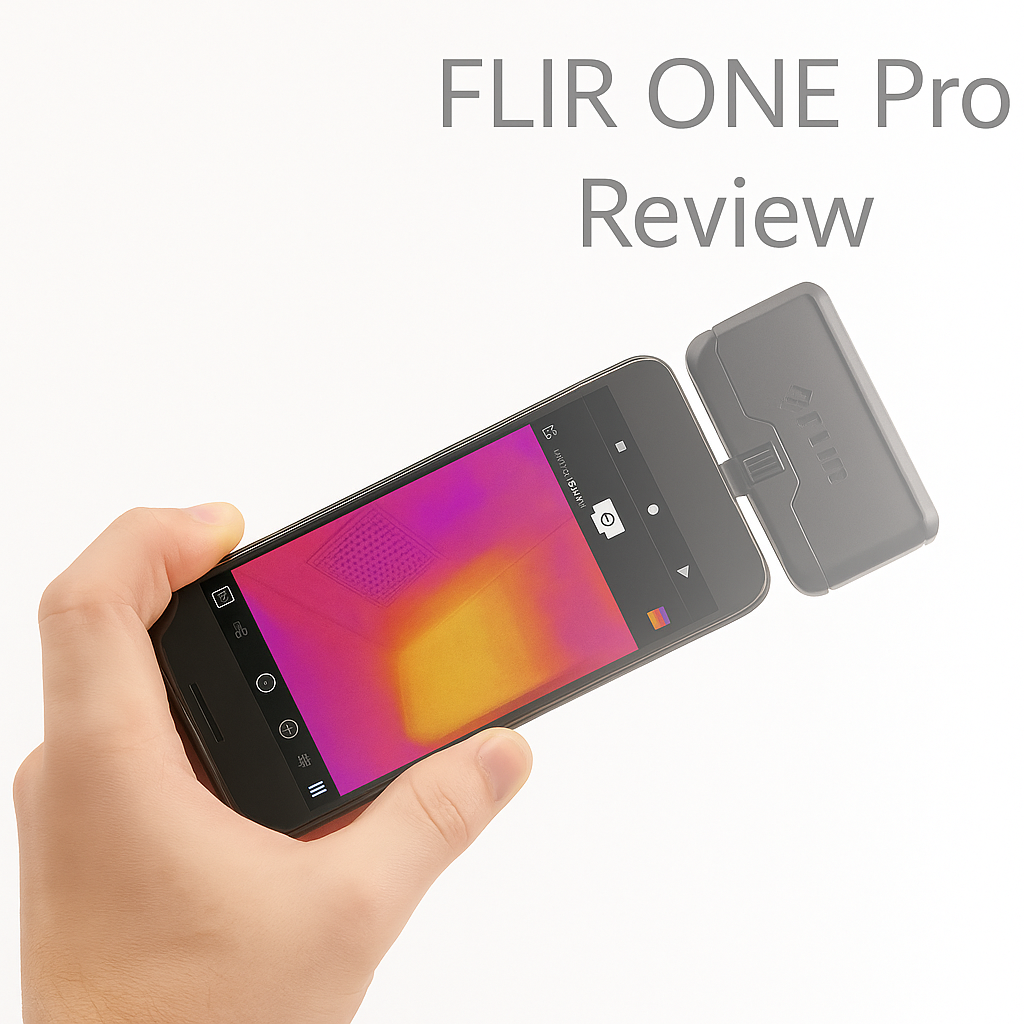
OneFit connector. Slides out just far enough that I can leave my phone case on. Saves a ton of irritation.
Where it stumbles
Battery. One hour. That’s it. You treat this tool like a quick probe, not something you leave running all day.
Two-hand handling. On a ladder, with gloves, it’s clumsy. A pistol-grip camera is easier to manage if you do inspections every day.
Moisture confusion. It shows heat, not water. I still confirm leaks with a moisture meter.
Frame rate. Slow. Great for walls, ceilings, and static checks. Annoying if you try to pan too fast.
Real jobs it saved
Draft hunt in a 1950s house. Fifteen minutes and the FLIR showed a cold stripe at the rim joist. Opened the basement, found the gap, sealed it. Bills went down.
Floor heat mapping. Warmed the system, taped the loop layout on the tile before cabinets went in. Prevented four screws from killing a heating mat.
Mounting a TV. Marked the studs and saw the PEX running nearby. Saved a line.
Attic hatch. Thermal showed a cold halo around the hatch and bath fan. Fixed with gaskets and collars. No more winter drafts.
Mistakes I’ve seen people make
-
Relying on it alone for moisture. Always confirm with a meter.
-
Testing on a mild day. Without a temperature difference inside vs outside, the images are useless.
-
Taking numbers at face value. Shiny foil and metal will lie. Look for patterns, not exact temps.
-
Expecting it to feel like a pro camera. It’s a dongle. Handy, but not ergonomic.
Pro tips
-
Create a gradient. Turn the heat or AC up for ten minutes before scanning. Patterns sharpen fast.
-
Kill reflections. Angle off polished tile or ducts or you’ll just see yourself.
-
Let it stabilize. Give the sensor a minute before trusting spot temps.
-
Always shoot radiometric images. You can tweak them later instead of being stuck with screenshots.
-
Keep painter’s tape in your pocket. Mark leaks, cold spots, or loops while you walk.
How to use it this week
-
Run along baseboards and outlets on a windy day. Mark leaks with tape.
-
Scan exterior corners at night. Cold triangles usually mean missing insulation.
-
Warm up radiant floors and mark runs before you drill.
-
Compare duct temps across rooms. A cold boot means a weak branch.
-
Check electrical panels for hot breakers or dimmers before they fail.
Price vs alternatives
It sits in the low-hundreds. The wireless Edge Pro is smoother to handle but costs more. Dedicated thermal cameras feel better in hand but aren’t as quick to deploy. For homeowners and small renovation teams, the FLIR ONE Pro is the best balance.
Verdict
For renovation work, it’s a keeper. Clear enough to stop you from guessing, small enough to live in a pouch, limited only by battery and handling. Use it as a probe, not your main camera, and it pays itself back the first time you avoid a bad drill hole or a needless demo.
Handy on a job. Finds missing insulation, leaky ducts, and heating loops under tile without tearing things open. Image detail is good enough for residential work.
FLIR ONE Pro vs FLIR ONE Gen 3: Which One is Right for You
I tested both Gen 3 and Pro back-to-back on a few reno jobs. Here’s what I found where they diverge and why I stuck with the Pro more often.
- Resolution & overlay: Gen 3 shows thermal blobs with rough edges. Pro’s overlay (MSX) gives edges and depth so you see studs, joists, ducts. That saved time on locating wiring and avoiding damage.
- App tools: Gen 3 handles basic thermal/visual capture. Pro adds radiometric mode, spot temp tags, & mixed imaging. If you need to document problems for clients or contractors, Pro gives you usable proof.
- Handling: Gen 3 is thinner, lighter, less drag. Pro is bulkier and pushes the phone’s weight. On ladders the difference matters. But Pro wins when you need clarity over comfort.
- Price vs promise: Gen 3 costs maybe 60-70% of the Pro. If you mostly do DIY checks or occasional inspections, Gen 3 gives enough. If you do daily renos, or need accurate diagnostics, Pro pays back.
- Battery and power: Both rely on your phone. Pro uses more power. With Gen 3 you’ll get marginally better battery life in light use. But Pro gives more data so you end up doing fewer repeat visits.
If I were you, here’s when I’d pick Gen 3: casual homeowner, want to spot drafts, check insulation, occasional work. Pick Pro: professional contractor, need documentation, care about precision, want features you’ll use every job.
Renovation Kit Block
Thermal cameras by themselves don’t solve leaks or drafts. This is the small kit I keep in my bag when using the FLIR ONE Pro on home jobs:
- MUST HAVE: FLIR ONE Pro Thermal Camera – plugs into your phone, shows hidden leaks, insulation gaps, and electrical hot spots.
- FIELD PICK: Painter’s Tape – mark hot/cold spots on walls so you don’t lose track when you come back with tools.
- WORKBENCH TOOL: Pinless Moisture Meter – confirms whether a cold patch is just air leakage or a water problem inside the wall.
- HANDY ADD-ON: Small Power Bank – the FLIR drains phone batteries fast. Keep a slim charger in your pocket.
This kit is small, cheap, and actually gets used. Without it, the FLIR turns into an expensive party trick. With it, you can document, mark, and fix problems properly.