Waterfall Countertops:
The “looks expensive” move that can also annoy you daily
Think of waterfall countertop as a detail choice that drags a bunch of other details behind it: seams, toe-kicks, outlets, stool clearance, corner durability, and whether your fabricator can actually match the pattern cleanly.
Done well? It looks calm and intentional. Done average? You get a weird seam line at knee height, a chipped corner where everyone walks, and a big bill you can’t unsee.
- When a waterfall edge is worth it (and when a finished panel is the smarter move)
- Waterfall edge detail: seams, toe-kicks, corners, and pattern direction
- Best materials for a waterfall countertop (quartz, porcelain, granite, marble, concrete)
- What people regret after install (the predictable stuff)
- A short checklist + FAQ based on what homeowners keep getting stuck on
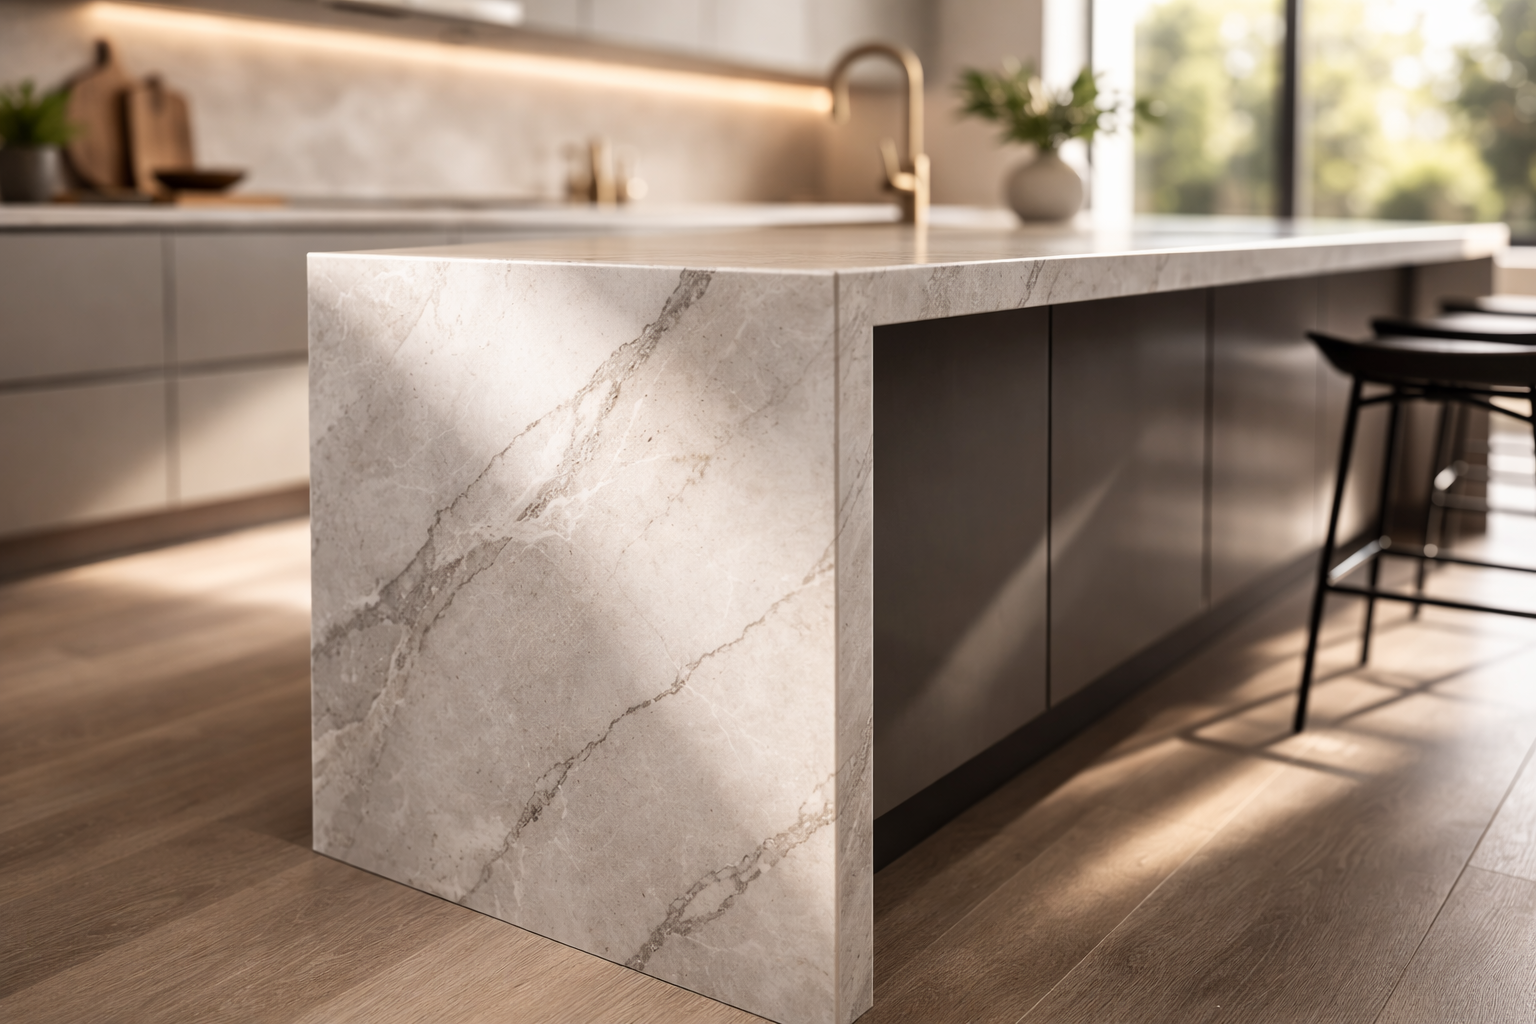
First: what a waterfall actually is
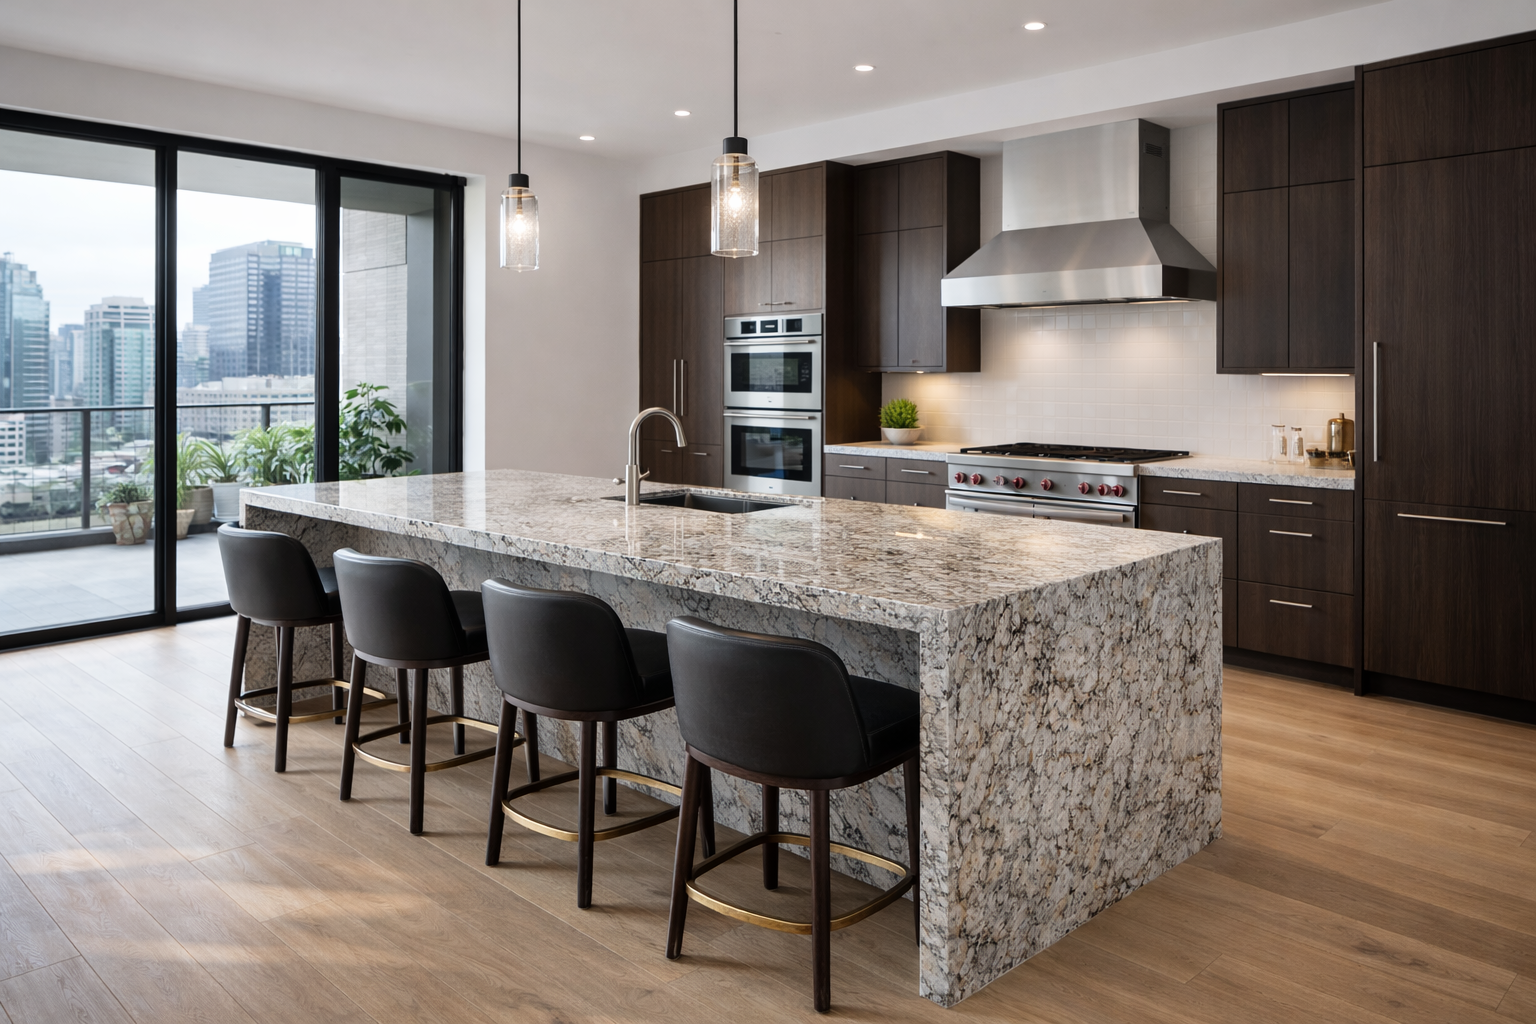
A waterfall countertop is when the slab continues down the side of the cabinet to the floor (or near it). It turns the end of an island into a big vertical plane. That’s the whole “wow.”
Here’s the misunderstanding that causes most bad installs: people treat it like trim. It’s not trim. It’s a panel system made out of counter material. That means you’re buying extra slab, extra fabrication, and extra places for seams to show.
If you want the bigger benchtop picture (materials, pros/cons, what holds up), keep this nearby: the kitchen benchtop guide (materials + pros/cons).
Quick decision rule: waterfall vs. “nice end panel”
Pick a waterfall countertop when:
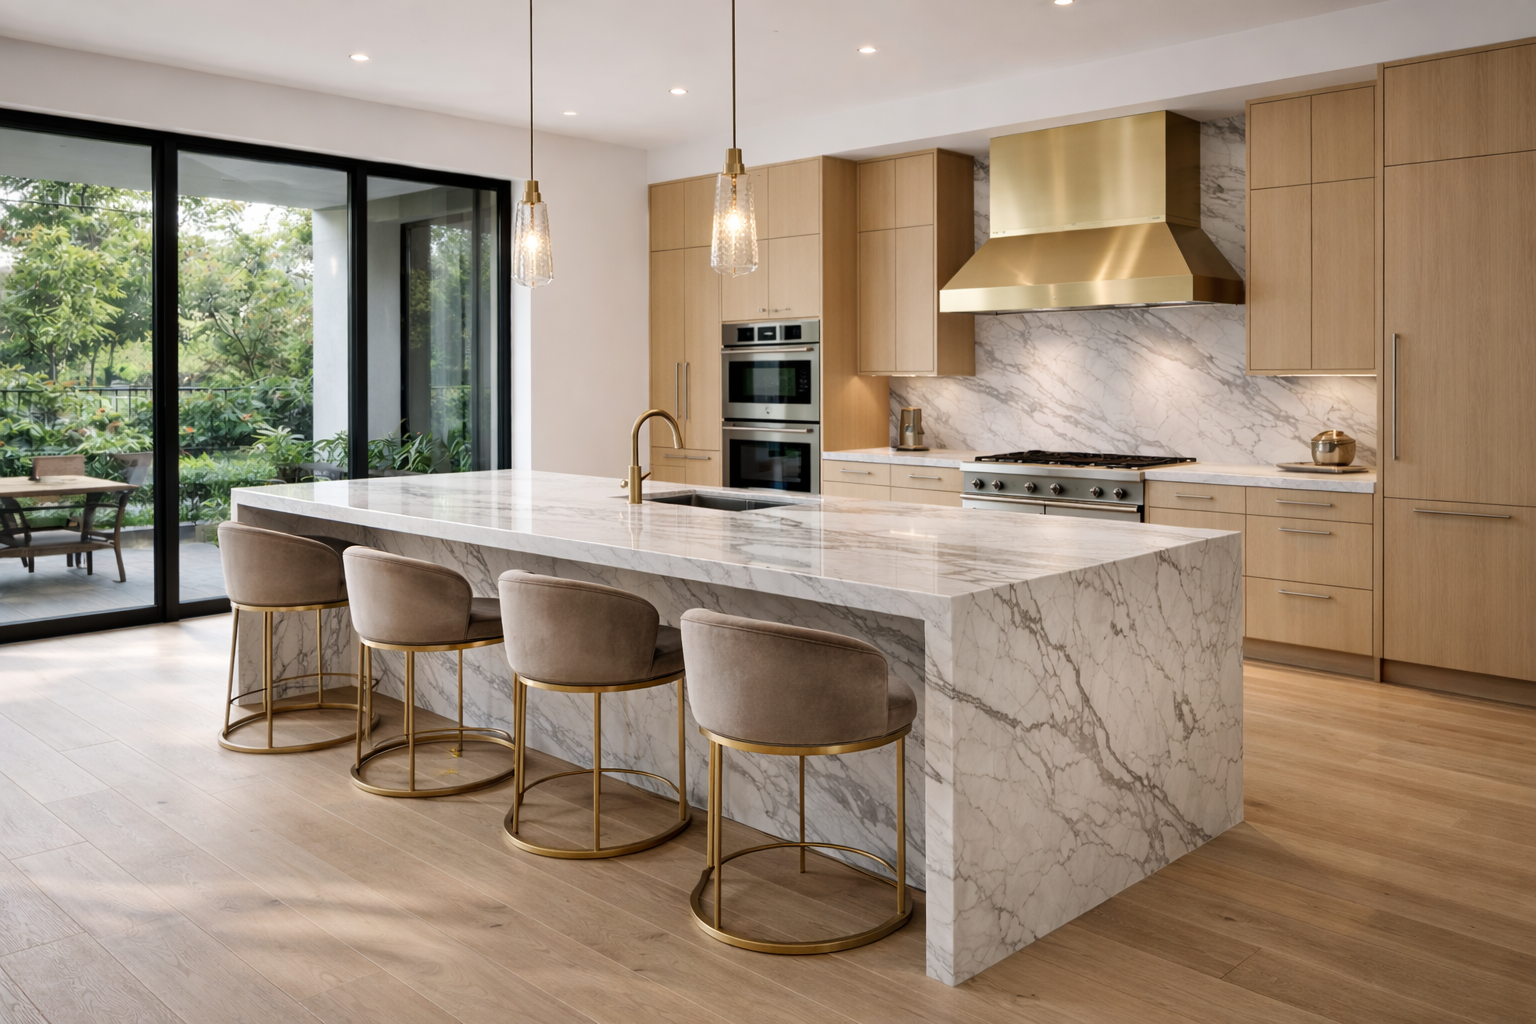
- The island end is highly visible (open plan, main sightline from entry/living)
- You want the island to read like furniture / monolith, not “cabinets + top”
- The cabinet ends get abused (chairs, vacuum, kids, dogs) and you want armor
- You have a fabricator you trust with seams + pattern
Skip it (or limit it) when:
- The island end is basically hidden (tight room, stools block the view)
- Budget is already tight and you’re still guessing on appliances/lighting
- You need outlets on the island end and you don’t want compromises
- You have kids/pets and the island corners sit in the traffic lane
A very common “best of both” move: waterfall on one end only (the end you actually see), and a durable finished panel on the other. Looks intentional. Costs less. Less seam drama.
Waterfall edge detail
where the install usually goes wrong
If you only read one section, read this. This is where the “pretty rendering” gets punished by real life.
1) Pattern direction + slab orientation
On a waterfall, the vertical leg can look totally different from the top if the slab pattern shifts. With subtle quartz, you barely notice. With strong veining, you notice immediately.
Fabricators plan this as “slab optimization.” Caesarstone’s fabrication guide flat-out recommends keeping adjoining pieces cut from the same slab for the best match in pattern and color consistency (especially in spaces with lots of reflected light).
Decision rule: If the pattern is bold (big veins / directional movement), ask for a layout drawing before anything is cut. If they won’t do that, don’t do a bold waterfall.
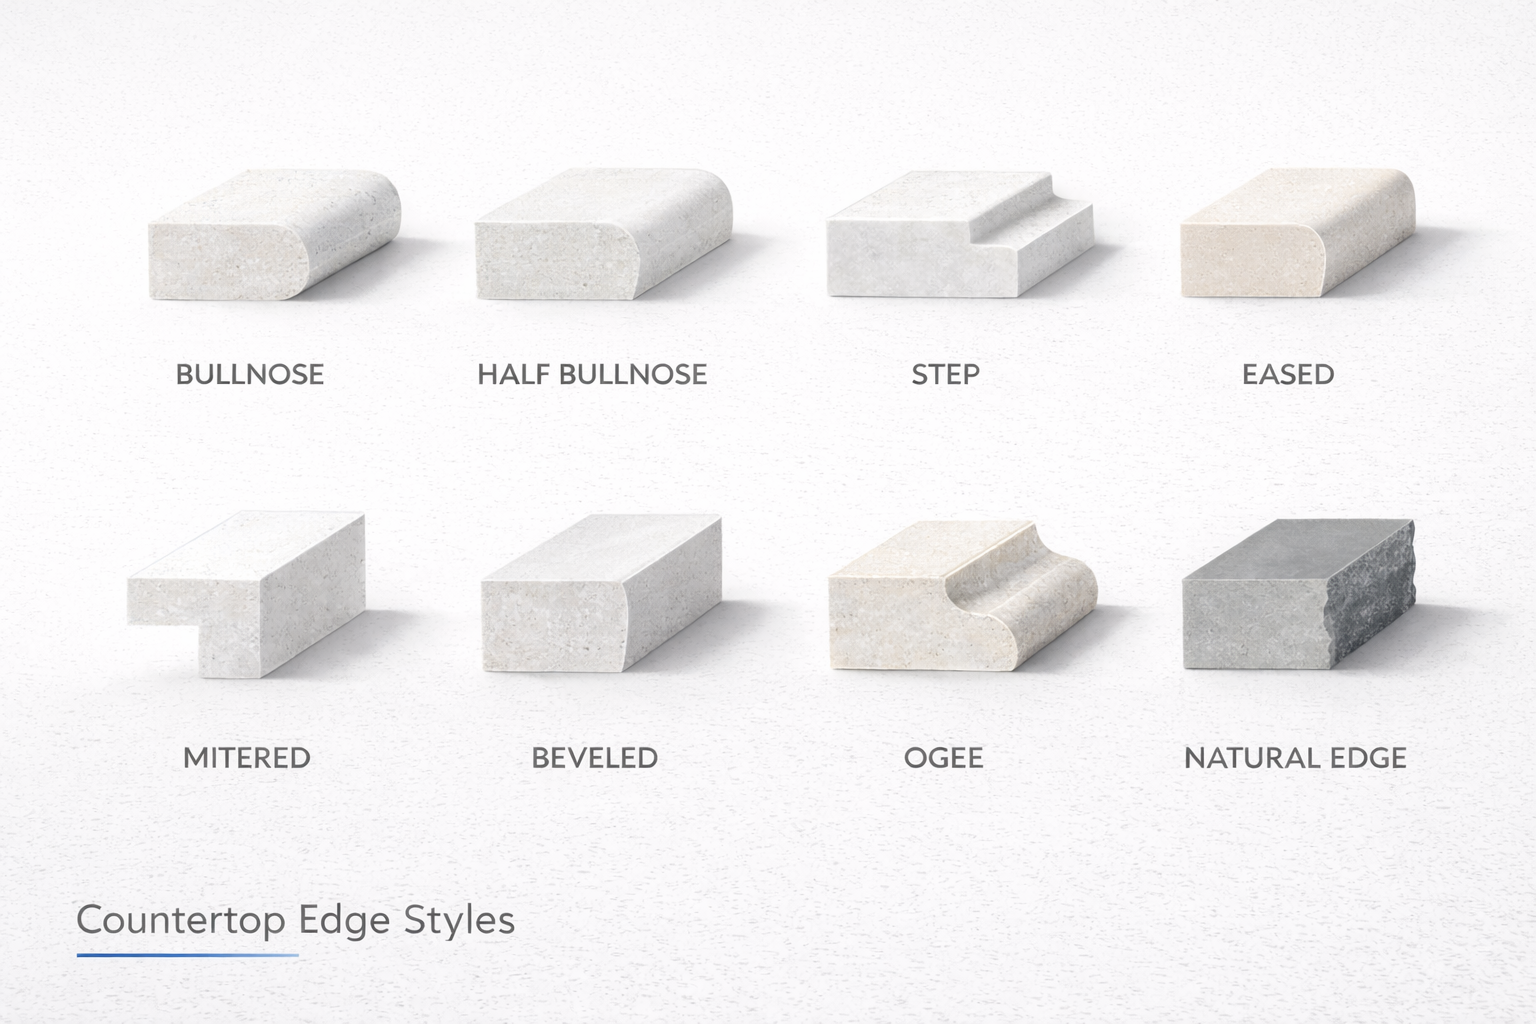
2) The miter seam: you’re either hiding it or showcasing it
Most waterfall ends are mitered: the top piece and the vertical leg are cut at angles and joined so the edge looks thick. The seam line is unavoidable. The goal is to make it quiet.
Two things matter more than the “edge name” on the quote:
- Seam placement: don’t put the seam right where stools bang into it
- Epoxy color match: if it’s off, the seam reads like a marker line
Caesarstone’s guide gets very specific about seams and support: it calls for support strips under seams and gives prep guidance for bonding areas.
3) Corners: the chip zone is predictable
Waterfall corners take hits. Period. Bags, hips, toy trucks, vacuum handles.
This is why a dead-sharp “knife edge” is a bad flex in real kitchens. Caesarstone’s guide explicitly says square edges are not recommended because impact may cause chipping, and it recommends small bevels or pencil rounds instead.
Decision rule: On an island in a traffic lane, soften the waterfall corners. Even a tiny radius changes the failure mode.
4) Toe-kick + cleaning reality
If the waterfall drops to the floor, you’ve got a toe-kick problem to solve:
- Either the slab “floats” with a recessed toe-kick behind it (cleaner look, but detailing matters)
- Or it lands on the floor and you accept that mopping and crumbs are now part of the design
This is where people get surprised: the prettier the monolithic look, the less forgiving the cleaning and kicking becomes. Plan it like an assembly, not a vibe.
Best materials for waterfall countertops
This isn’t about what looks nicest on Instagram. It’s about what survives seam work, corner impacts, and daily wipe-downs.
Quartz waterfall countertop
Quartz is the default for a reason: consistent, stable, and easier to keep looking clean than many natural stones. It’s also predictable for fabricators.
What bites later: sharp corners. Quartz chips at the edge when you treat it like steel. That’s not opinion—fabrication guidance literally warns against square edges for impact.
If you’re still deciding thickness, seam layout, edge profile choices, etc., keep this nearby: custom benchtop selection tips.
Porcelain / sintered stone waterfall countertop
Porcelain slabs (and sintered stone) can be fantastic for a waterfall because they’re hard, heat-tolerant, and don’t stain easily. The catch is fabrication quality. When it’s good, it’s surgical. When it’s rushed, edges and corners look chipped before you even move in.
Best use: modern kitchens where you want thin, crisp planes and you’re paying for a careful shop.
Granite waterfall countertop
Granite can work great on waterfalls because natural movement can hide a seam better than ultra-flat materials. It also takes abuse well.
What bites later: you still need a smart corner detail. And some granites have movement that’s hard to align cleanly across a miter if you’re expecting “perfect continuation.”
Marble waterfall countertop
Marble on a waterfall is a look. Classic, heavy, expensive. Also: it records your life. Etching, dull spots, and little chips show up.
If you want marble because you love marble, fine. Just put it where it’s not getting hammered all day, or accept the patina. If you want “marble look” without the maintenance, pick a quartz that’s designed for that.
(If marble is still on your shortlist, this page helps you sanity-check the commitment: marble benchtops in modern kitchens.)
Concrete waterfall countertop
Concrete waterfalls can look incredible. They can also crack and stain if the mix, reinforcement, and sealing aren’t handled like a real spec.
Decision rule: Concrete is only “low maintenance” when the builder is very good and the client has reasonable expectations. Otherwise it becomes a hobby.
Can laminate do a waterfall edge?
Yes, but it’s a different animal: you’re wrapping a substrate, managing seams, and protecting edges from water intrusion. It can look clean in photos. It can also swell near dishwashers and sink zones if detailing is sloppy.
Rule: laminate waterfalls belong in dry-ish zones or rentals where the goal is “looks good, easy to replace later,” not “forever detail.”
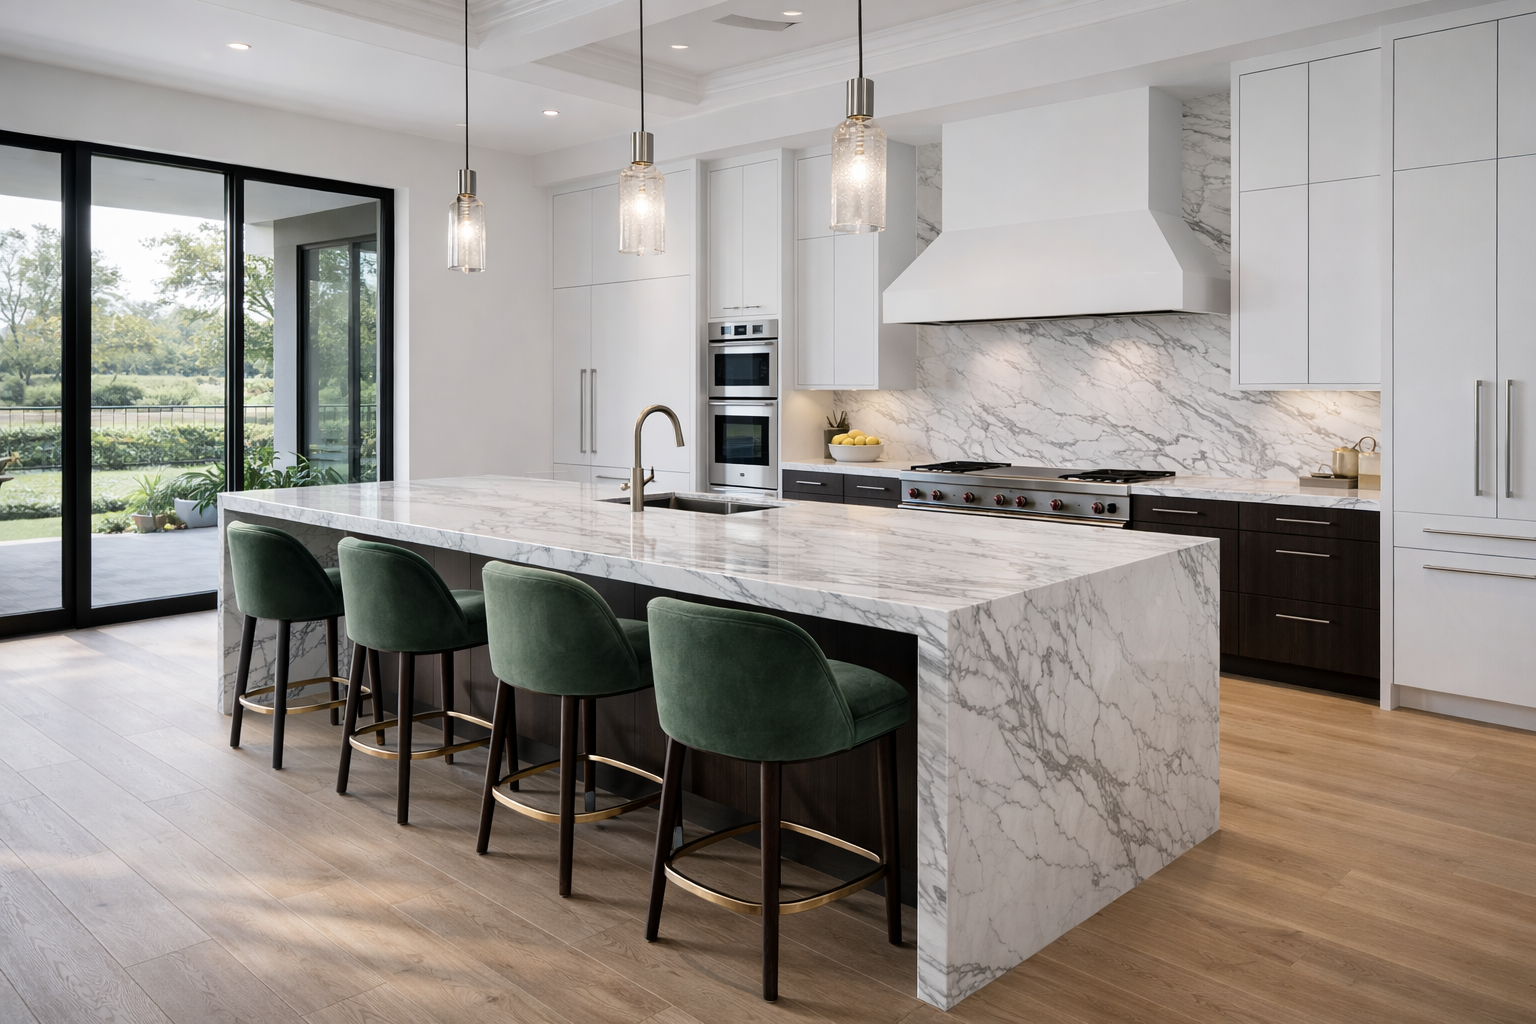
Layout + seating
The waterfall changes the usable space
A waterfall edge steals a bit of clearance at the island end. That sounds minor until you put stools there and someone’s knees hit stone.
For island clearances, the common planning baseline people return to is roughly 42" for a working aisle and 48" when you expect multiple cooks / heavy traffic.
Now layer in waterfall legs, stools, and drawers. This is where “it fits on paper” becomes “why is the dishwasher door blocking the whole kitchen?”
Fast rule: tape the footprint on the floor before you commit. If it feels tight with tape, it will feel worse with real drawers, real stool legs, and real people.
The parts that quietly blow up the quote
- Extra slab + waste: waterfall legs burn material fast, especially with vein matching
- Miter fabrication: more labor than a basic edge profile
- Corner detailing: radii, polishing, and reinforcement time
- Outlet and hardware conflicts: you can’t “figure it out later” if the end is a solid stone plane
- Site conditions: out-of-level floors and cabinets make waterfalls harder (because the leg has to land clean)
This is why people think they’re buying “just a prettier island.” They’re buying a mini-envelope detail.
How to talk to your fabricator
(so you don’t get surprised)
Ask these, directly:
- “Show me the slab layout. Where do the waterfall legs come from?” (pattern direction)
- “Where exactly are the seams, and what epoxy color are you using?”
- “How are you softening the island corners?” (don’t accept “standard” as an answer)
- “How are you supporting seams and cutout zones?” (support strips, subdeck, etc.)
- “What edge profile are you recommending for impact resistance?” (many shops will steer you to a small bevel / pencil round for a reason)
Also: confirm terminology. Even the Caesarstone guide notes that edge terminology can vary between companies and regions—so you should visually confirm the profile before cutting.
Common regrets
(the stuff people say after living with it)
- “The seam is more visible than I expected.” Usually epoxy color + lighting + seam placement.
- “The corners chipped fast.” Usually too sharp + too much traffic.
- “Stools don’t sit right.” Waterfall legs steal knee space and mess with stool spacing.
- “Cleaning the base is annoying.” Toe-kick detailing wasn’t thought through.
- “We should’ve only done one end.” Two legs can be overkill if one side is hidden anyway.
Checklist
Waterfall countertop, 10-minute sanity check
- Is the island end actually visible enough to justify the waterfall?
- Are you doing one end or both? (default: one visible end)
- What’s your corner strategy: tiny radius, small bevel, or pencil round?
- Where do seams land, and are they away from knee/kick zones?
- Do you have a slab layout drawing for pattern direction?
- How are the seams supported under the counter?
- How are cutouts handled near edges/seams? (support rules matter)
- Toe-kick: recessed behind the leg, or leg to the floor?
- Outlets: where are they going, and what does your local code require?
- Did you tape the footprint + stool positions on the floor first?
FAQ
Are waterfall countertops still in style, or are they dated?
They’re not a trend in the “one-year thing” sense. They’re a modern detailing move. They only look dated when they’re overused in the wrong room (tight kitchens, cheap cabinets, bad seams).
What’s the best waterfall countertop material for a busy family kitchen?
Quartz or porcelain/sintered stone, with softened corners. The material matters, but the edge detail matters more.
Will the miter seam always show?
There will always be a seam. The question is whether it’s quiet. Slab layout, epoxy match, and placement decide that.
Do waterfall countertops chip easily?
They chip when corners are sharp and traffic is high. Small bevels / pencil rounds take impacts better than square edges.
Can I do a waterfall edge on a small island?
You can, but small islands are where it often feels cramped (knee space + stool placement). One-end waterfall is usually the better call in small kitchens.
Do I need extra support for seams and cutouts?
Yes—support under seams and near cutouts is part of a proper install, not an “upgrade.” The Caesarstone guide specifies support strips under seams and added support where needed.
Can laminate do a waterfall edge countertop?
Yes, but it’s seam management and water protection, not “stone behavior.” If the sink zone is wet daily, laminate edges and joints are the weak point.
Can I add a waterfall later?
Sometimes, but it’s rarely clean. You’re trying to match material and pattern after the fact, and your existing top may not have enough slab left to cut a matching leg. Decide early if you can.
MUST READ
Kitchen design pocket reference (layouts + specs)
The kind of book you grab when you’re about to approve a quote and want to catch the dumb mistakes first.
Conclusion
A waterfall countertop can be a great move. But only when the details are treated like real construction: slab layout, seam placement, corner durability, toe-kick logic, and how the island actually gets used. If you solve those early, the “pretty” part takes care of itself.