
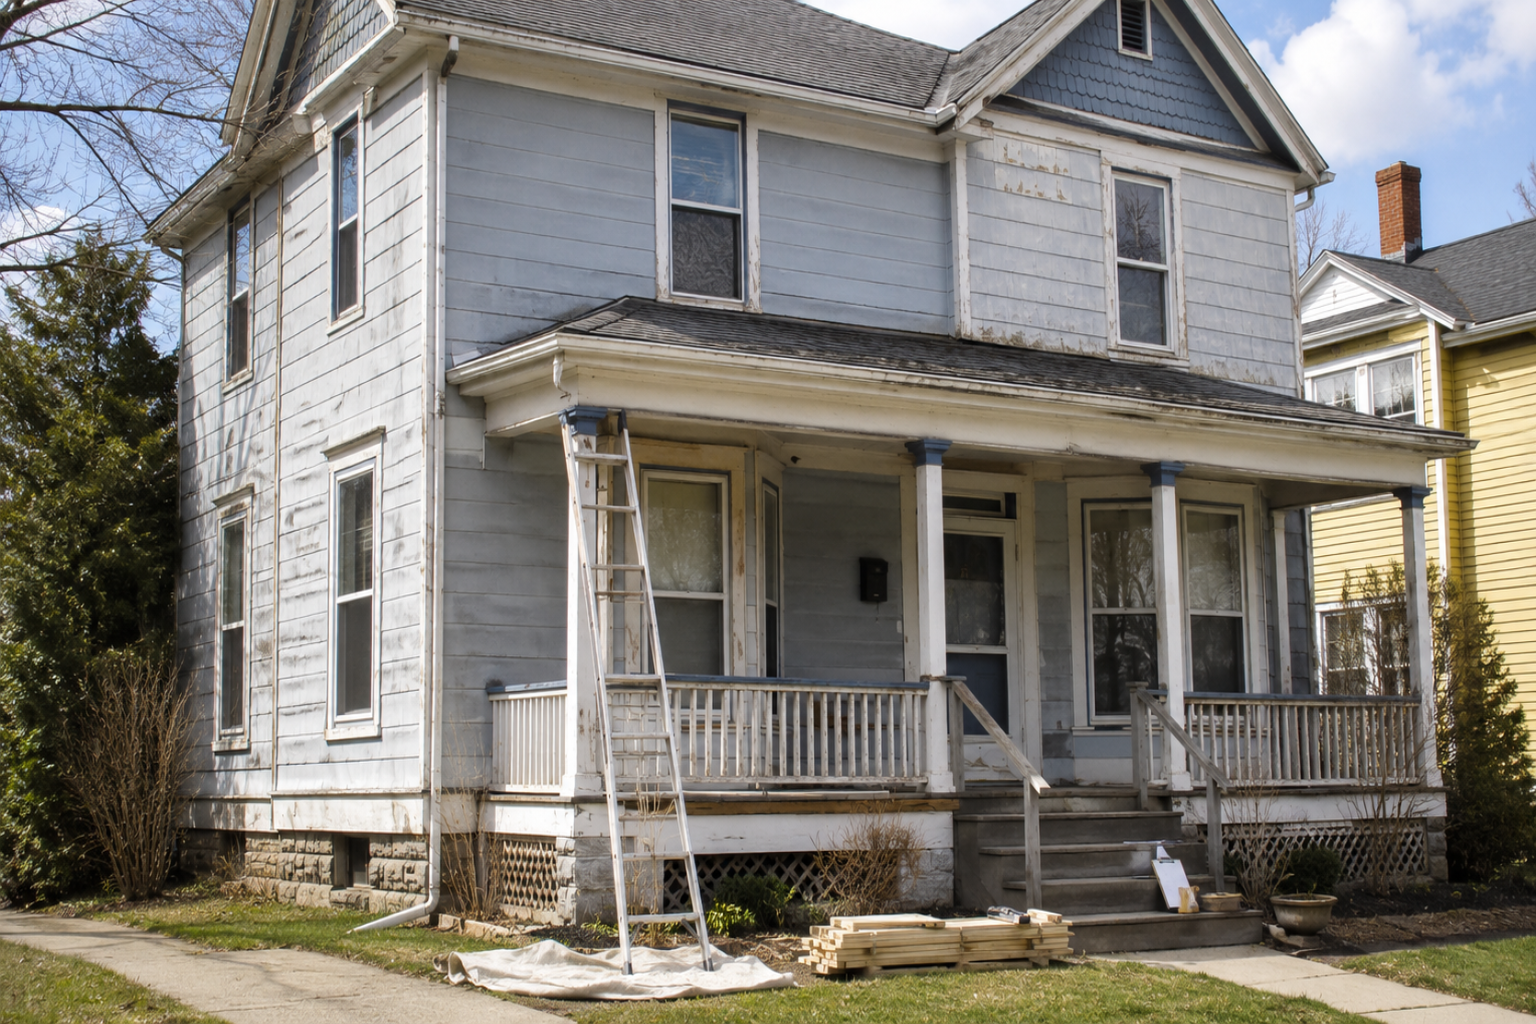


You are standing in a house built around 1900, working out which parts are original and which are somebody's later repair. The trim matches in one room and not in the next. A wall has been patched, and the kitchen is clearly from the 1950s. The problem is usually sequence.
Owners pick finishes before they know whether the house is dry and the framing is sound. They pick before they know what is sitting inside the walls. Then the finish money gets spent twice. Read what is still good first, price the repairs second, and choose colors last.
Most 1900 Houses Are Layers, Not Time Capsules
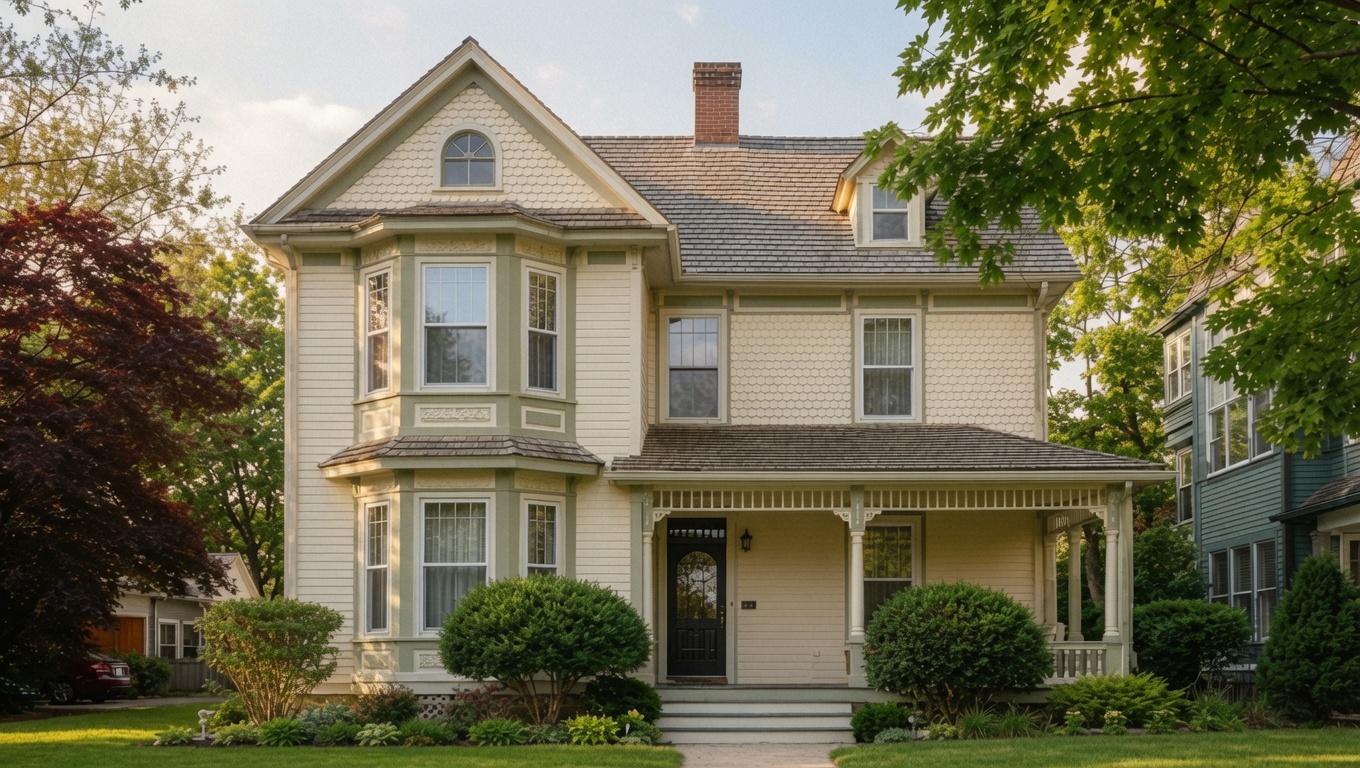
A house built around 1900 may carry late Victorian trim, Folk Victorian porch details and early Craftsman changes. Add a later kitchen, replacement windows, newer wiring, old plumbing, an added bathroom, covered floors, and one or two remodels nobody wrote down.
A house like that is normal. Most surviving 1900 houses are made of generations of repairs, additions, shortcuts, good remodels and emergency fixes. Some of that work saved the building. Some of it is doing damage right now.
Treating every old thing as sacred is the same error as treating it all as junk. A serious renovation sorts the house into four piles. Original fabric, later work with value, later work that is harmless, and later work that is causing harm.
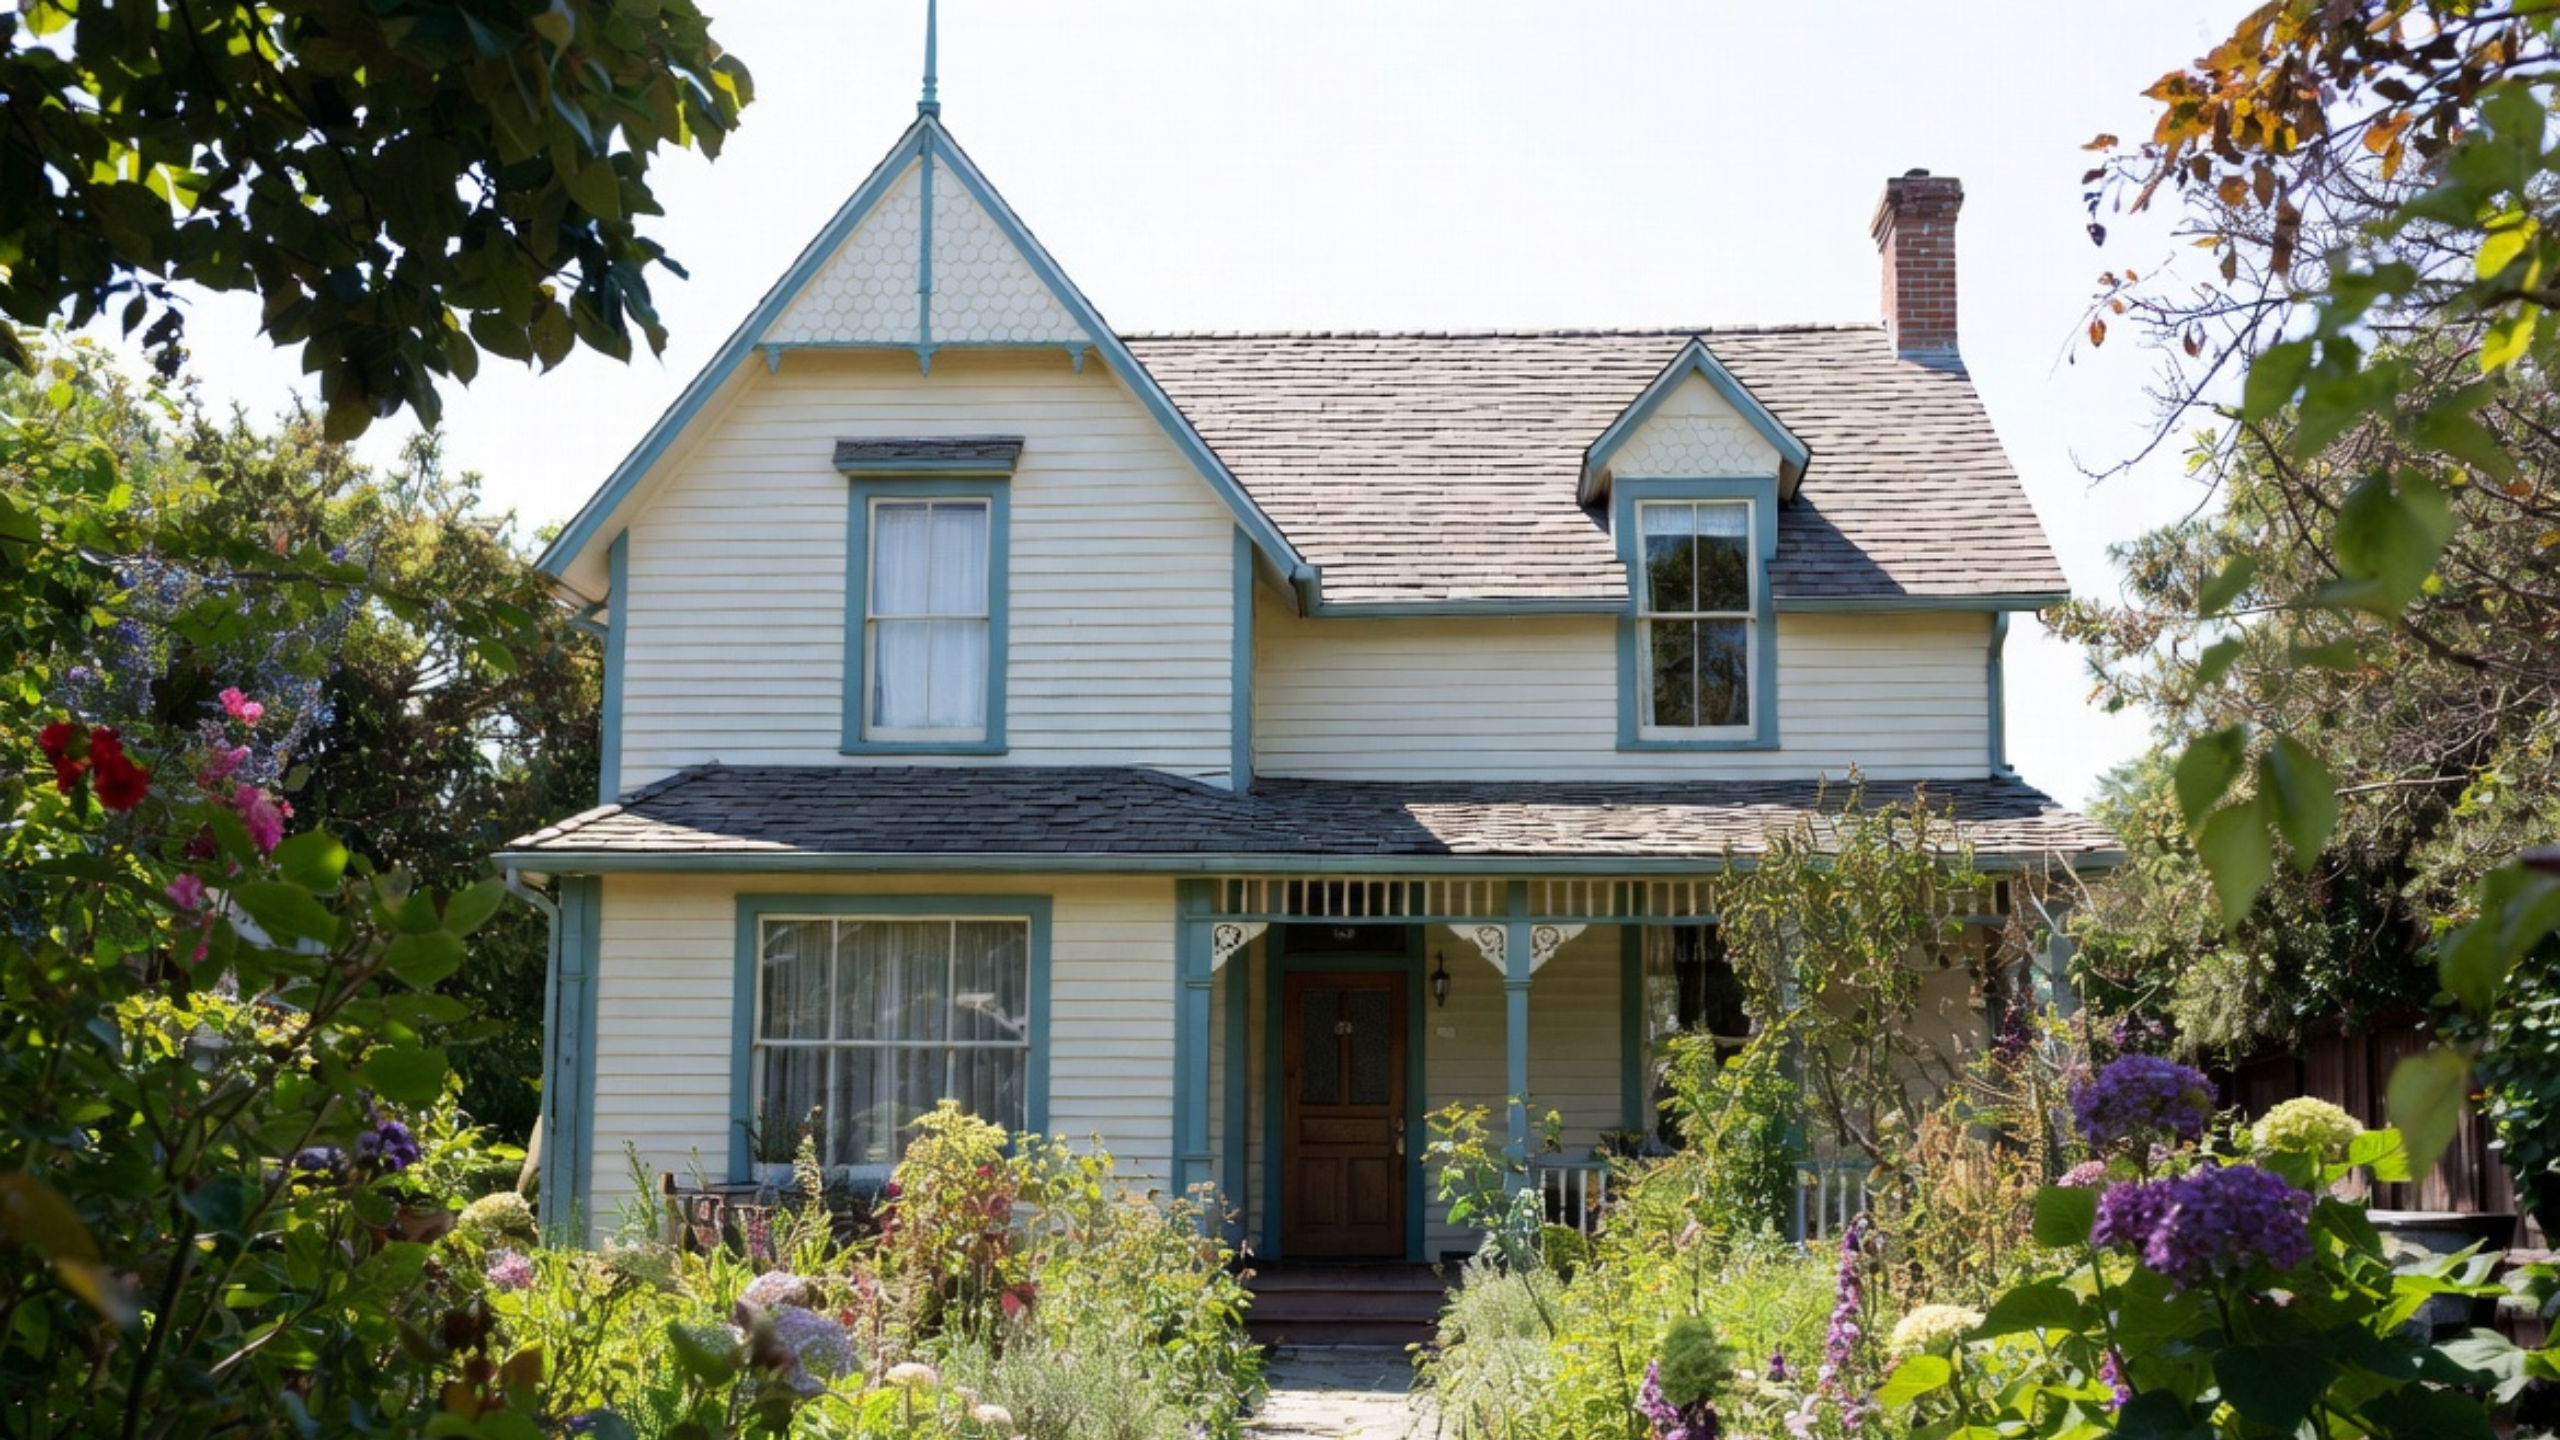
Start With Water, Structure and Systems
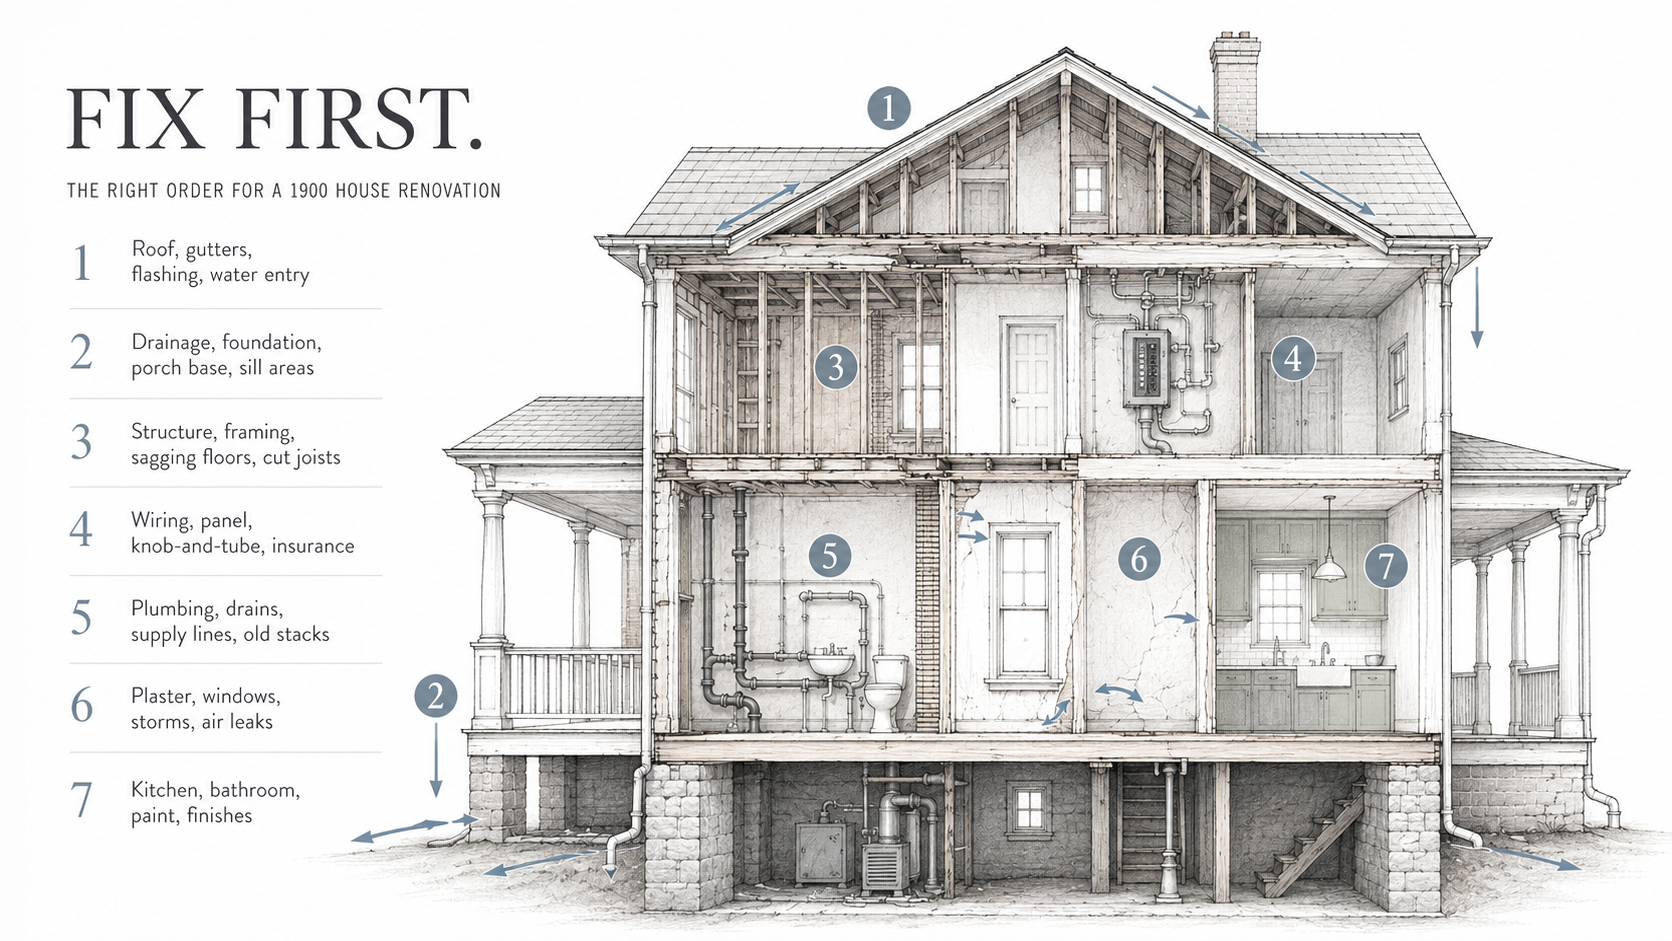
Do not start with paint colors, cabinet styles, tile or light fixtures. Those come after the house proves it is dry, stable, serviceable and safe to work on.
The first pass is outside. Roof edges, gutters, flashing, porch posts, sill areas, grading, downspouts and basement dampness decide more than any finish board. So does foundation movement. Water has had more than a hundred years to find the weak spots.
Then go inside. Look at sagging floors, cut joists, old beams, plaster cracks and chimney movement. Then panel capacity, wiring type, plumbing stacks, drain condition and heating routes. This is the pass where the budget starts telling the truth.
The House Has Been Changed Before
The hardest work is often hidden behind work somebody else already did.
A clean painted wall can cover lath and plaster, old wiring, a patched chase, an abandoned pipe or a doorway that was closed up years ago. Under a flat ceiling there may be a sagging joist. The finished kitchen can hide plumbing that works only because nobody has disturbed it yet.
So open the house in stages. Take out enough to understand what you are dealing with before you commit the whole budget. The costs run away when the plan assumes the visible room is the whole story.
What Is Inside the Walls of a House From 1900
Two conditions are common enough in houses from this period that they should be checked before work begins: balloon framing and remaining knob-and-tube wiring. Both can change what the job costs.
The first is balloon framing. In a balloon-framed wall the studs run in one piece from the sill plate up to the roof plate. They pass the second floor instead of stopping at it. That leaves an open cavity running from the basement to the attic. Platform framing, which replaced it, breaks that cavity at every floor, because each storey sits on its own plates. The IRC now requires fireblocking to cut off concealed vertical draft openings. It goes in vertically at ceiling and floor levels, and horizontally at intervals no greater than 10 feet.[1] A house from 1900 was framed before that rule existed.
The effect is not abstract. A fire starting in the basement of a balloon-framed house can climb inside the wall to the attic. It may not show itself in a single room on the way up. It also means that when you open a wall for wiring or plumbing, you are looking into a chase that runs the height of the building. Blocking it costs very little while the wall is open. It costs a great deal after the wall is closed.
The second is knob-and-tube wiring. It runs two separated conductors through open air and sheds heat into that air. NEC 394.12 does not permit concealed knob-and-tube in hollow walls, ceilings or attics where insulation envelops the conductors. That covers loose, rolled and foamed-in-place material.[2] Trapping the heat raises the conductor temperature, which can break down the insulation on the wire and ignite what is packed around it.
That runs straight into the most common upgrade an old house gets. Have the attic wiring identified before you book insulation. If live knob-and-tube remains, the insulation plan and electrical work need to be resolved before insulation is installed around those conductors.
Before Anyone Scrapes or Sands
Treat painted surfaces in a house from 1900 as potentially lead-based unless testing or reliable records show otherwise. The EPA's Renovation, Repair and Painting rule covers housing built before 1978. It is triggered when a paid contractor disturbs more than 6 square feet of painted interior surface in a room, or more than 20 square feet outside. The firm then needs certification and a certified renovator on the job. Window replacement and demolition trigger the rule whatever the area.[3]
Six square feet is a small number. A single window opening clears it. Scraping soffit, fascia and trim on the outside clears the 20-square-foot line within the first hour of work.
The part that gets read backwards is who the rule binds. It binds people who are paid. It does not bind you working on your own house, and that is a legal exemption rather than a safety one. The dust behaves the same either way.
Later remodel layers may contain asbestos in materials such as floor tile, ceiling tile or old pipe wrap. You cannot confirm it by sight. If suspect material is damaged or the work will disturb it, have it assessed and sampled by a properly trained and accredited asbestos professional before work begins.[4]
The House May Need Pruning Before It Needs Paint
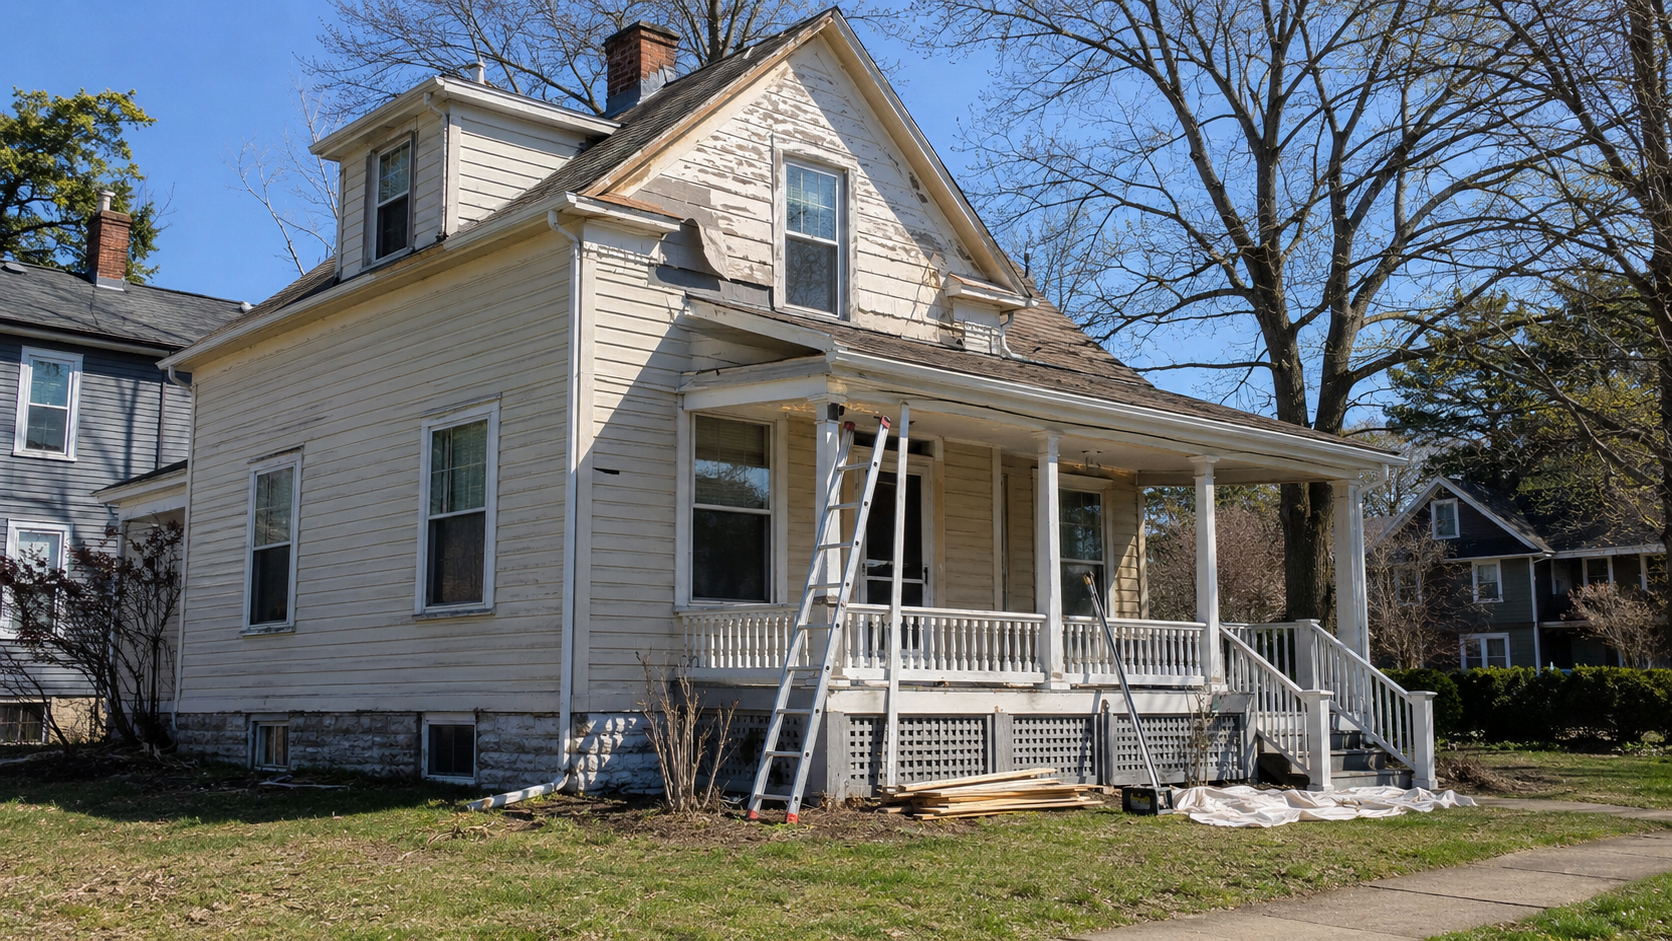
Old houses often look tired because the front has become impossible to read. Shrubs crowd the porch, vines hold moisture against the siding, and tree limbs shade damp walls. Planting hides the foundation line, the lower windows, the sill damage and the porch framing.
Before you price siding or exterior paint, clear enough growth to inspect the lower walls, porch base, drainage and foundation. You may turn up rot, splashback, bad grading or insect damage. Or you may find the house was only ever suffering from a visibility problem.
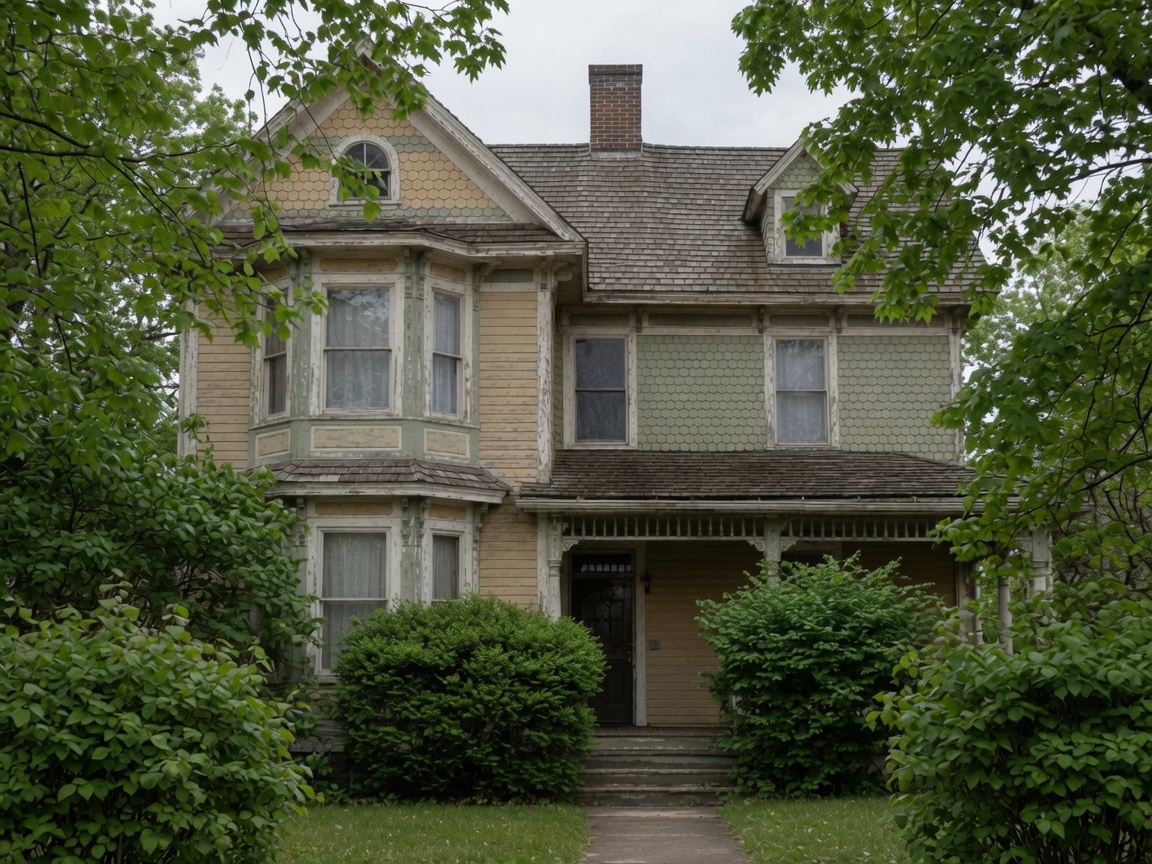
One line in your budget is a guess, and it is worth naming which one. Until the porch skirt and the sill area are opened up, nobody can tell you what the porch repair costs. Probing, moisture readings and a look from the crawlspace narrow the range. They do not close it. Carry the range and plan on spending the top of it.
Preserve the Parts That Still Read as One Piece
Original woodwork is more than trim. In better early-1900s houses, the doors, casing, baseboards and stair parts were drawn to read together. So were the picture rail, wall panels and fireplace trim. They are one system.
Take one piece out and the rest can look stranded. Paint one room white while the next keeps its dark oak, and you break the logic that ran through the whole floor. Painting is sometimes the right call. It is sometimes the decision that removes the best thing the house still has. The difference comes down to how much of the original run survives.
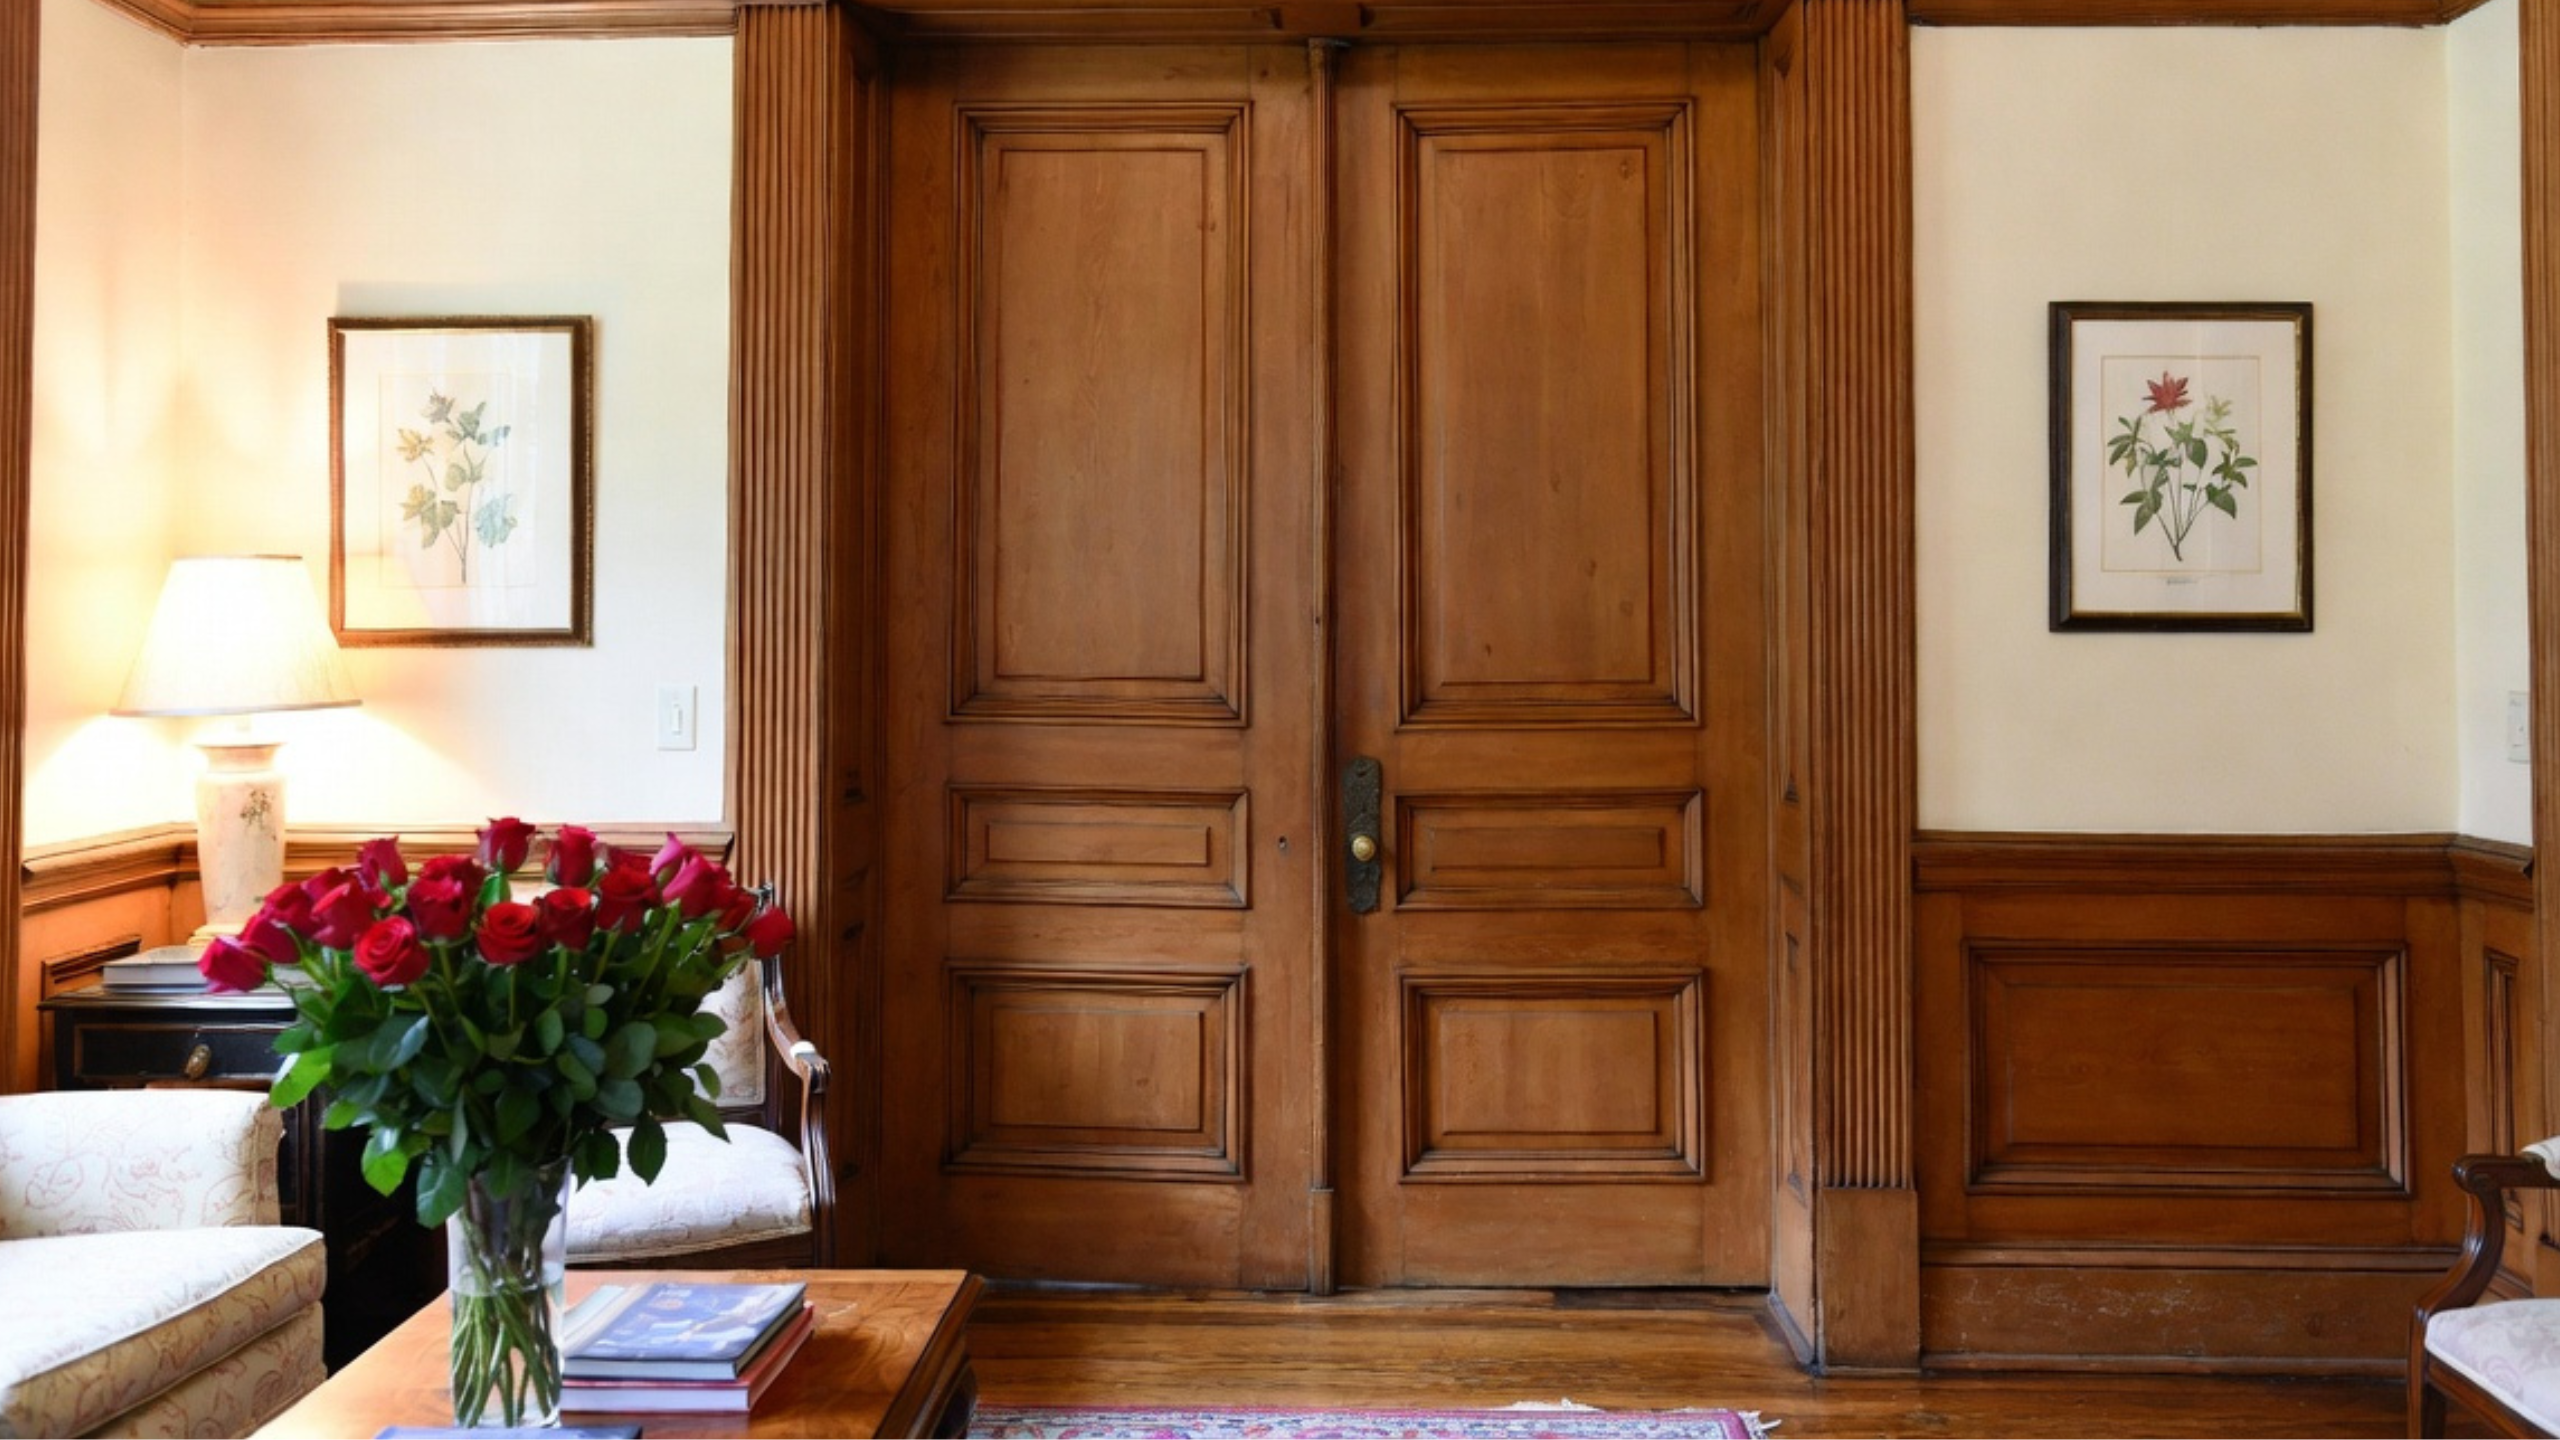
Photograph the rooms before work starts. Mark what is complete, what is missing, what has been replaced and what can be repaired. Half a day of that gives you something to argue from later, when a trade wants to pull a run of casing for access.
Fireplaces Are Assemblies, Not Decorations
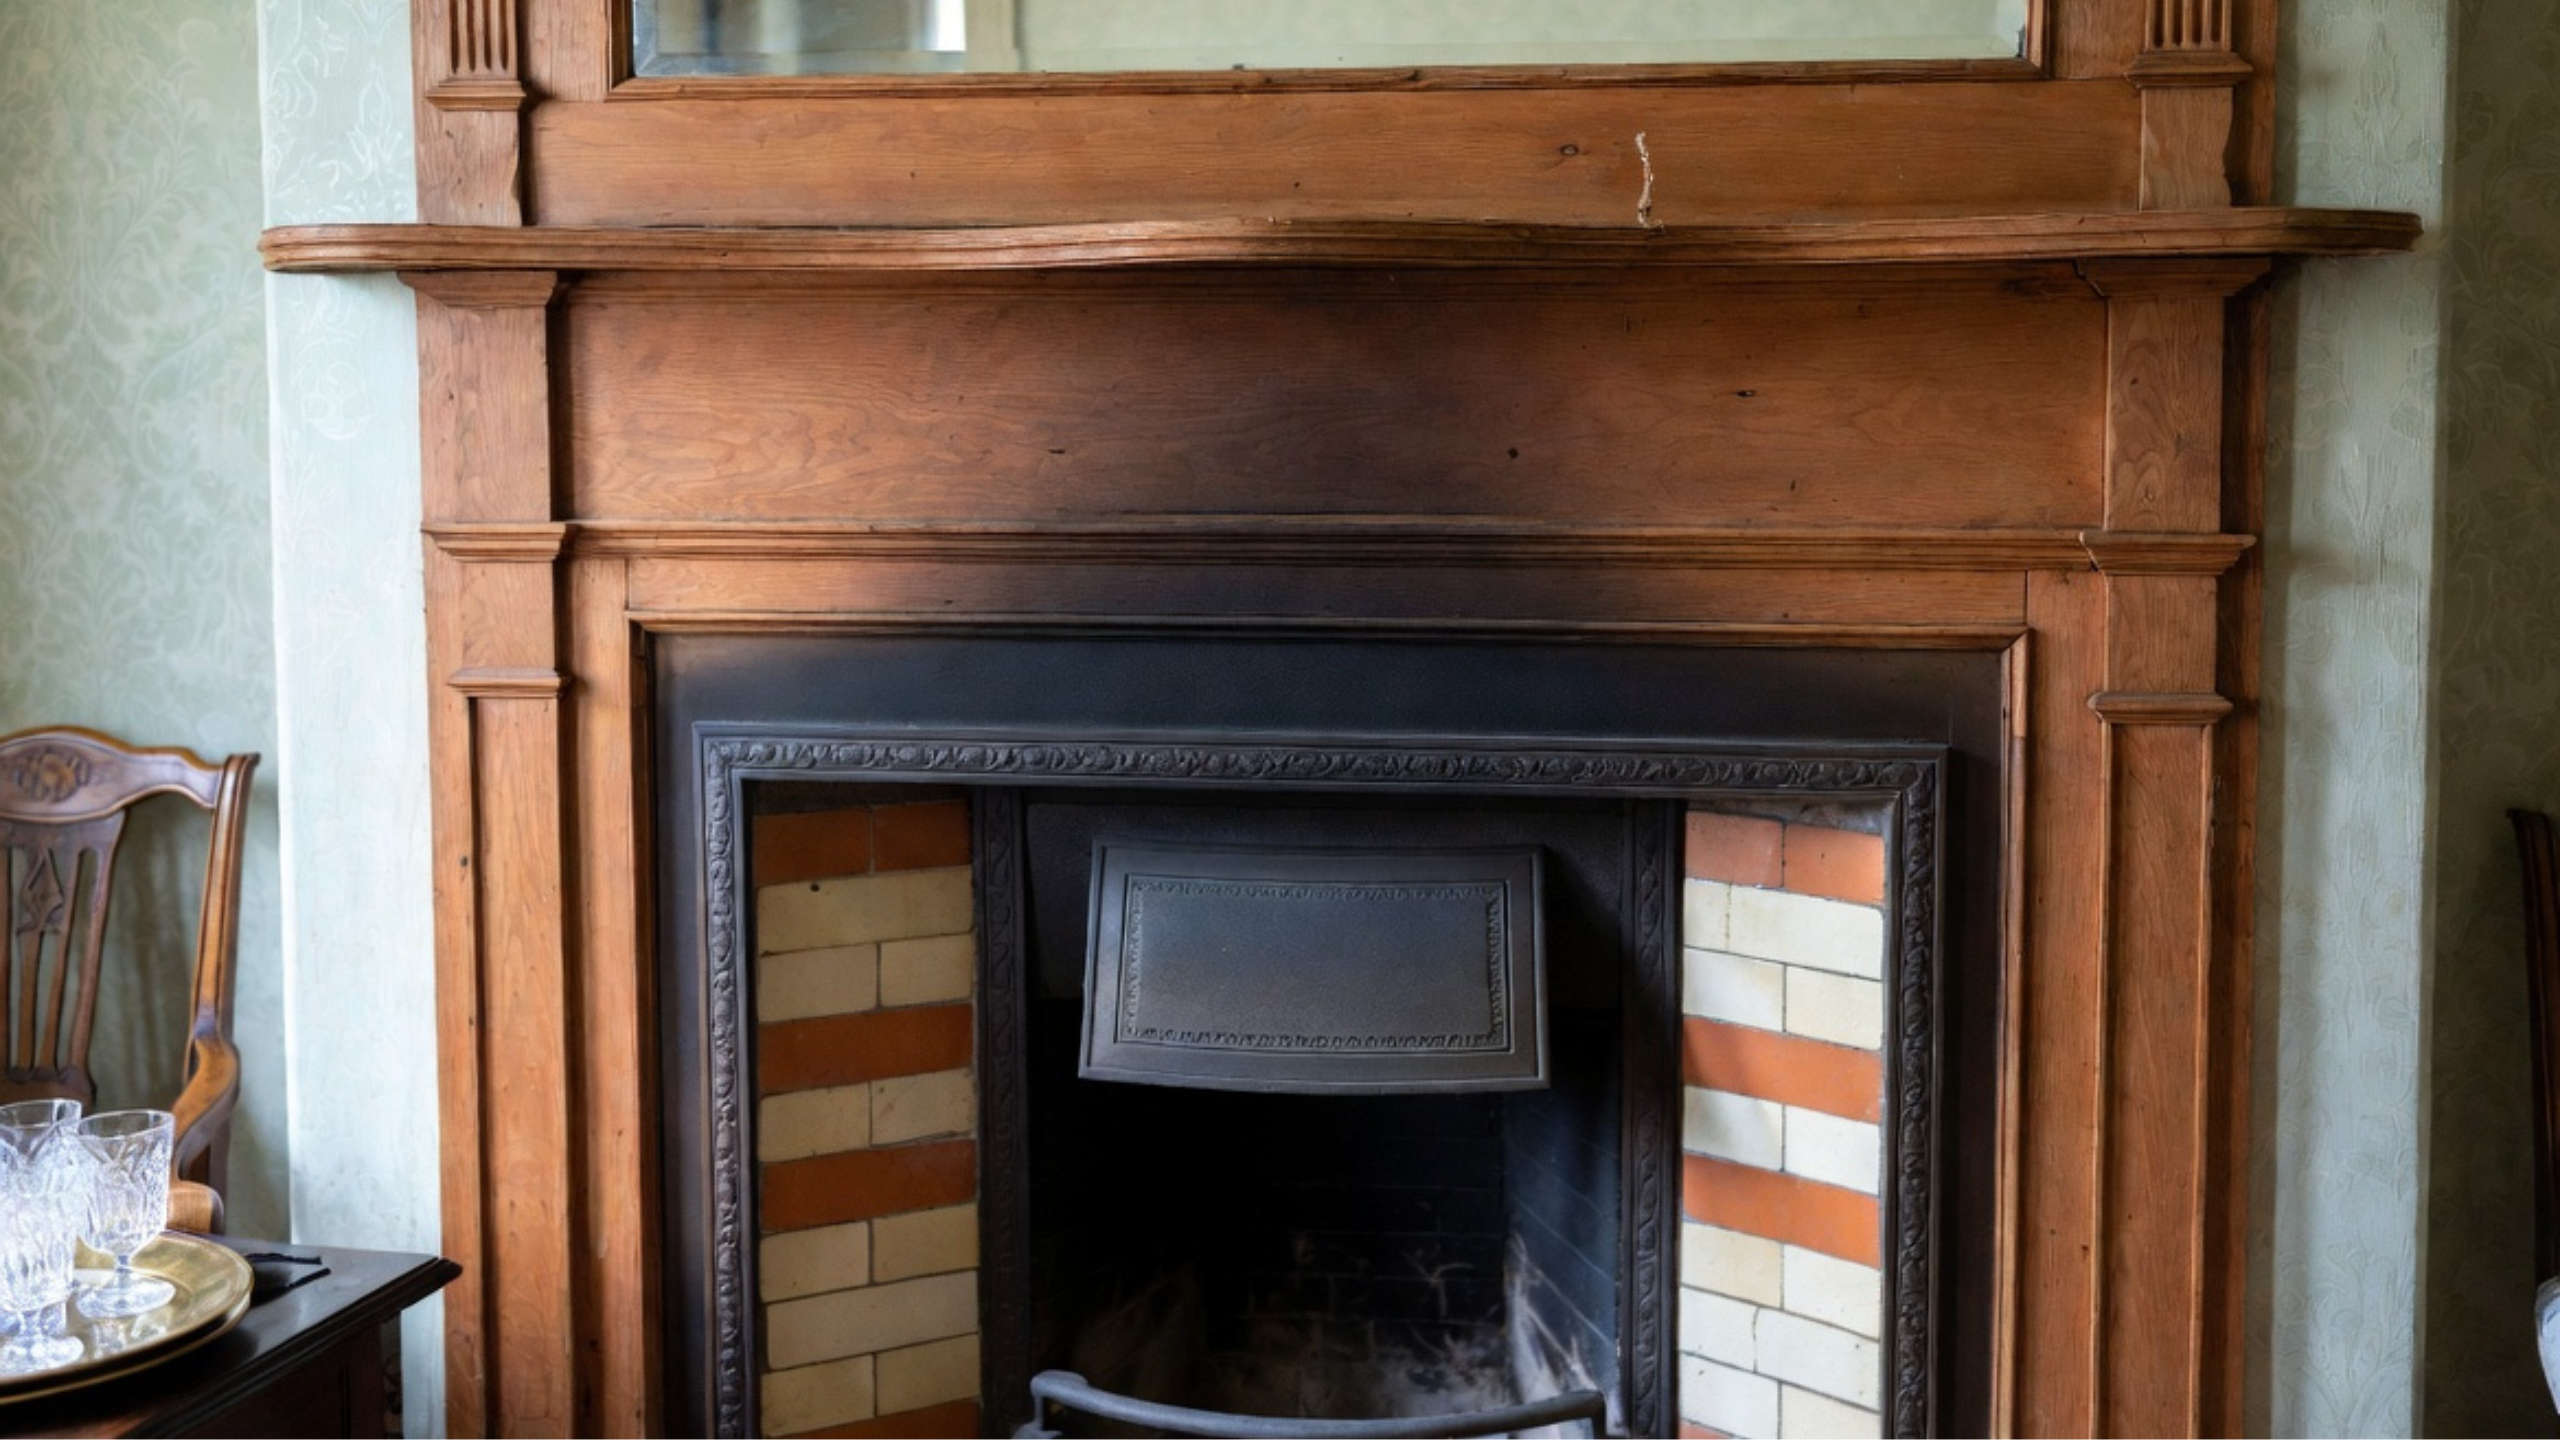
A mantel, mirror, tile surround, hearth, iron insert, chimney mass and room opening usually belong to one design idea. Pull the mantel off as a decoration and you erase the strongest clue left in the room.
Before removal, work out whether the fireplace is active, capped, damaged or purely decorative now. Then decide what you are preserving: the working fireplace, the mantel, the tile, the chimney breast, or the room's focal point.
Do not use an unknown fireplace or chimney until it has been professionally inspected.
Kitchens and Bathrooms Come After the Ugly Checks
The kitchen and bathroom are where the money wants to go first. In a 1900 house they should come after the basic checks are done and paid for.
Old kitchens are rarely untouched. In a 1900s kitchen remodel, the cabinets may be from the 1940s, the floor from the 1970s, the appliances from last decade and the doorway from the original plan. The job is to keep the room structure that still belongs. Make the kitchen work for the way you cook, without faking a museum piece.
Bathrooms are the same. Tile laid over weak framing, old supply lines, poor venting or a soft floor is a cover-up, and it will come back to you within a few years.
Repair Without Stripping the House
A good renovation of a house from around 1900 does not freeze the building in time. It also does not sand off every old edge until the place feels newly built.
Repair localized siding damage before replacing an entire wall when enough sound material remains. Rebuild the bad porch parts before changing the whole porch. Keep old windows where repair and storm sash make sense. Replace what is unsafe or failed. Modernize wiring, plumbing, heating, ventilation, kitchens and bathrooms without pretending the house has no history.
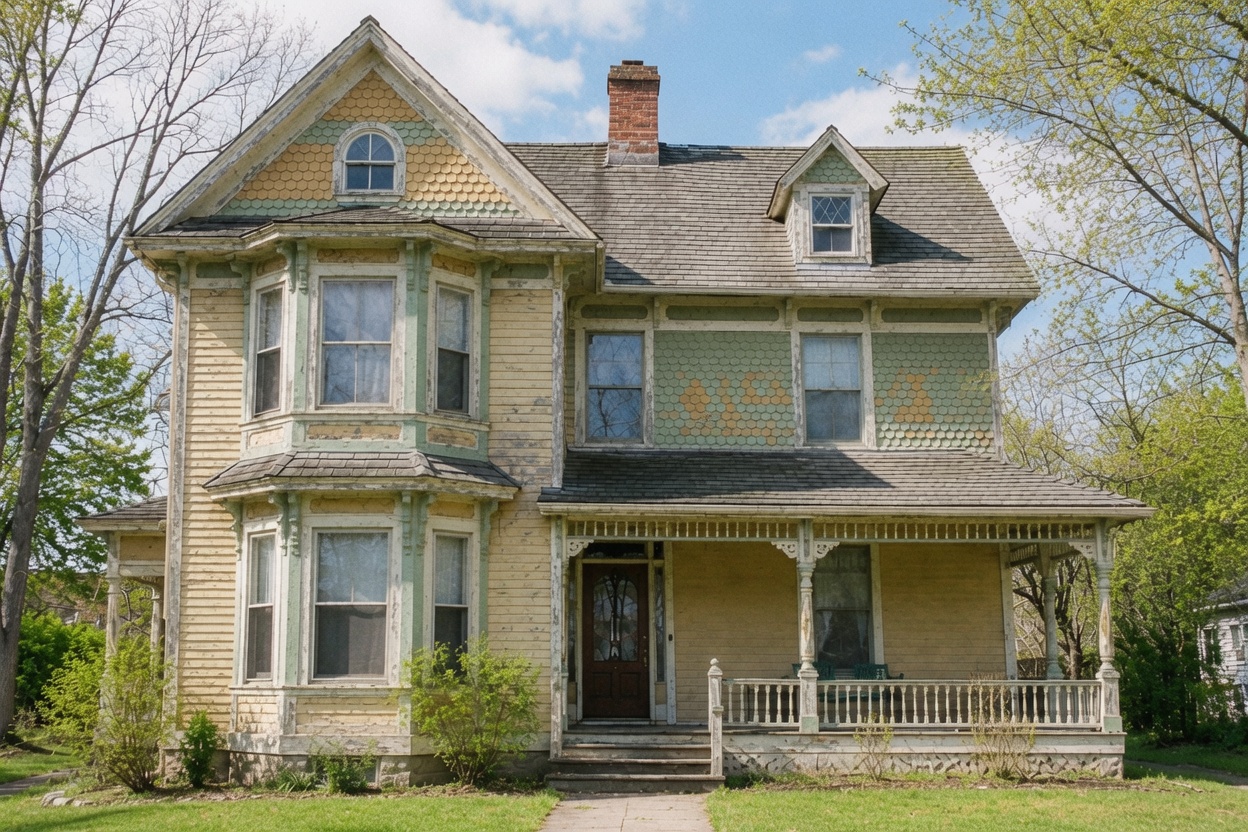
The worst work makes a house look updated while it traps water, hides rot or flattens trim. It blocks inspection. It removes the features that made the building worth saving.
What to Fix First
- Stop water at the roof, gutters, flashing, grading, porch base and foundation edge.
- Check structure before moving walls, opening ceilings or leveling floors.
- Identify the wiring type and panel capacity before anyone quotes attic insulation.
- Review plumbing, drains, heating and ventilation before closing any wall back up.
- Fireblock the stud cavities you open, while they are open.
- Document woodwork, fireplaces, stairs, windows, doors, plaster and floor materials before demolition.
After that the renovation starts behaving like a plan instead of a reaction.
A century home can carry another century of use, and age alone is not what does it. It lasts when water is controlled, structure is respected and systems are made safe. It lasts when the surviving good work is left alone instead of removed for looking old.
Sources and data
- 2018 International Residential Code, R302.11 Fireblocking.
- National Electrical Code, Article 394, Concealed Knob-and-Tube Wiring (394.12 Uses Not Permitted).
- US EPA, Renovation, Repair and Painting Program: Contractors.
- US EPA, I'm remodeling my home. Do I need to be concerned about asbestos in the building materials?