
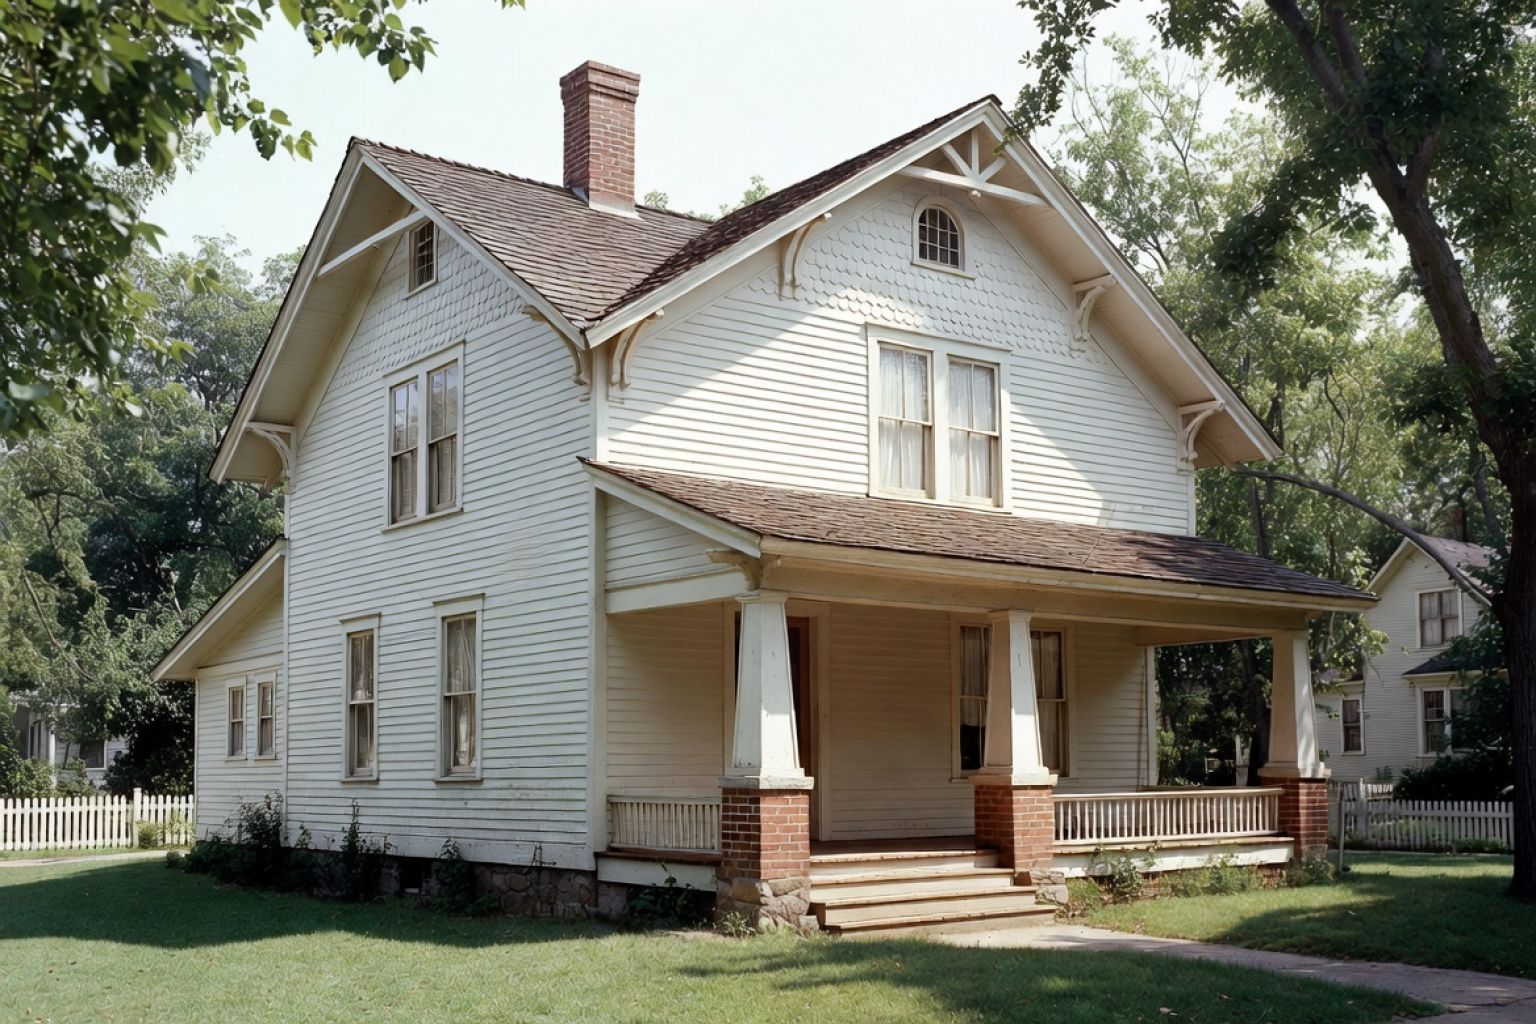
A 1910s house can look settled, comfortable, and remarkably intact. That is where buyers get caught.
The porch still carries the front. The rooms have weight. The floors may be uneven but solid. Someone has already replaced the furnace, painted the kitchen, and made the house easy enough to live in.
Then the roof reaches the end of its life. A bathroom wall opens and exposes galvanized pipe. One replacement window has been leaking into the sill. The house was never problem-free; its failures were just moving slower than the finishes.
The decade sits between the heavy houses of the late 1800s and the standard homes that came after. Look at 1890s house styles and 1900 house styles and the shift is easy to see. The 1910s kept the porch, the heavy trim, the masonry, the tall windows, and the formal room order. It dropped some of the carving and made the plan easier to live in.
Why 1910s Houses Feel Different
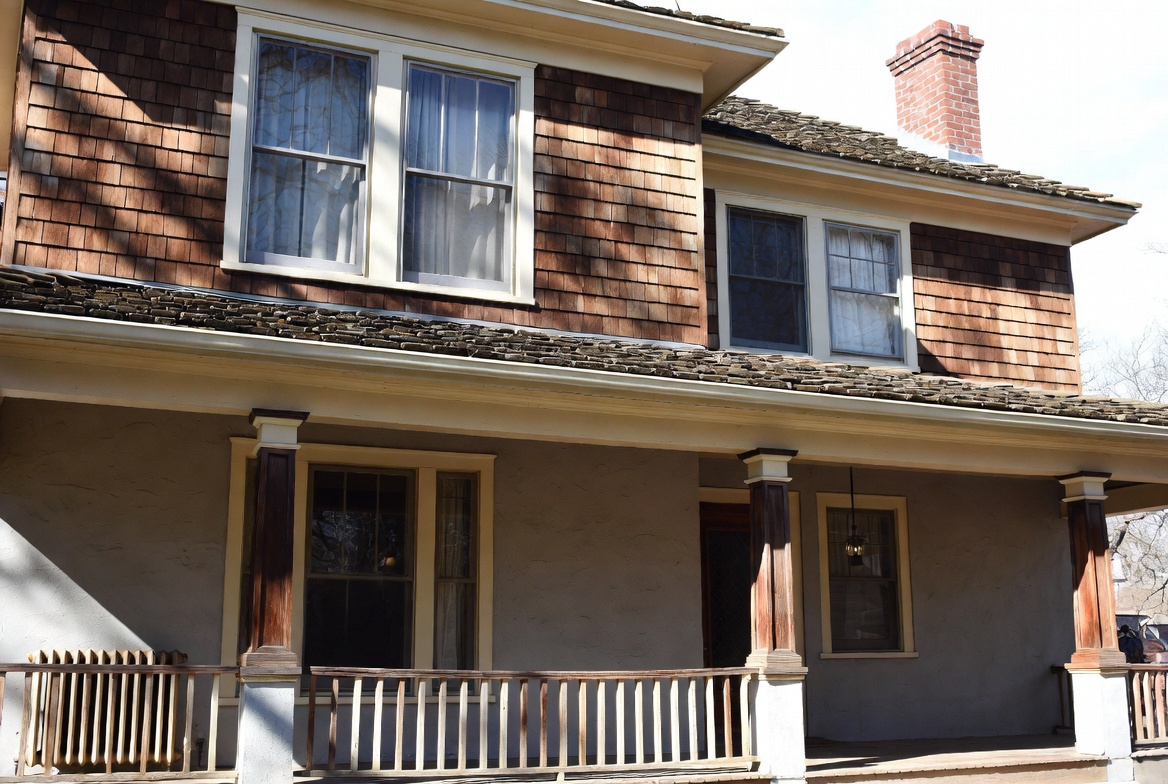
The change was not about making houses plain. It was about putting the detail under control.
On many Victorian houses, ornament could move on its own across the front: brackets, trim bands, towers, shingles, bays, and carved gables. A good 1910s house is quieter. The porch sets the base. The roof gives the house its shape. Windows are grouped or lined up on purpose. Built-ins, fireplaces, stairs, and woodwork carry the inside.
The Arts and Crafts movement pushed this further. Material, workmanship, and use were meant to line up. A bracket should look like it holds something. A built-in buffet should make the dining room work better. A porch should feel like part of the house, not a shallow platform stuck on after the front was drawn.
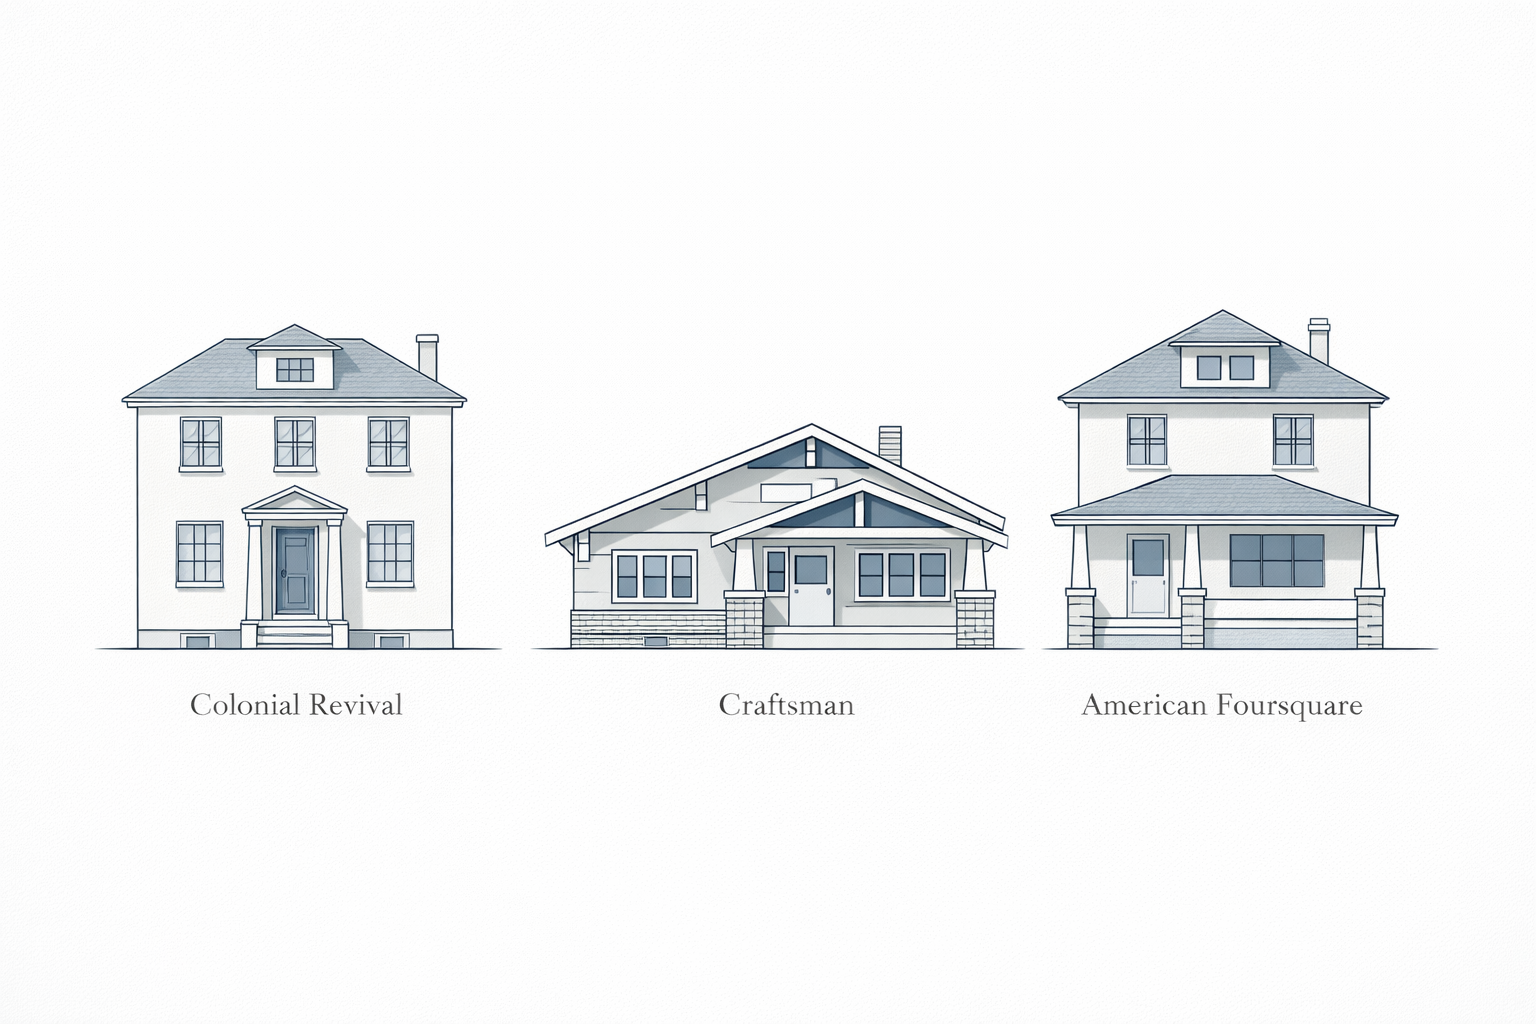
That influence shows up most in Craftsman houses, and it did not stay there. Foursquares gained stronger porches and simpler detail. Colonial Revival houses got cleaner. Prairie houses pushed the roof lower and the whole composition wider.
The result is a useful middle ground. Less theatrical than most of the 1800s, and not yet cut down to standard postwar building.
The Main 1910s House Types
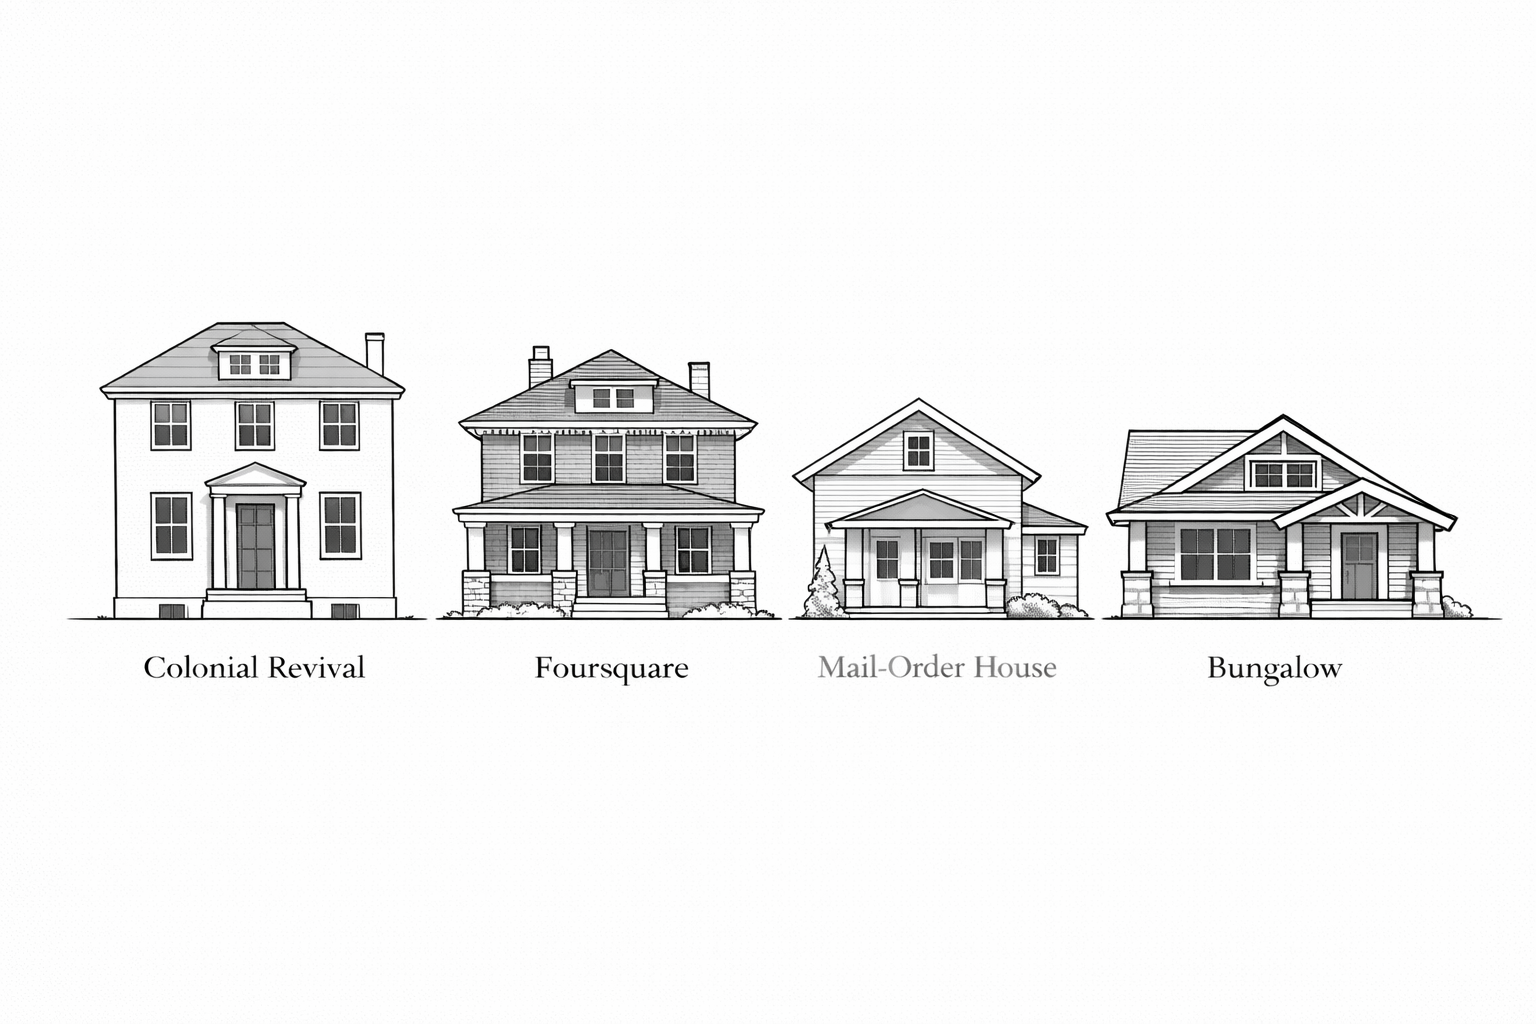
| House type | What to look for | What usually controls the renovation |
|---|---|---|
| Craftsman bungalow | Low roof, deep porch, tapered supports, exposed rafter tails, built-ins | Porch structure, roof edges, original windows, and compact room planning |
| American Foursquare | Boxy two-story mass, hipped roof, central dormer, broad porch | Stair position, stacked rooms, service layout, and later porch alterations |
| Prairie | Long horizontal lines, broad eaves, grouped windows, low visual emphasis | Window rhythm, roof drainage, overhang condition, and interior sightlines |
| Colonial Revival | Symmetry, centered entry, balanced openings, simplified classical trim | Facade proportion, window replacement, entry details, and formal room sequence |
| Vernacular or builder house | Simple gabled form, front porch, modest trim, mixed stylistic carryovers | Actual construction and condition matter more than the style label |
The bungalow is the house most tied to the decade. A broad porch, a low roof, and a plan that worked in most climates and most budgets. The wider bungalow family covers several forms, and the American bungalow and Craftsman bungalow pages explain the strongest North American versions.
The American Foursquare solved a different problem. Its nearly square footprint gave two efficient floors under a compact roof. Bedrooms stacked cleanly above the main rooms, and the central stair often organized the plan. That efficiency is why many Foursquares can take careful kitchen or bathroom work without losing their basic order.
Prairie houses are less common, but their influence runs wider than their numbers. Broad eaves, grouped windows, horizontal trim, and low roof emphasis changed how a house sat on its lot. The clearest examples belong to Prairie School architecture.
Colonial Revival stayed strong because it gave formality without the heavy carving of earlier revival houses. A centered door, balanced windows, and quiet trim gave even a modest house a tidy street front. That logic is covered in Colonial architecture characteristics.
Most houses do not fit one label
A modest 1910s house may have a Foursquare body, Craftsman porch posts, Colonial windows, and a few late Victorian trim details. Builders used the plans, local materials, catalog parts, and methods they had. The clean textbook category usually came later.
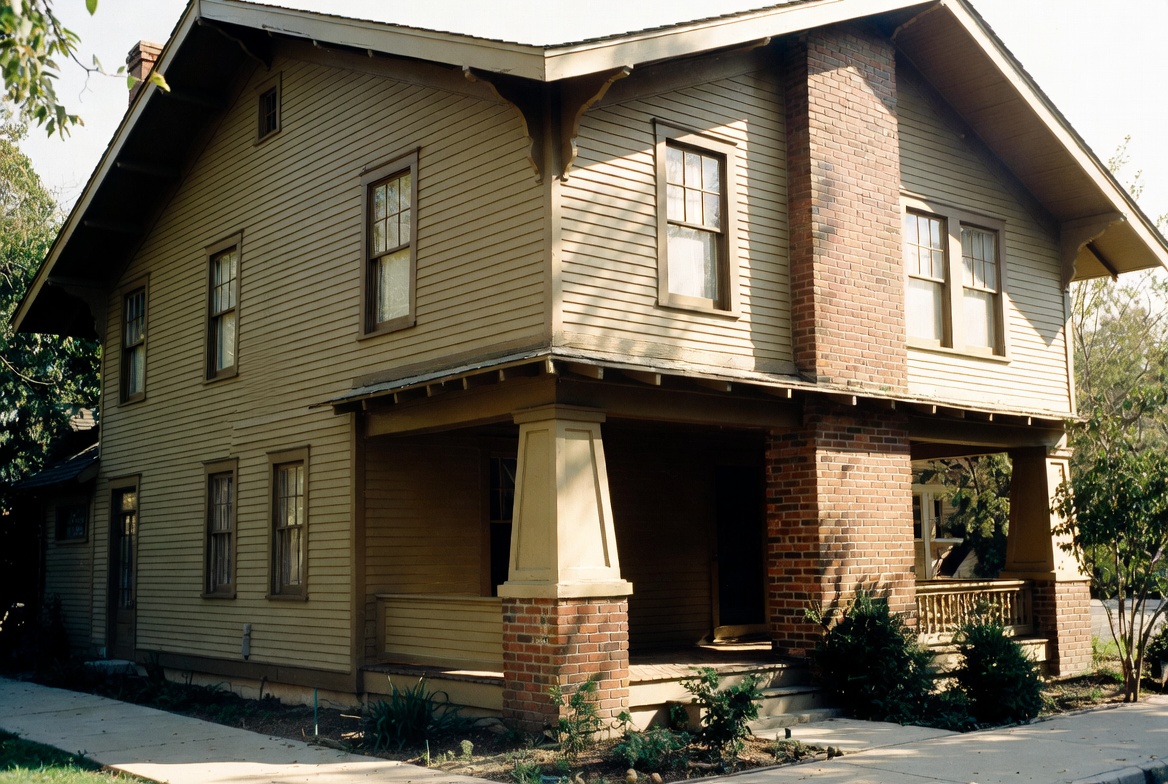
That matters during renovation. Restoring a vernacular house toward an imagined "pure" style can strip out real parts that were there from day one. Read the building before you choose the label.
What Gets Changed First
Later work erases the house in a predictable order.
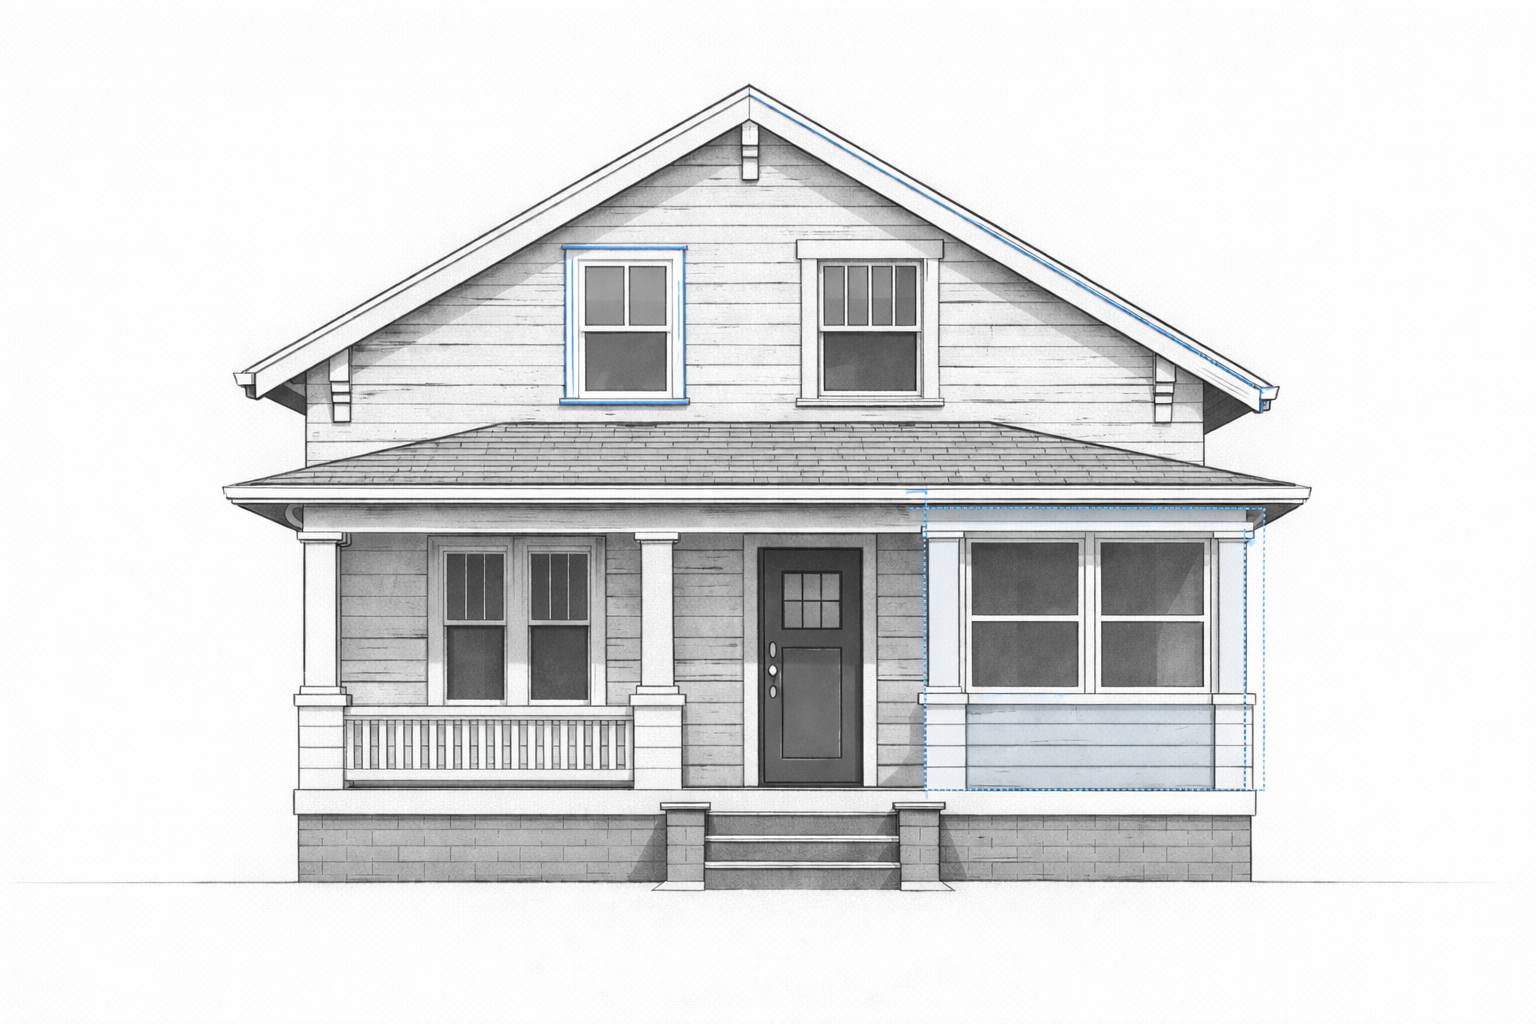
- The porch gets enclosed. The house gains floor area and loses depth, shade, and the step between sidewalk and front door.
- Original windows are replaced. Insert units cut the glass area, thicken the frame, and often leave the opening looking pinched.
- Wood siding disappears. Vinyl or aluminum covers the trim transitions and flattens the shadow lines that gave the wall depth.
- Kitchens and bathrooms absorb decades of work. New cabinets, moved fixtures, patched floors, and partial plumbing upgrades leave the service rooms hard to read and hard to price.
Brick painting sits in its own category because it is hard to reverse cleanly. Paint also changes how older masonry dries. The decision depends on brick condition, mortar, earlier coatings, exposure, and climate. It is not a quick color update.
One change rarely ruins a house by itself. The damage comes from stacking. Shorter windows, a shallow porch enclosure, flattened siding, and a generic front door can leave the structure standing while removing most of the clues that made it readable.
How to Spot a 1910s House From the Street
The porch carries more than decoration
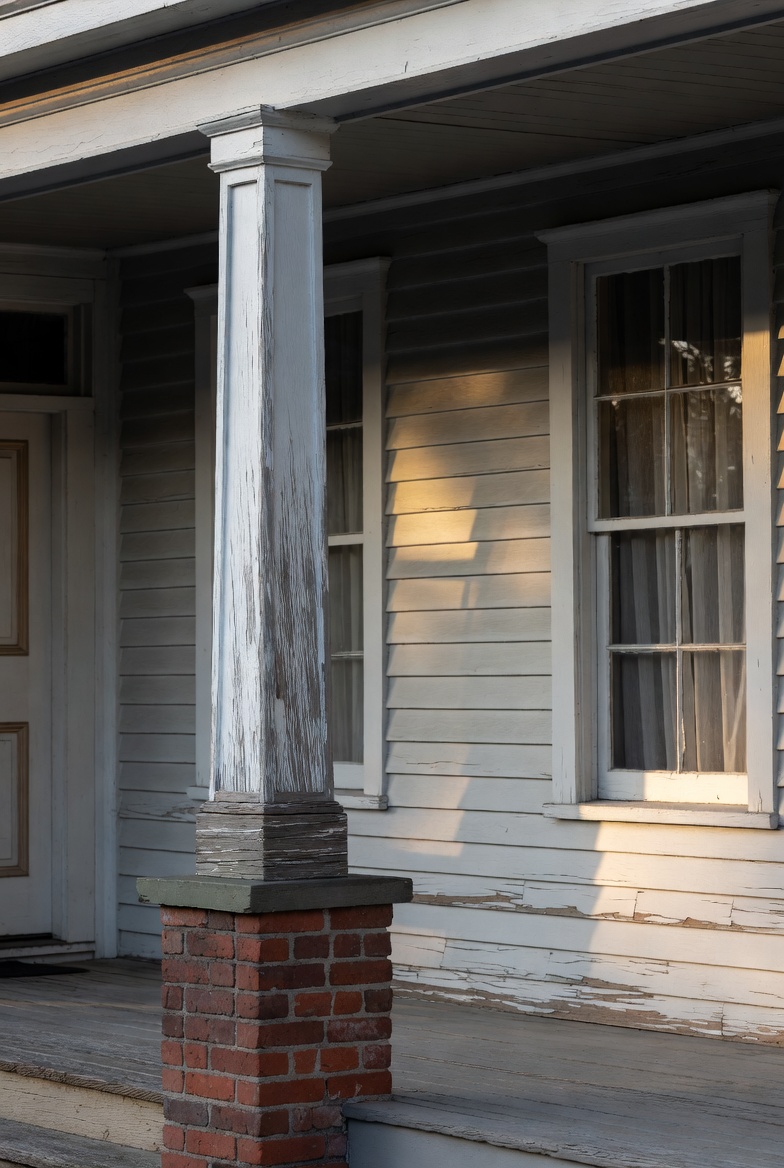
On a bungalow, the porch may define nearly the whole front. On a Foursquare, it gives the tall box a base. Posts, piers, beam depth, stair width, and roof pitch all matter. A shallow replacement porch on thin columns changes the house even when the footprint stays the same.
Porch condition also tells you where to inspect. Probe the post bases, the ends of the decking boards, the outside rim, the stair stringers, and the joint where the porch roof meets the main wall. Paint failure at one post base may be local. The same damage across several posts usually means repeated wetting or bad drainage.
The roof sets the period
Low gables, broad eaves, hipped roofs, front dormers, and visible rafter tails are common. The roof does most of the visual work without complicated geometry.
Watch the eaves and the roof-to-wall joints. Missing gutters, short downspouts, failed flashing, and water dumping onto a porch roof can damage trim, sheathing, rafter tails, and wall framing long before it reaches a finished room.
Windows work as a group
Many 1910s houses use grouped double-hung windows, a divided upper sash, or openings spaced to balance. Glass area, meeting rail height, frame depth, and the gap between units all feed the front.
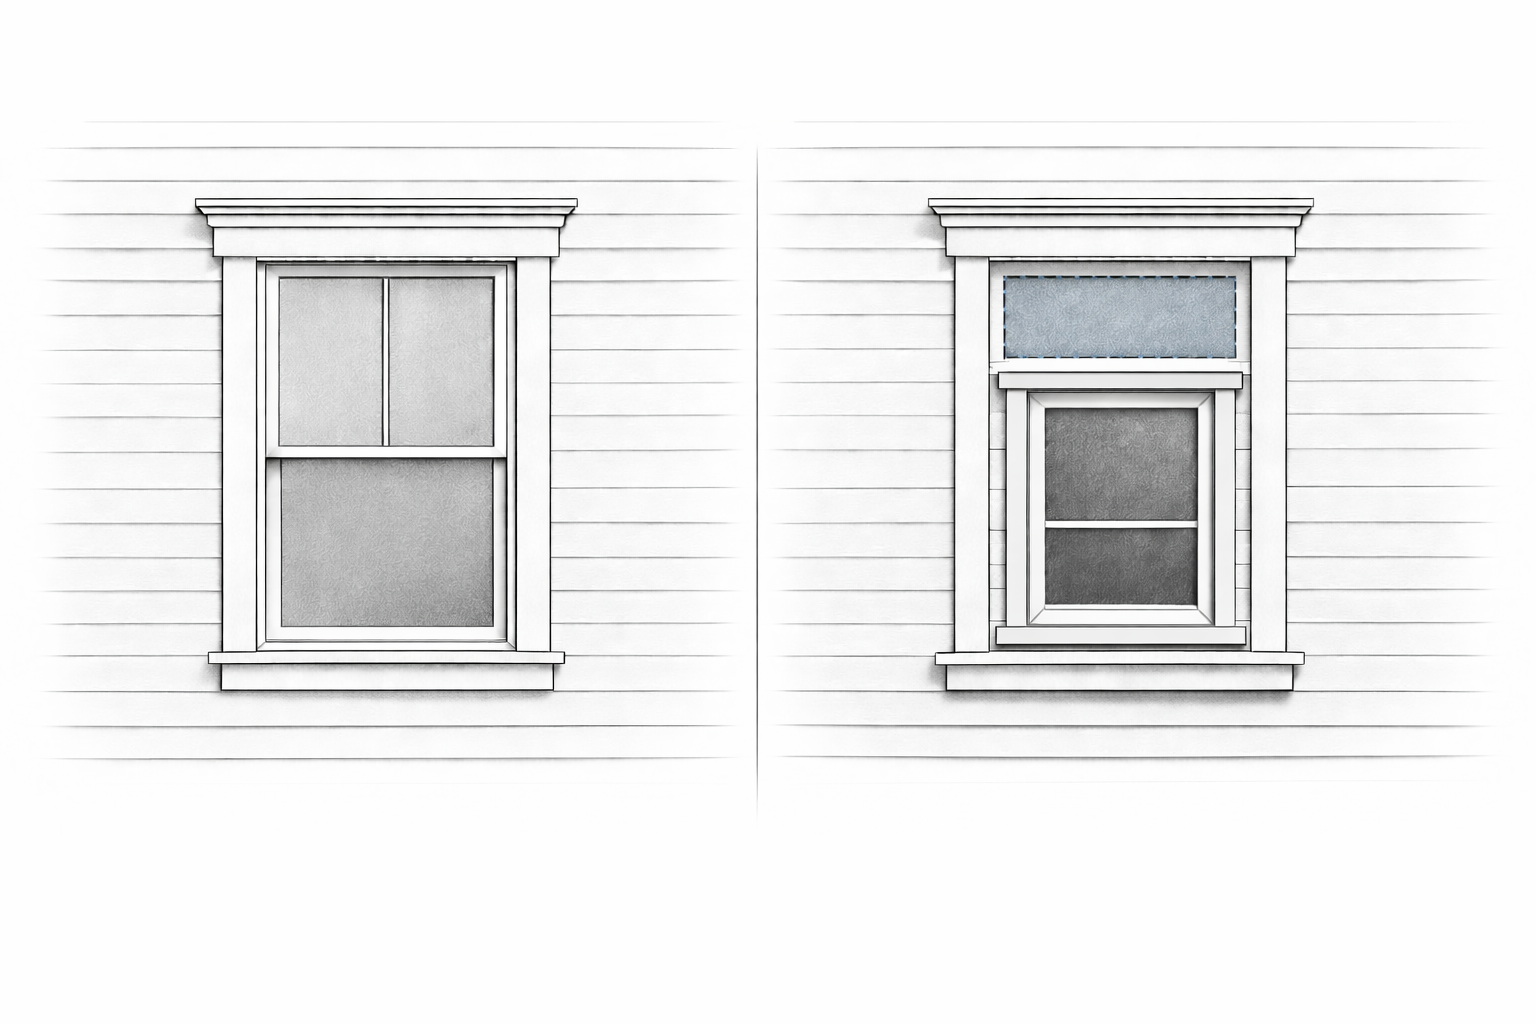
Do not order replacements off the rough dimensions alone. Inspect the sill, jambs, sash, cords, glazing, and surrounding trim first. A draughty window may only need repair and weatherstripping. A rotted sill or a failed frame changes the decision.
The entry should not look light
Front doors often have divided glass, sidelights, a transom, or thick trim. Even plain doors tend to have stronger proportions than modern stock replacements. A thin door slab in a reduced opening weakens the whole front.
The Floor Plan Explains the Interior
The rooms are not separate boxes. They unfold in sequence.
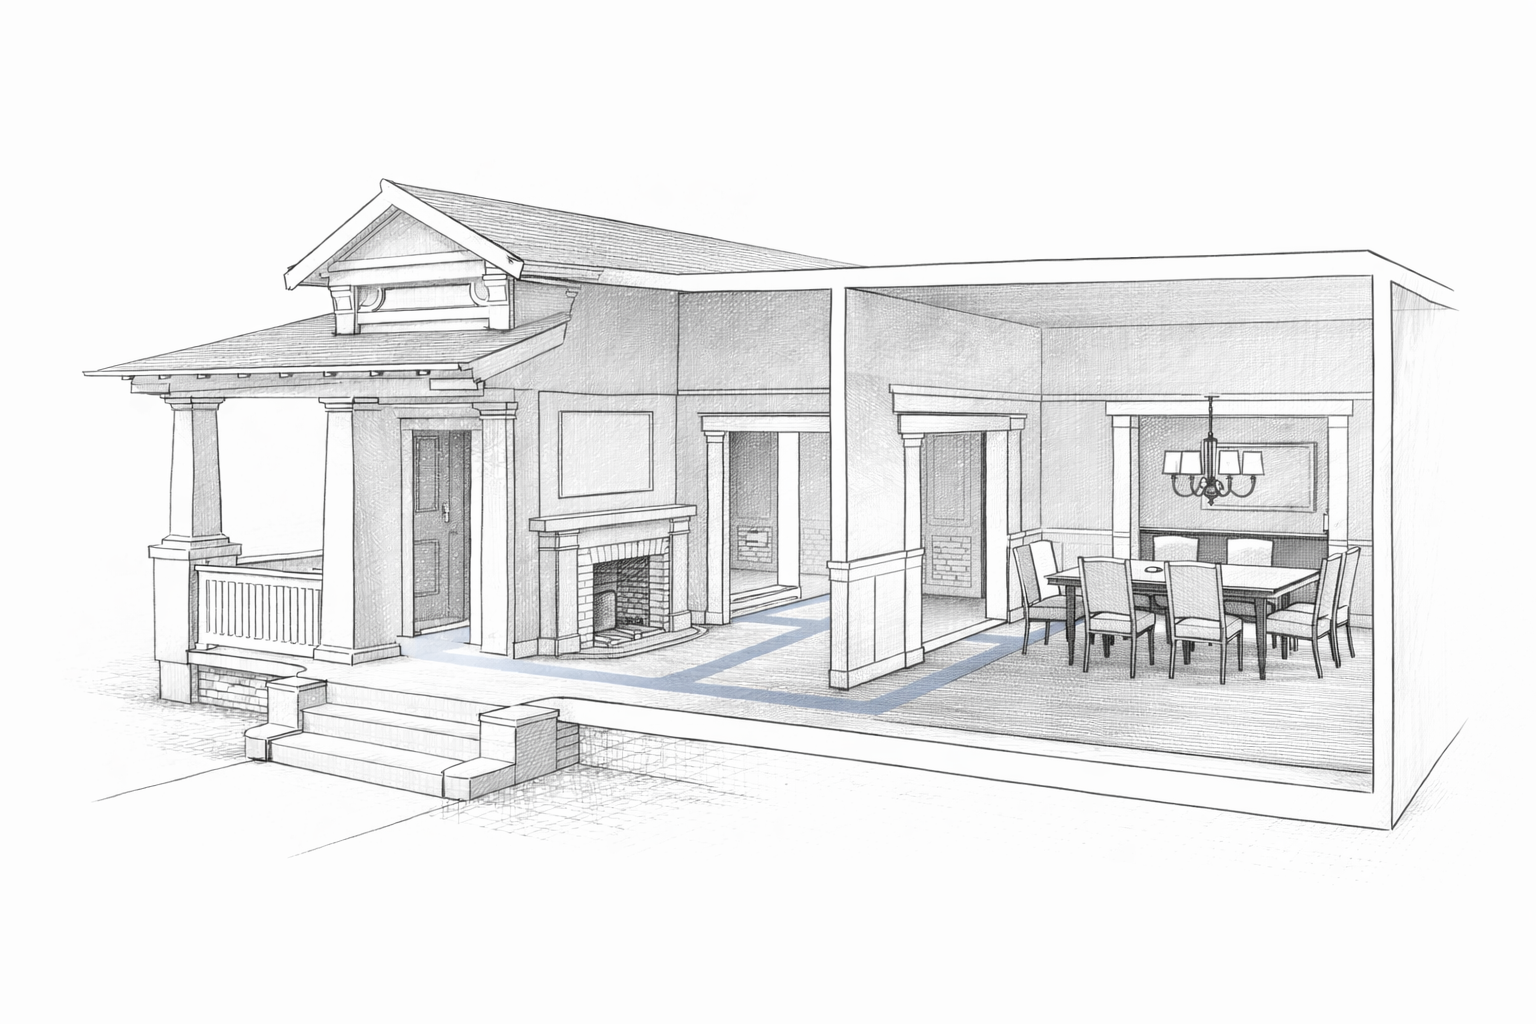
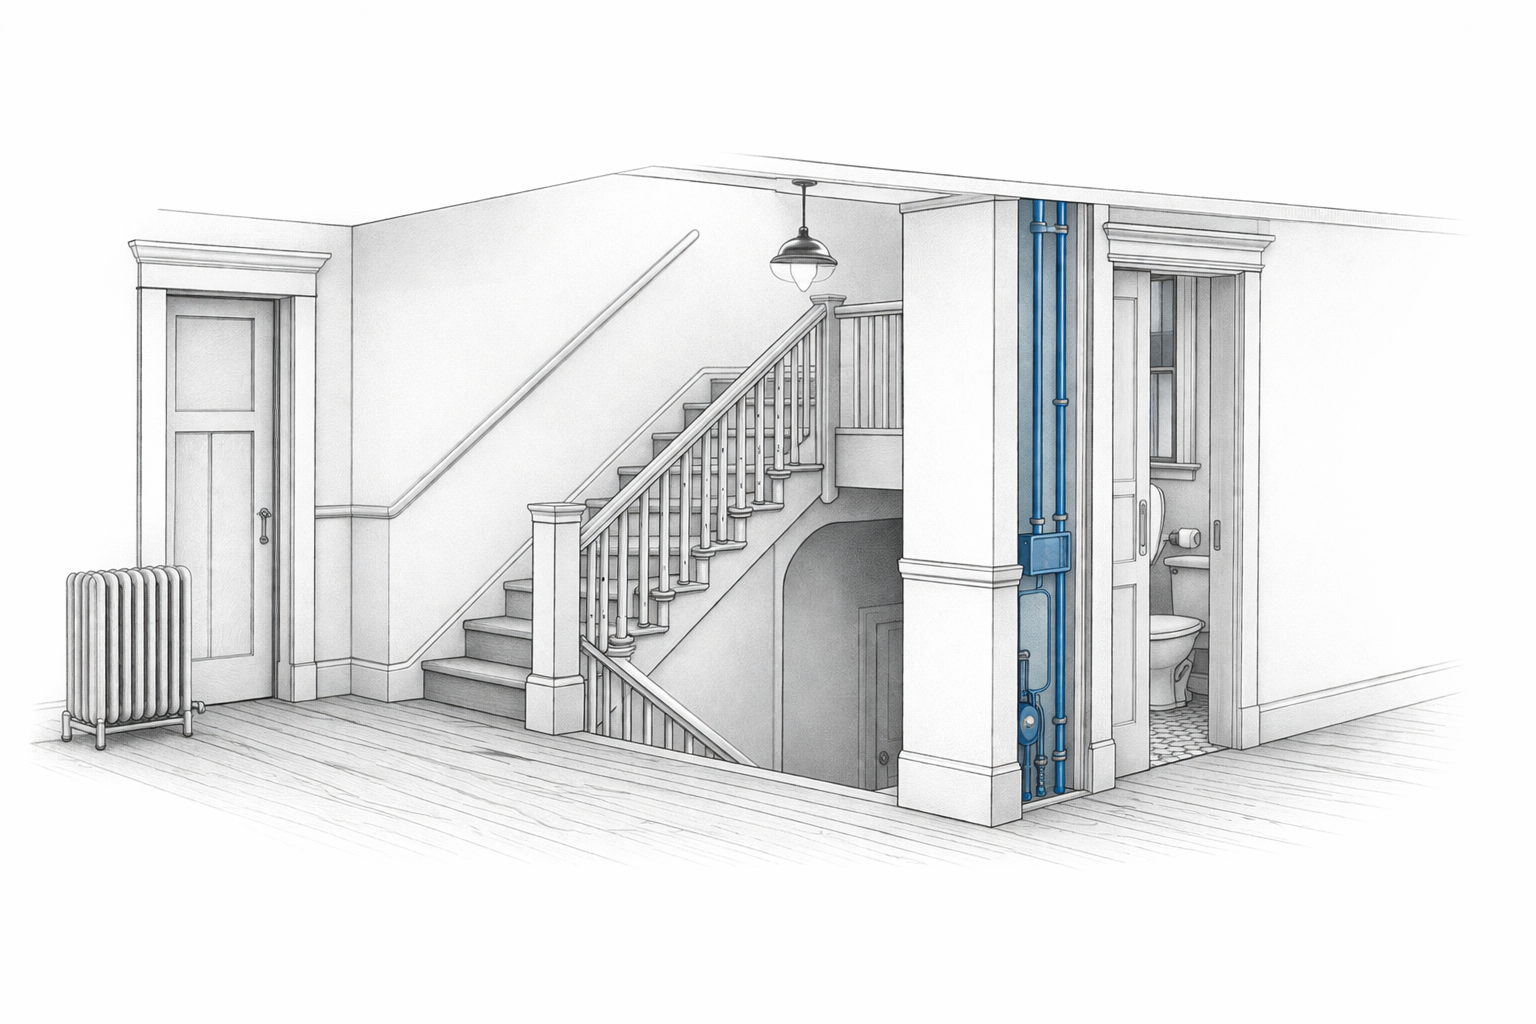
A typical plan runs porch, hall, living room, dining room, kitchen at the back. The stair usually sits near the middle of the traffic. Bedrooms take the upper floor or a quiet back zone. Bathrooms stay near a plumbing wall, because long waste and supply runs were not scattered through a building for fun.
The order comes through without feeling rigid. Living and dining rooms may connect through a broad trimmed opening, columns, pocket doors, or built-ins. They read together and still hold separate jobs.
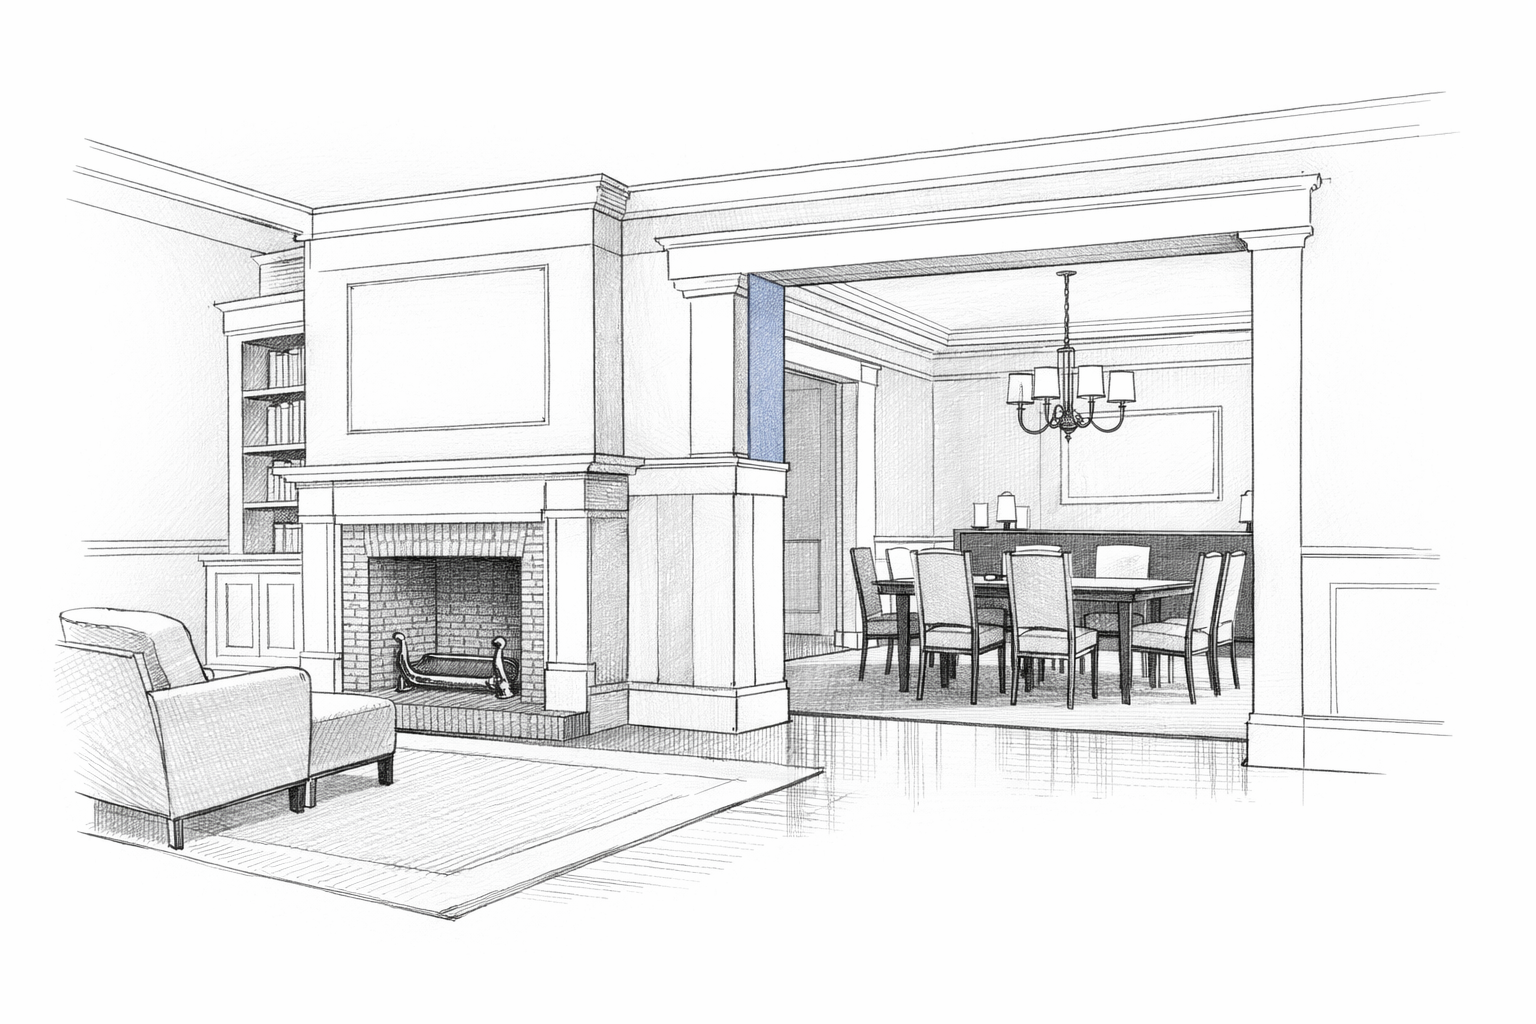
This room hierarchy is easy to damage. Remove every division and the stair ends up exposed in the middle of a large space, useful walls vanish, and furniture gets harder to place. Before widening an opening, find the load path, settle the kitchen layout, and check where ducts, wiring, and plumbing need to run.
The full layout logic is in 1910s house floor plans.
What 1910s Interiors Still Do Better
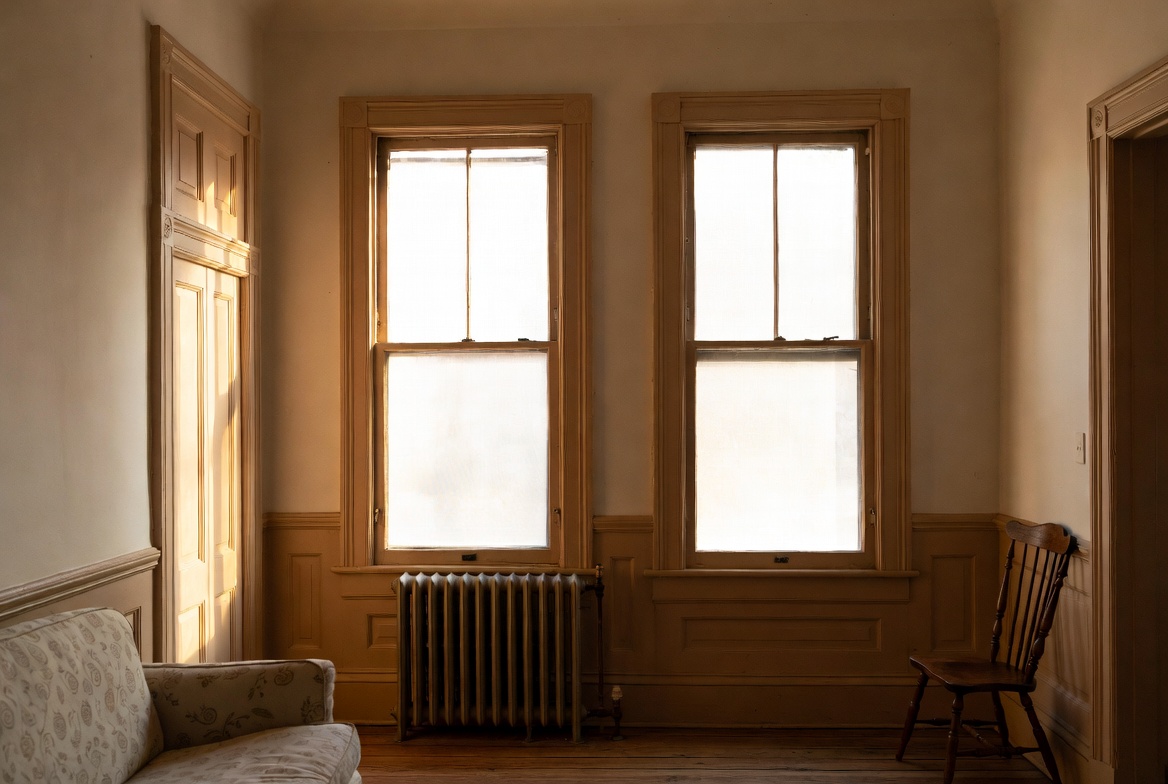
Living rooms have a center
A fireplace, built-in bookcases, or one strong wall gives the furniture somewhere to belong. Later open plans ask every wall to do several jobs at once. A good 1910s living room makes the priority obvious.
Dining rooms stay useful when they stay defined
Built-in buffets, plate rails, wall space, and a direct link to the kitchen give the dining room a clear role. Take the boundaries away and you gain a wider view, lose the storage, and leave the table floating in the traffic path.
The kitchen was a work room
Original kitchens sat at the back, close to the dining room, pantry, yard, or service porch. Storage went on the walls. A worktable could hold the middle of the room without pretending to be a ten-foot island.
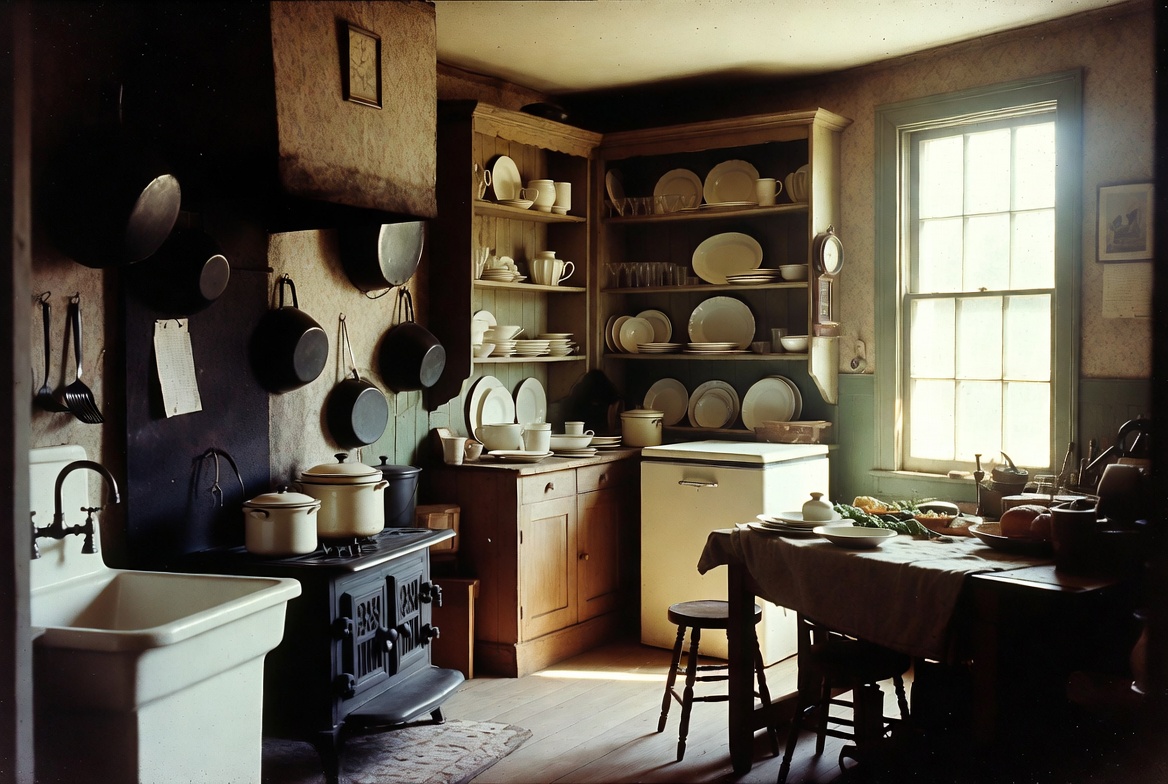
Moving the sink, range, and whole service wall can cost more than the cabinets. That work reaches into joists, drains, venting, electrical service, and the finished rooms below. Settle the appliance and plumbing layout before the cabinet drawings are final.
Bathrooms were compact because the plumbing was compact
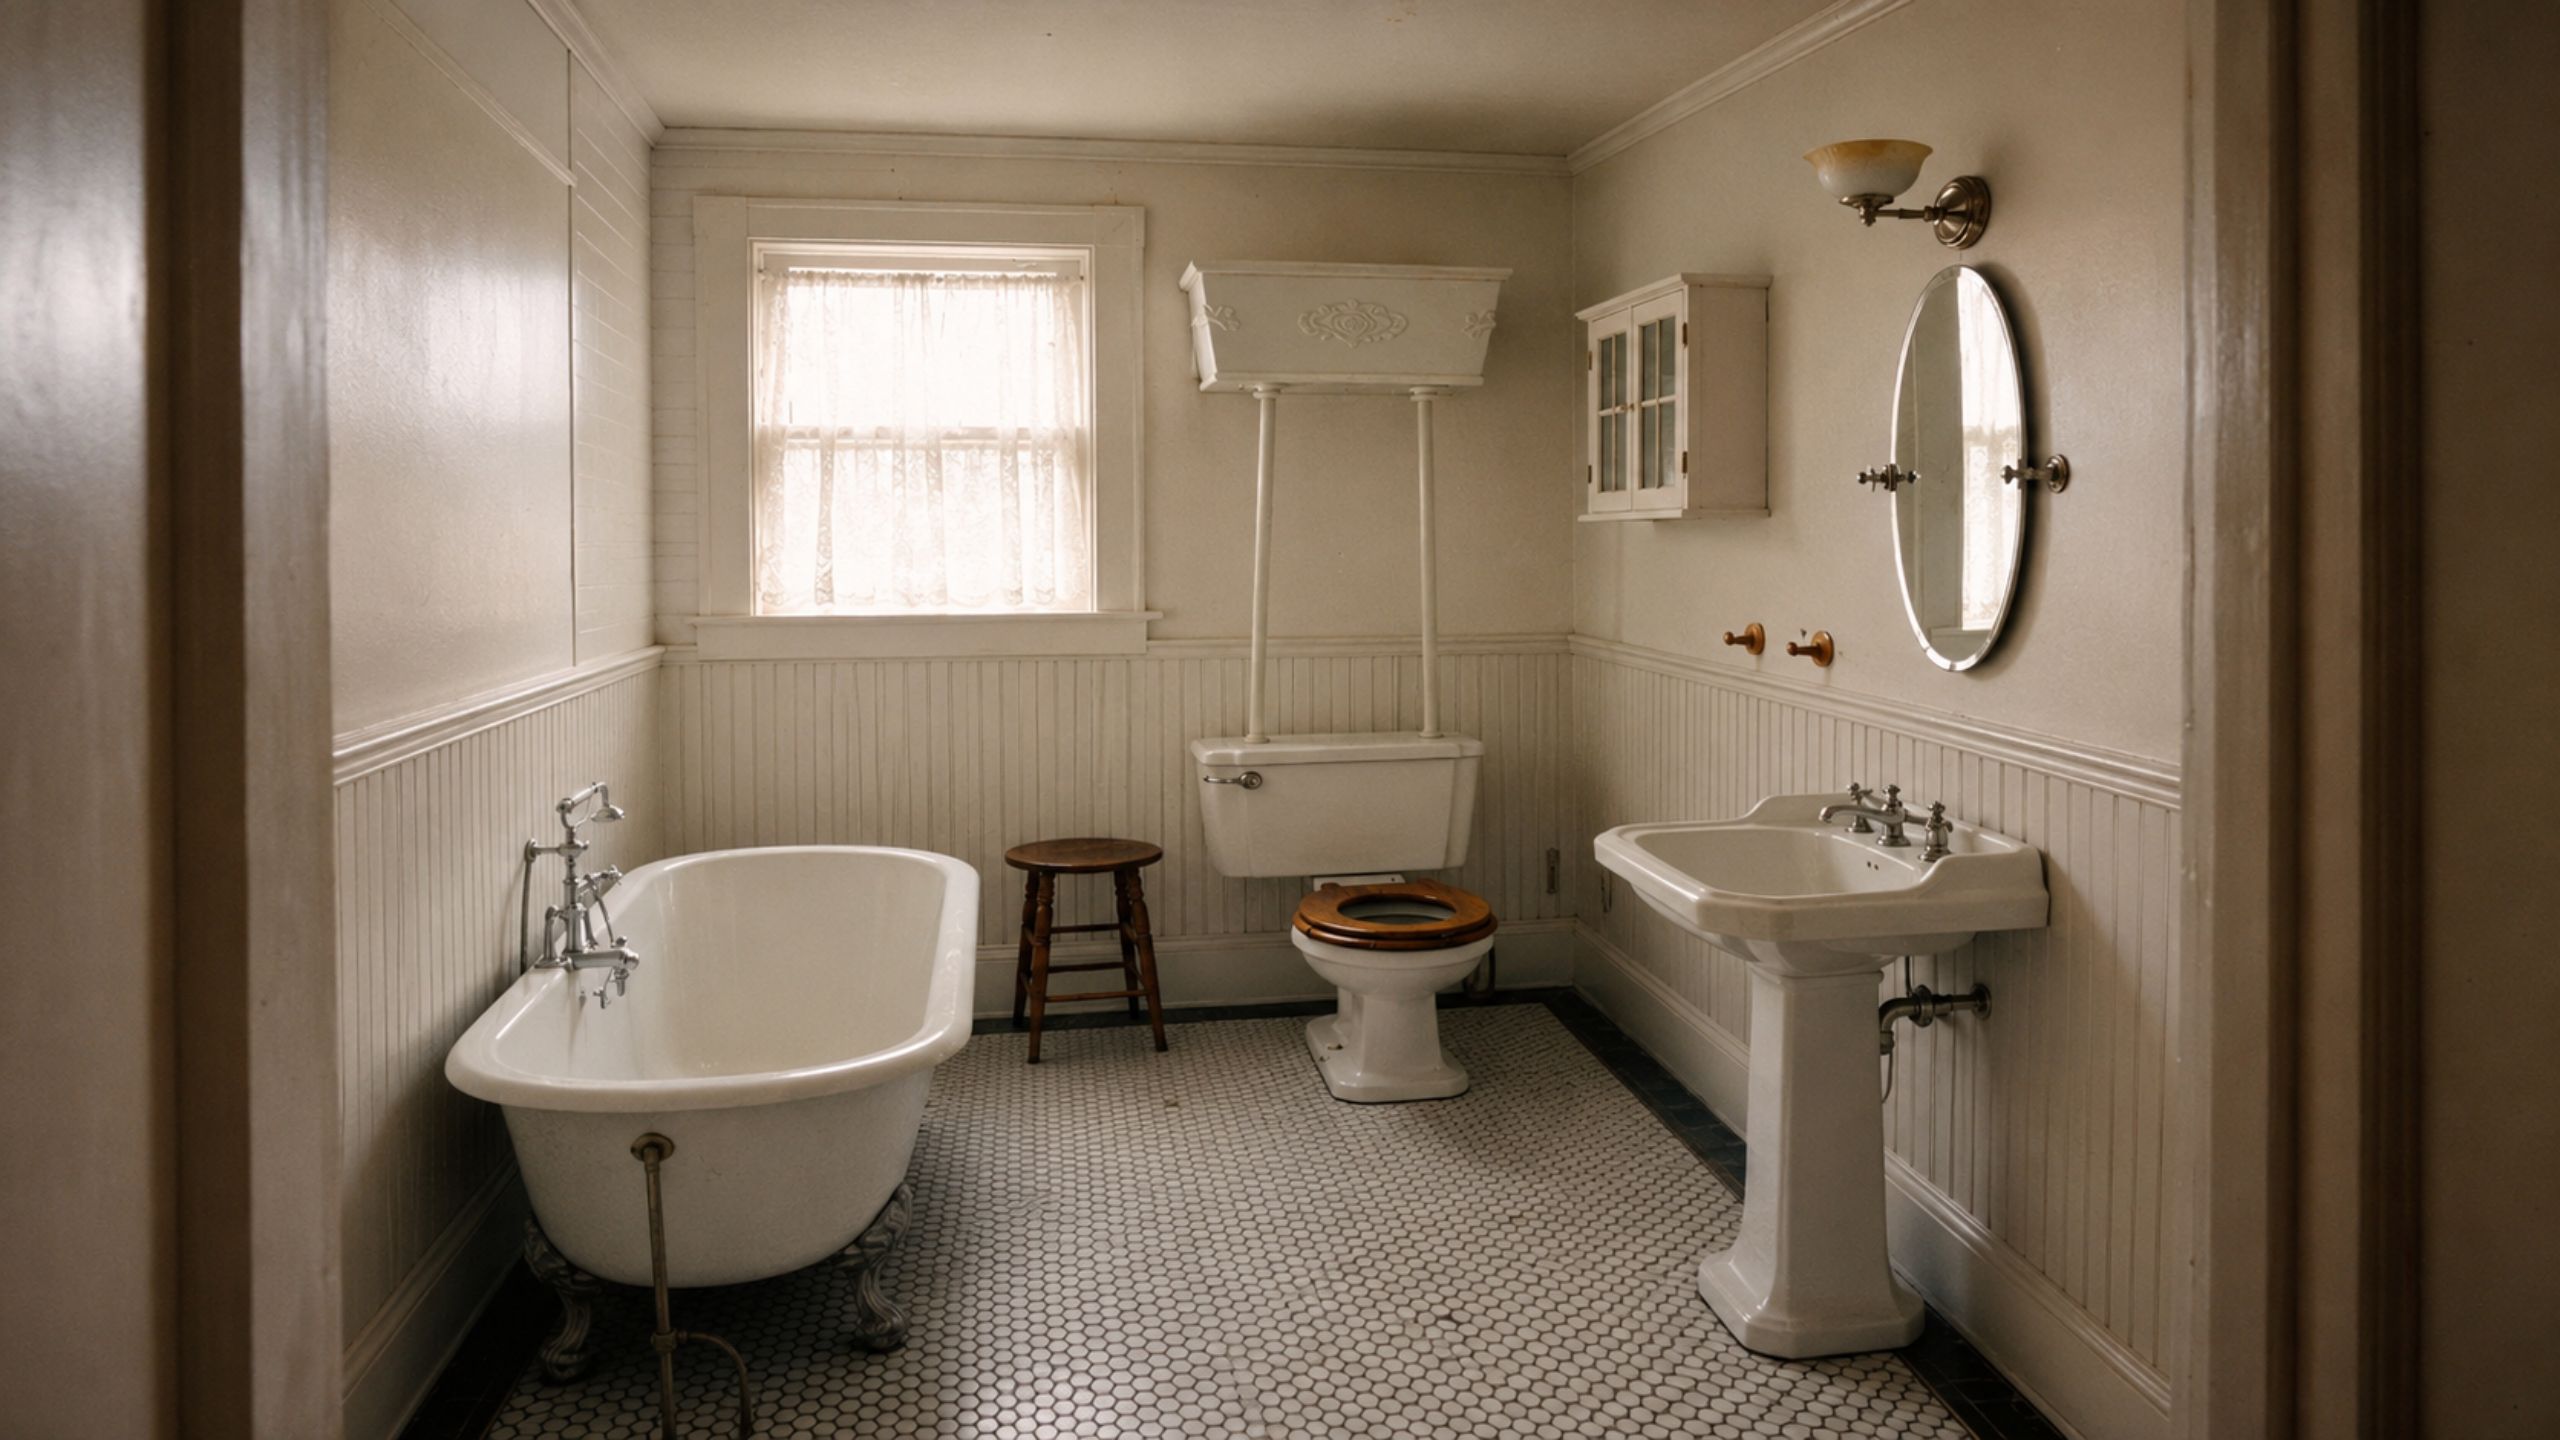
Clawfoot tubs, pedestal sinks, high-tank or early low-tank toilets, subway tile, beadboard, and small floor tile all fit the period. The service logic matters more than the fittings. Fixtures were grouped near one stack to keep the drains short and workable.
A modern bathroom fits without copying a museum room. Keep the plumbing close where you can, hold enough clearance around the fixtures, and do not force a double vanity into a room that cannot take the circulation.
Storage is the honest weakness
Closets are often shallow. Linen storage may be one hall cupboard. Bedrooms were not planned around king beds, deep dressers, and full-height media walls.
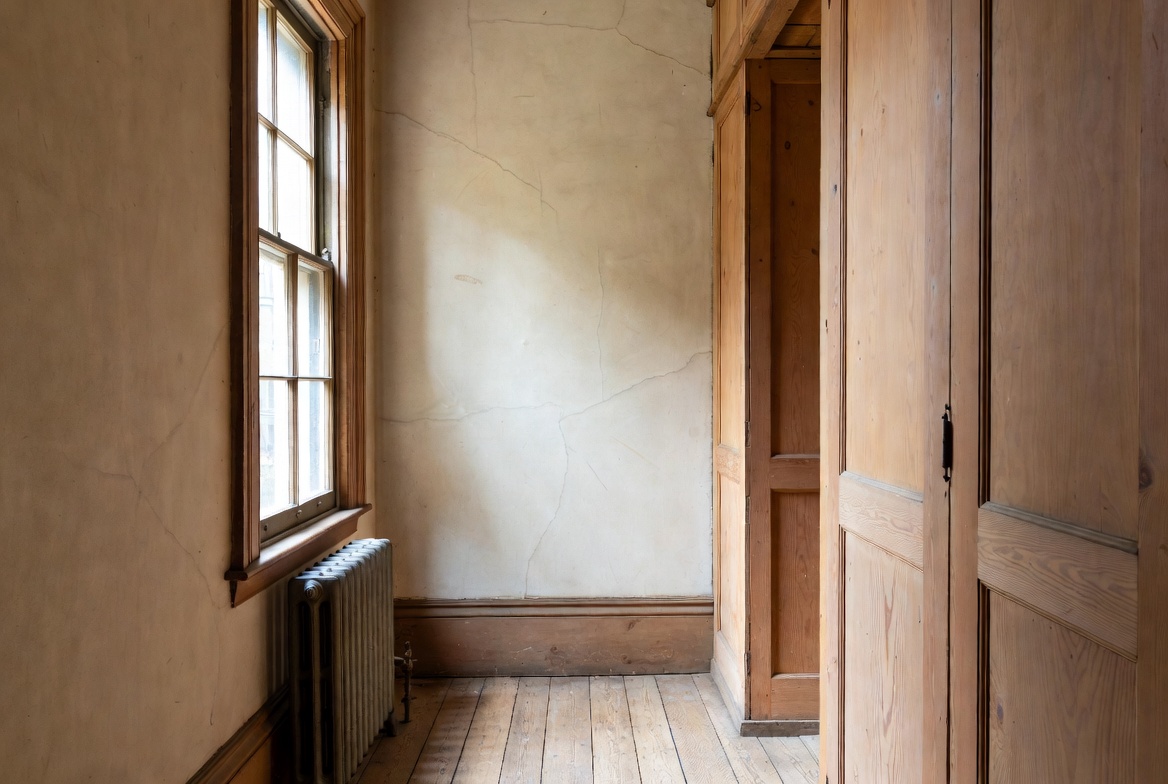
Built-ins solve some of this, but depth matters. A closet built against the wrong wall can block a window, narrow the route through the room, or make a small bedroom impossible to furnish. Measure the furniture and the door swings before framing storage.
Where 1910s Houses Usually Go Wrong
The visible finish is usually the cheapest part of the problem.
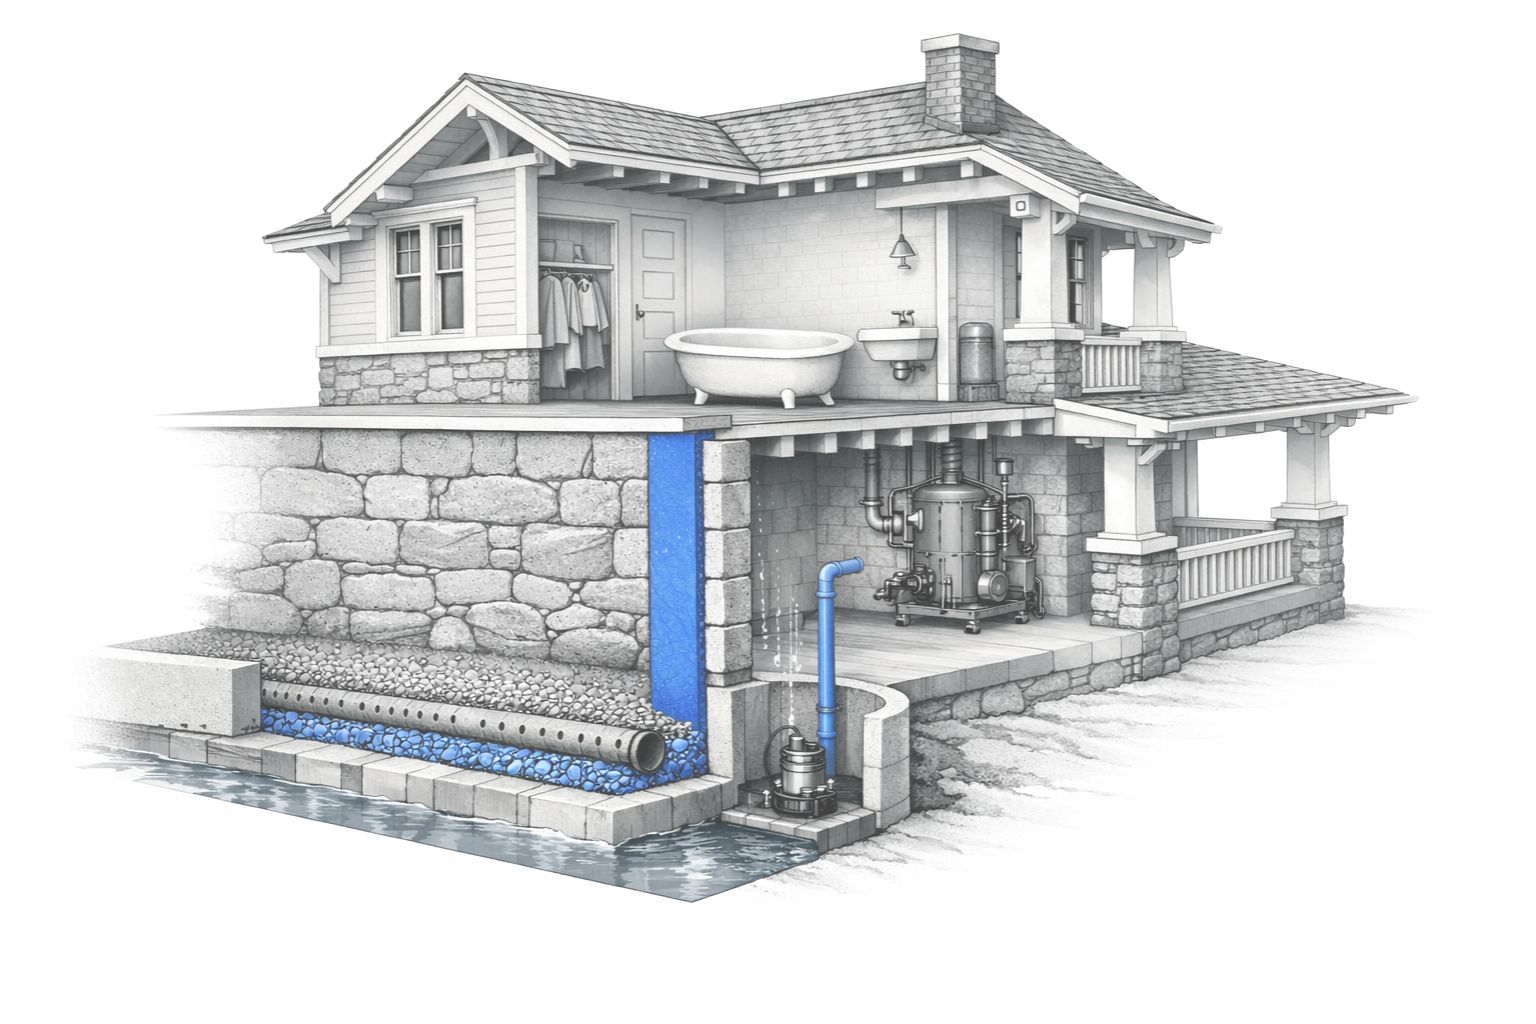
Water reaches the framing before the room looks damaged
Start with roof edges, chimney flashing, porch-roof joints, window heads, post bases, grading, gutters, and where the downspouts discharge. A stain inside does not tell you where the water came in. It may have run along sheathing, rafters, framing, or pipes before it showed at the plaster.
Repeated wetting at a porch post can rot the base while the upper post stays hard. Water getting behind siding can damage sheathing and sill areas with no obvious leak inside.
Knob-and-tube wiring blocks the insulation job
These two problems get treated as separate line items, and they are not.
Knob-and-tube was built to shed its heat into open air. It has no ground wire, and the rubber-and-cloth covering goes brittle with age. NEC 394.12 does not allow knob-and-tube in a hollow space filled with insulation. That covers blown-in wall insulation and attic batts laid over the runs. Most local codes and most insurers say the same thing.
So the order is fixed. If live knob-and-tube runs in the walls or the attic floor, rewiring comes before insulation. Blow cellulose into a cavity with live knob-and-tube in it and you buy a code violation, an insurance problem, and a wall that has to come open again.
Assume the work is partial until you prove otherwise. A new panel and several updated rooms do not mean the house was rewired. Map the circuits, find where the old wiring still runs, and finish first-fix before any wall closes.
Insulation can create a moisture problem
The original walls were built to breathe. There is no plastic sheet in them, and they dry in both directions. Insulation changes the temperature inside the cavity and changes how it dries. The safe method depends on climate, siding, sheathing, inside finish, old paint layers, and air leaks.
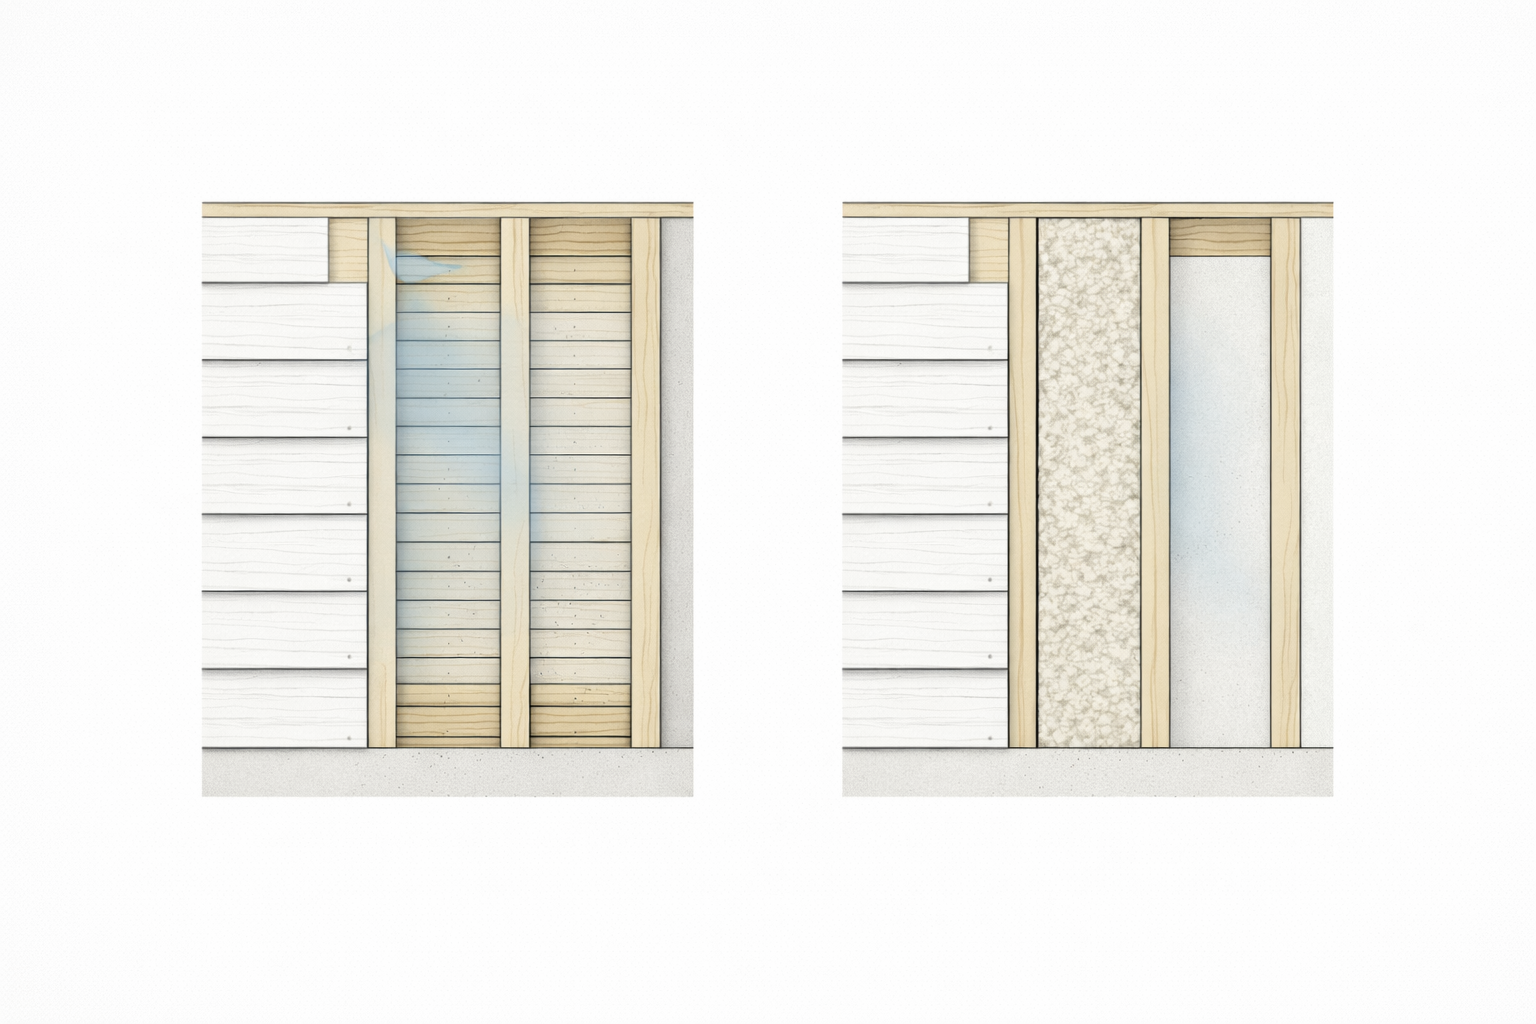
Do not fill every cavity first and work out the drying path later. Trapped moisture can rot sheathing from inside the wall, where nobody sees it until the siding or the plaster comes off.
Movement must be diagnosed before plaster is patched
Hairline plaster cracks can sit still for decades. A widening diagonal crack, displaced masonry, fresh separation at the trim, or doors that recently began to bind deserves a closer look.
Separate diagnosis from repair. Work out whether the movement is active, find the cause, and stabilize it before patching the crack. Otherwise the finish fails again.
Old plumbing leaves expensive surprises
Galvanized supply pipe rusts from the inside out. The outside can look fine while the bore has closed up enough to kill the pressure at an upstairs tap. Galvanized pipe is generally given 40 to 60 years of service life. A 1910s house is well past that unless someone replaced it.
Old drains may have poor fall, rust, patched joints, and several rounds of changes stacked on each other. Kitchens and bathrooms show that history first, because the cabinets, tile, and floors were all cut around earlier work.
A deeper breakdown is in common problems in 1910s houses.
The Right Order for Renovation
Finish selections do not come first.
- Inspect and investigate. Confirm active water entry, structural movement, electrical service, plumbing condition, hazardous materials, and the framing system.
- Stop water. Repair roof, flashing, gutters, grading, drainage, porch failures, and leaking openings before closing walls or refinishing wood.
- Stabilize the structure. Deal with active foundation movement, decayed framing, damaged joists, and roof thrust before layout work goes ahead.
- Settle the plan. Decide which openings, fixtures, stairs, and service zones are changing. This is where the original floor-plan logic earns its keep.
- Complete structural changes and first-fix services. Framing, electrical, plumbing, HVAC, and fire-blocking all have to be coordinated before insulation and plaster close the access.
- Insulate and air-seal with the wall assembly in mind. The approach depends on climate and existing materials.
- Close, repair, and finish. Plaster, trim, cabinets, flooring, tile, and paint come after the hidden work has been inspected and tested.
The expensive failure is running those steps out of order. New cabinets do not make old drains easier to reach. Refinished floors do not help when the electrician needs to open a wall. Fresh plaster does not stay fresh under a roof leak nobody found.
How to Update a 1910s House Without Stripping It Out
Preservation does not mean keeping every old part. It means knowing which parts carry the architecture and which parts have stopped doing their job.
Keep what would be hard to reproduce well
Original doors, stair parts, built-ins, fireplace surrounds, trim profiles, porch details, floors, and repairable windows are worth more than trend finishes. Swapping them for thin stock parts costs money and removes depth at the same time.
Do not preserve failure
Rotten porch framing, unsafe wiring, failed drains, loose masonry, and water-damaged plaster are not character. Write down what matters, repair what still works, and replace what has stopped doing its job.
Open the plan only where the circulation improves
A larger kitchen opening can work. Removing the dining room, the stair hall, and every useful wall usually does not. Draw the furniture, door swings, cabinet runs, and traffic paths before any structural demolition starts.
Repair windows by condition, not ideology
Inspect the frame and sill first. Repair sound wood, reglaze loose panes, replace cords, and add weatherstripping where it helps. Replace a unit when decay, warping, or an earlier alteration has taken the repair value away. Keep the original opening proportion either way.
The full renovation approach is covered in how to update a 1910s house without stripping it out.
Building New Without Faking the 1910s
A convincing new house does not start with decorative brackets.
Start with the parts that control the whole building: massing, roof pitch, porch depth, window height, floor-to-floor proportion, and material thickness. Get those wrong and period trim only makes the copy easier to spot.
| Use | Skip | What changes |
|---|---|---|
| A porch deep enough to sit on and framed into the facade | A shallow decorative platform | The entry gains shade, depth, and a usable threshold |
| Tall windows with consistent head heights and real frame depth | Small stock windows scattered by room | The front keeps its vertical rhythm and wall balance |
| Simple material combinations with clear transitions | Several fake historical materials competing at once | The house reads as controlled rather than themed |
| Defined rooms connected by wide openings | One oversized space decorated with period trim | The interior gains centers, walls, and usable furniture zones |
Borrow the restraint and the construction logic. Do not bolt together every historic detail that happened to exist around 1910.
Why These Houses Still Work
The strongest 1910s houses were built from durable materials around plans that still make sense. They have room hierarchy without heavy formality. They carry detail without asking every surface to perform.
Those same qualities make careless work obvious. Short windows flatten the front. A shallow porch weakens the entrance. Removing too many walls leaves rooms without centers. Insulation installed without understanding moisture can wreck an assembly that survived a century.
The next decade did not drop this logic all at once. Houses kept simplifying, standardizing, and adapting to new systems. The shift gets clearer in 1930s houses.
Frequently Asked Questions
What is the most common 1910s house style?
The bungalow, in North America. Foursquares, Colonial Revival houses, Prairie-influenced homes, and plain builder houses were common too.
Are 1910s houses expensive to maintain?
They can be. Condition matters more than style. Roof edges, drainage, porch framing, wiring, plumbing, windows, masonry, and previous alterations usually control the repair budget.
Should original windows be replaced?
Not as a blanket decision. Inspect the sill, frame, sash, glazing, cords, and any water damage around them. Repairable wood windows can often stay. A failed or heavily altered unit may need replacing, and the new window should keep the opening proportion.
Can knob-and-tube wiring stay if the house is insulated?
No. NEC 394.12 does not allow knob-and-tube in hollow spaces filled with insulation, and most insurers take the same position. Rewire the affected runs first, then insulate.
Are cracks in a 1910s house normal?
Some are. A stable hairline plaster crack is different from a widening diagonal crack, displaced masonry, or a door that recently started binding. Diagnose the crack before patching it.
What is the biggest renovation mistake?
Spending on finishes before water, structure, wiring, plumbing, and layout are understood. That is how finished walls get opened twice and the cosmetic budget disappears into hidden work.
Can a 1910s house be opened up?
Yes, if the opening solves a real circulation or service problem. Confirm the framing and load path first, then coordinate the structural work with wiring, plumbing, HVAC, and finish repair before demolition starts.
Read This Next
- Common Problems in 1910s Houses
- 1910s House Floor Plans
- How to Update a 1910s House Without Stripping It Out
- What Is a Craftsman Bungalow?
- Prairie School Architecture
Sources and data
- NFPA 70: National Electrical Code, Article 394 (Concealed Knob-and-Tube Wiring)
- Building America Solution Center: Retrofit Wall Insulation and Moisture Control
- National Park Service Preservation Brief 9: The Repair of Historic Wooden Windows
- National Park Service Preservation Brief 1: Cleaning and Water-Repellent Treatments for Historic Masonry